
A coworker thought to be nice over the holidays and bought me a set of chisels for Christmas. If it isn’t apparent, I’m rather particular about my tools. Being gracious and polite on such an occasion is still requisite and I thanked him for the gift.
![20150117_134721[1]](https://baroquepearls.files.wordpress.com/2015/01/20150117_1347211.jpg)
So now what do I do with this big box store set of chisels in 1/2″, 3/4″ and 1″? I could just let them linger in the package for years and eventually gift them off to someone just starting woodworking. For a few years now I’ve wanted to convert my Marples blue-handles into a more historically appearing set for use at public demonstrations. Trouble is, I’d have to decommission them for the amount of time it takes for me to replace the handles. While I’d also love a set that doesn’t have firmer bevels, but instead square sides, that’s another step down the road I’m not ready to pay for.
Modern off the shelf chisels are usually tanged. This means there is a round tenon of steel that is set into the handle. Pre-20th century chisels, especially those from the high age of woodworking, are typically socketed with a wood handle — the handle forms the tenon that fits into the socket. This makes for a better chisel to be struck with a mallet, while a tanged chisel is best for working with hand-pressure only. This design difference is usually the clearest way to determine if you have a bench or a paring chisel staring back at you. A socketed chisel can be stuck on the handle, which drives the handle into the socket, transferring force. A tanged chisel, when struck, pushes on a ferrule, but the tang can and will eventually split the handle. Modern off the shelf chisels tend to have a relatively large ferrule and plastic handles which will not split like wood. Trouble is, they look clearly modern and are rarely balanced correctly, despite looking vaguely like a socketed chisel.
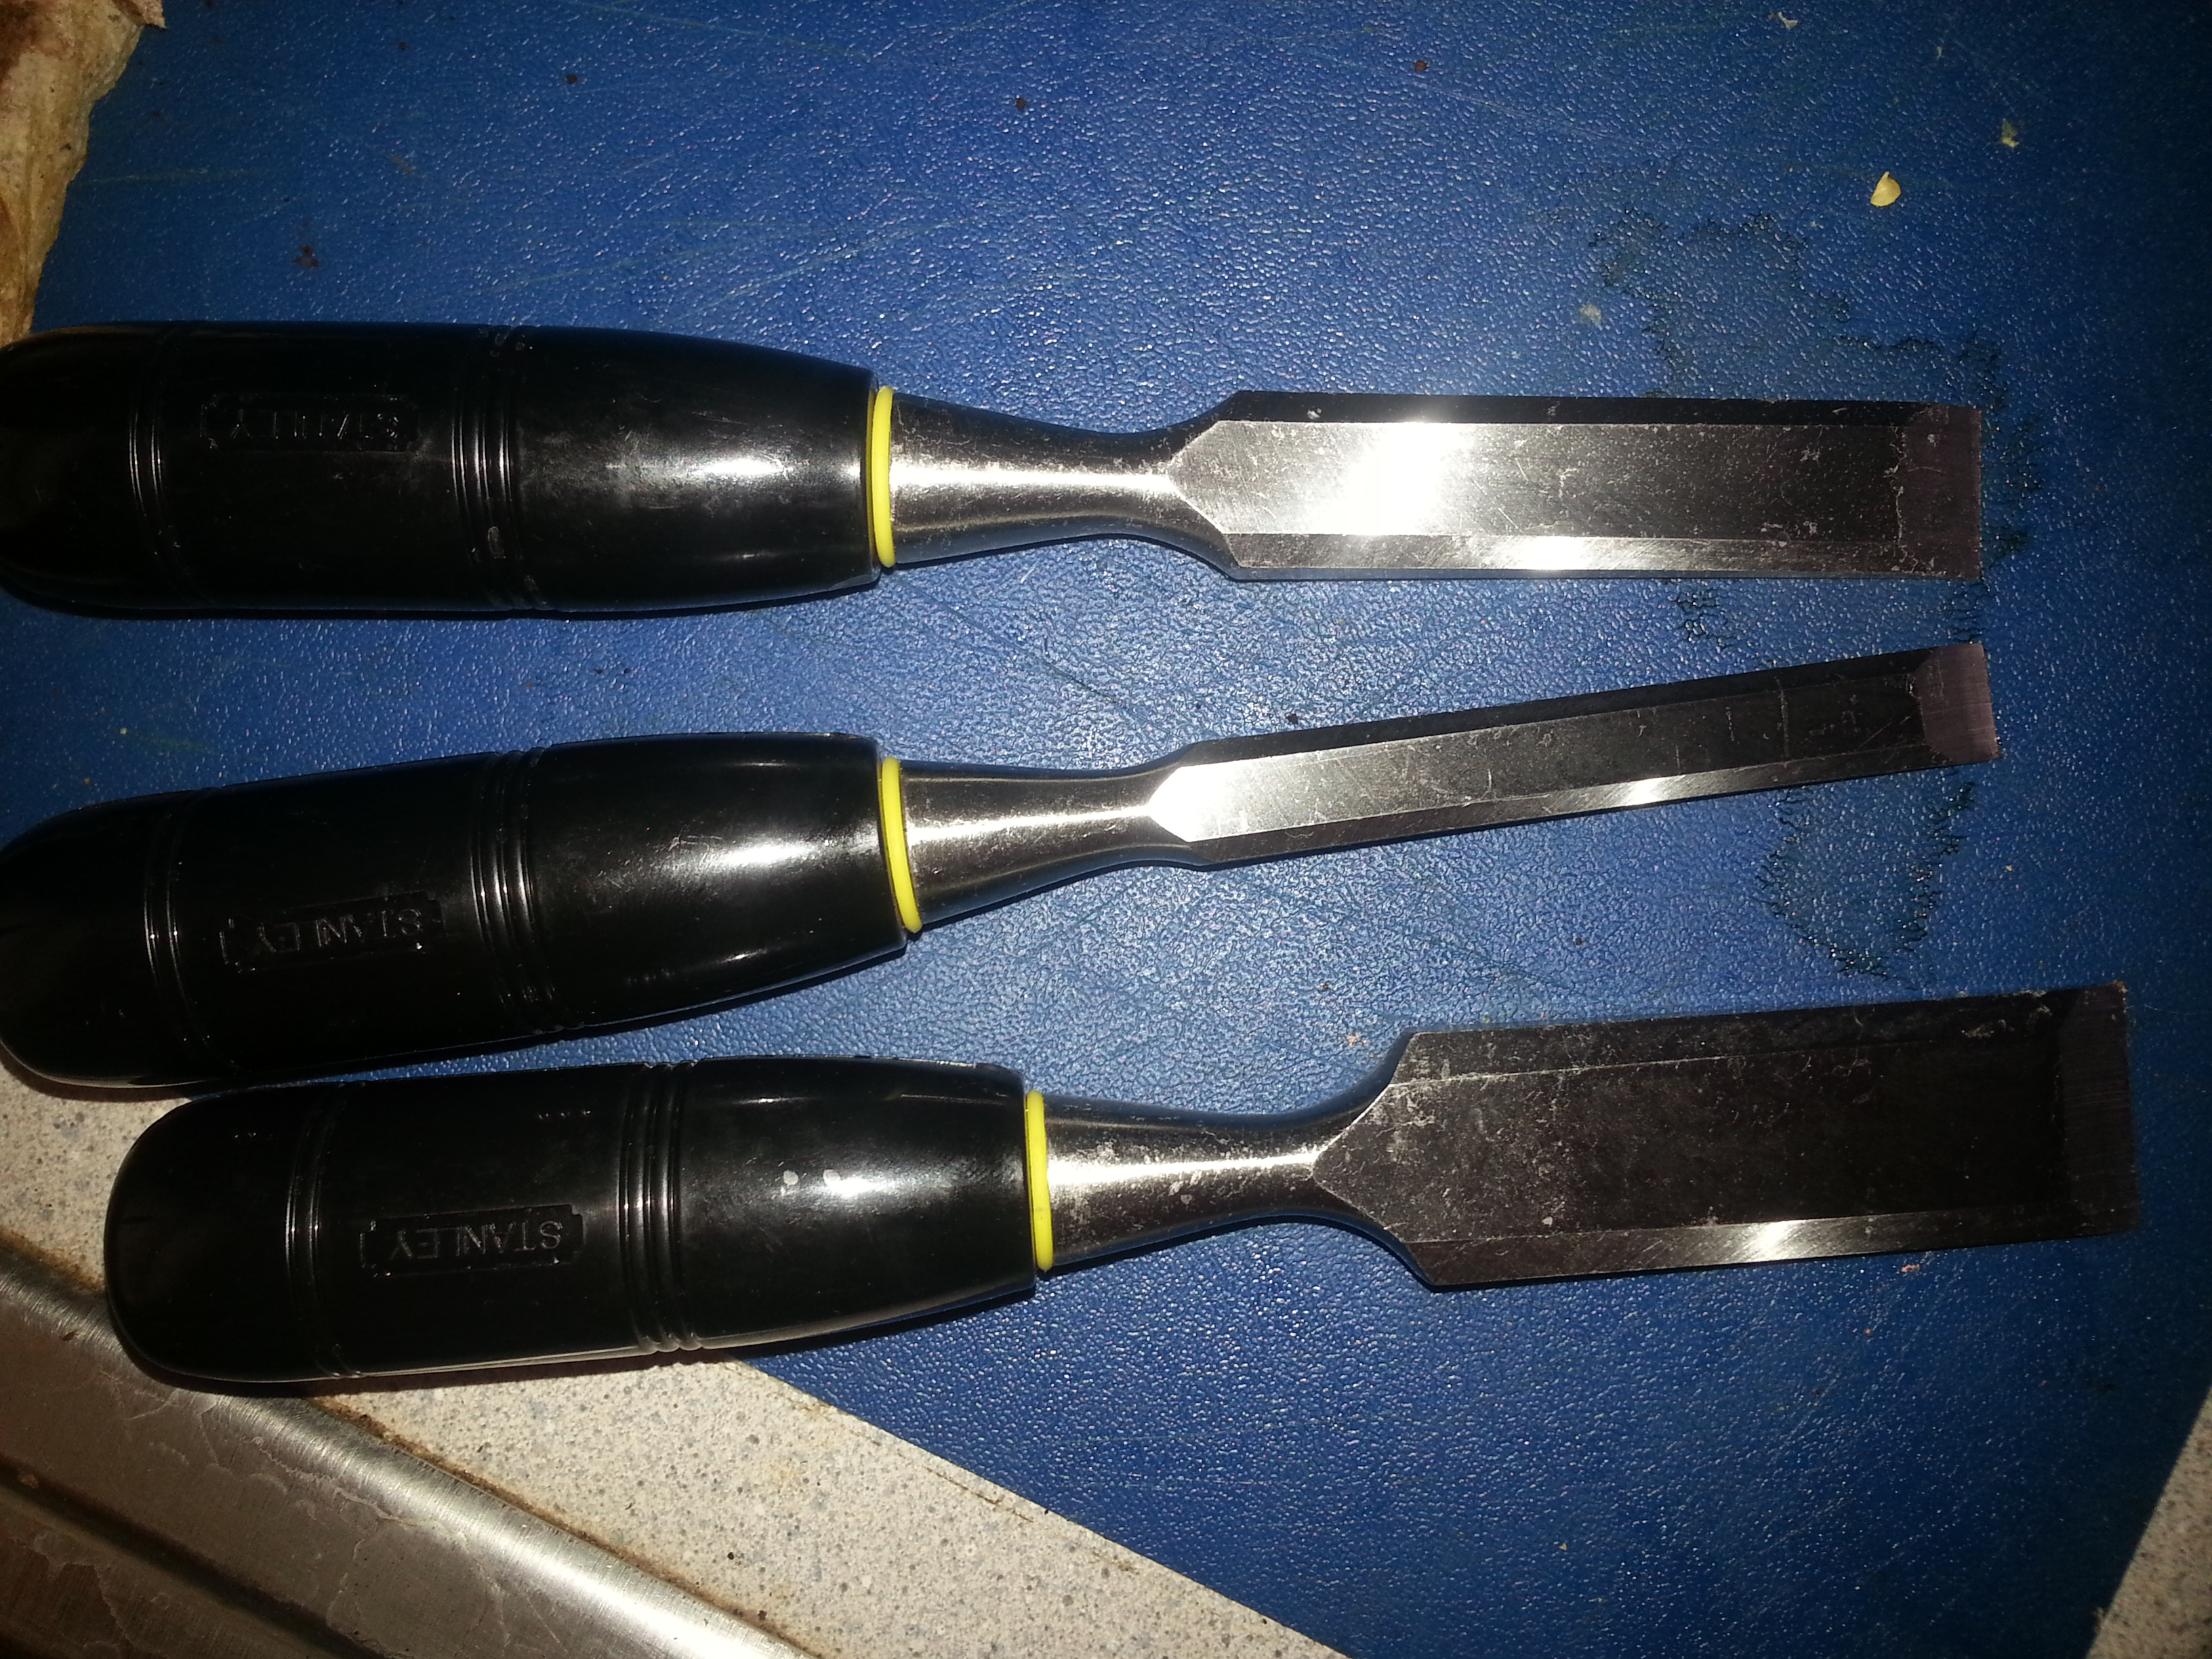
Stanley was once a great name in tools. Through much of the last half-century, the quality of their tools had greatly diminished. Pretty much anything metal with the Stanley label from about 1970 onward can be considered a paperweight. The last few years of boutique and small production hand tools has lent encouragement to Stanley to start producing better quality tools the last half decade. That being said, without knowing the actual provenance of this packaged set, the odds of them actually being “good” chisels is rather dubious.
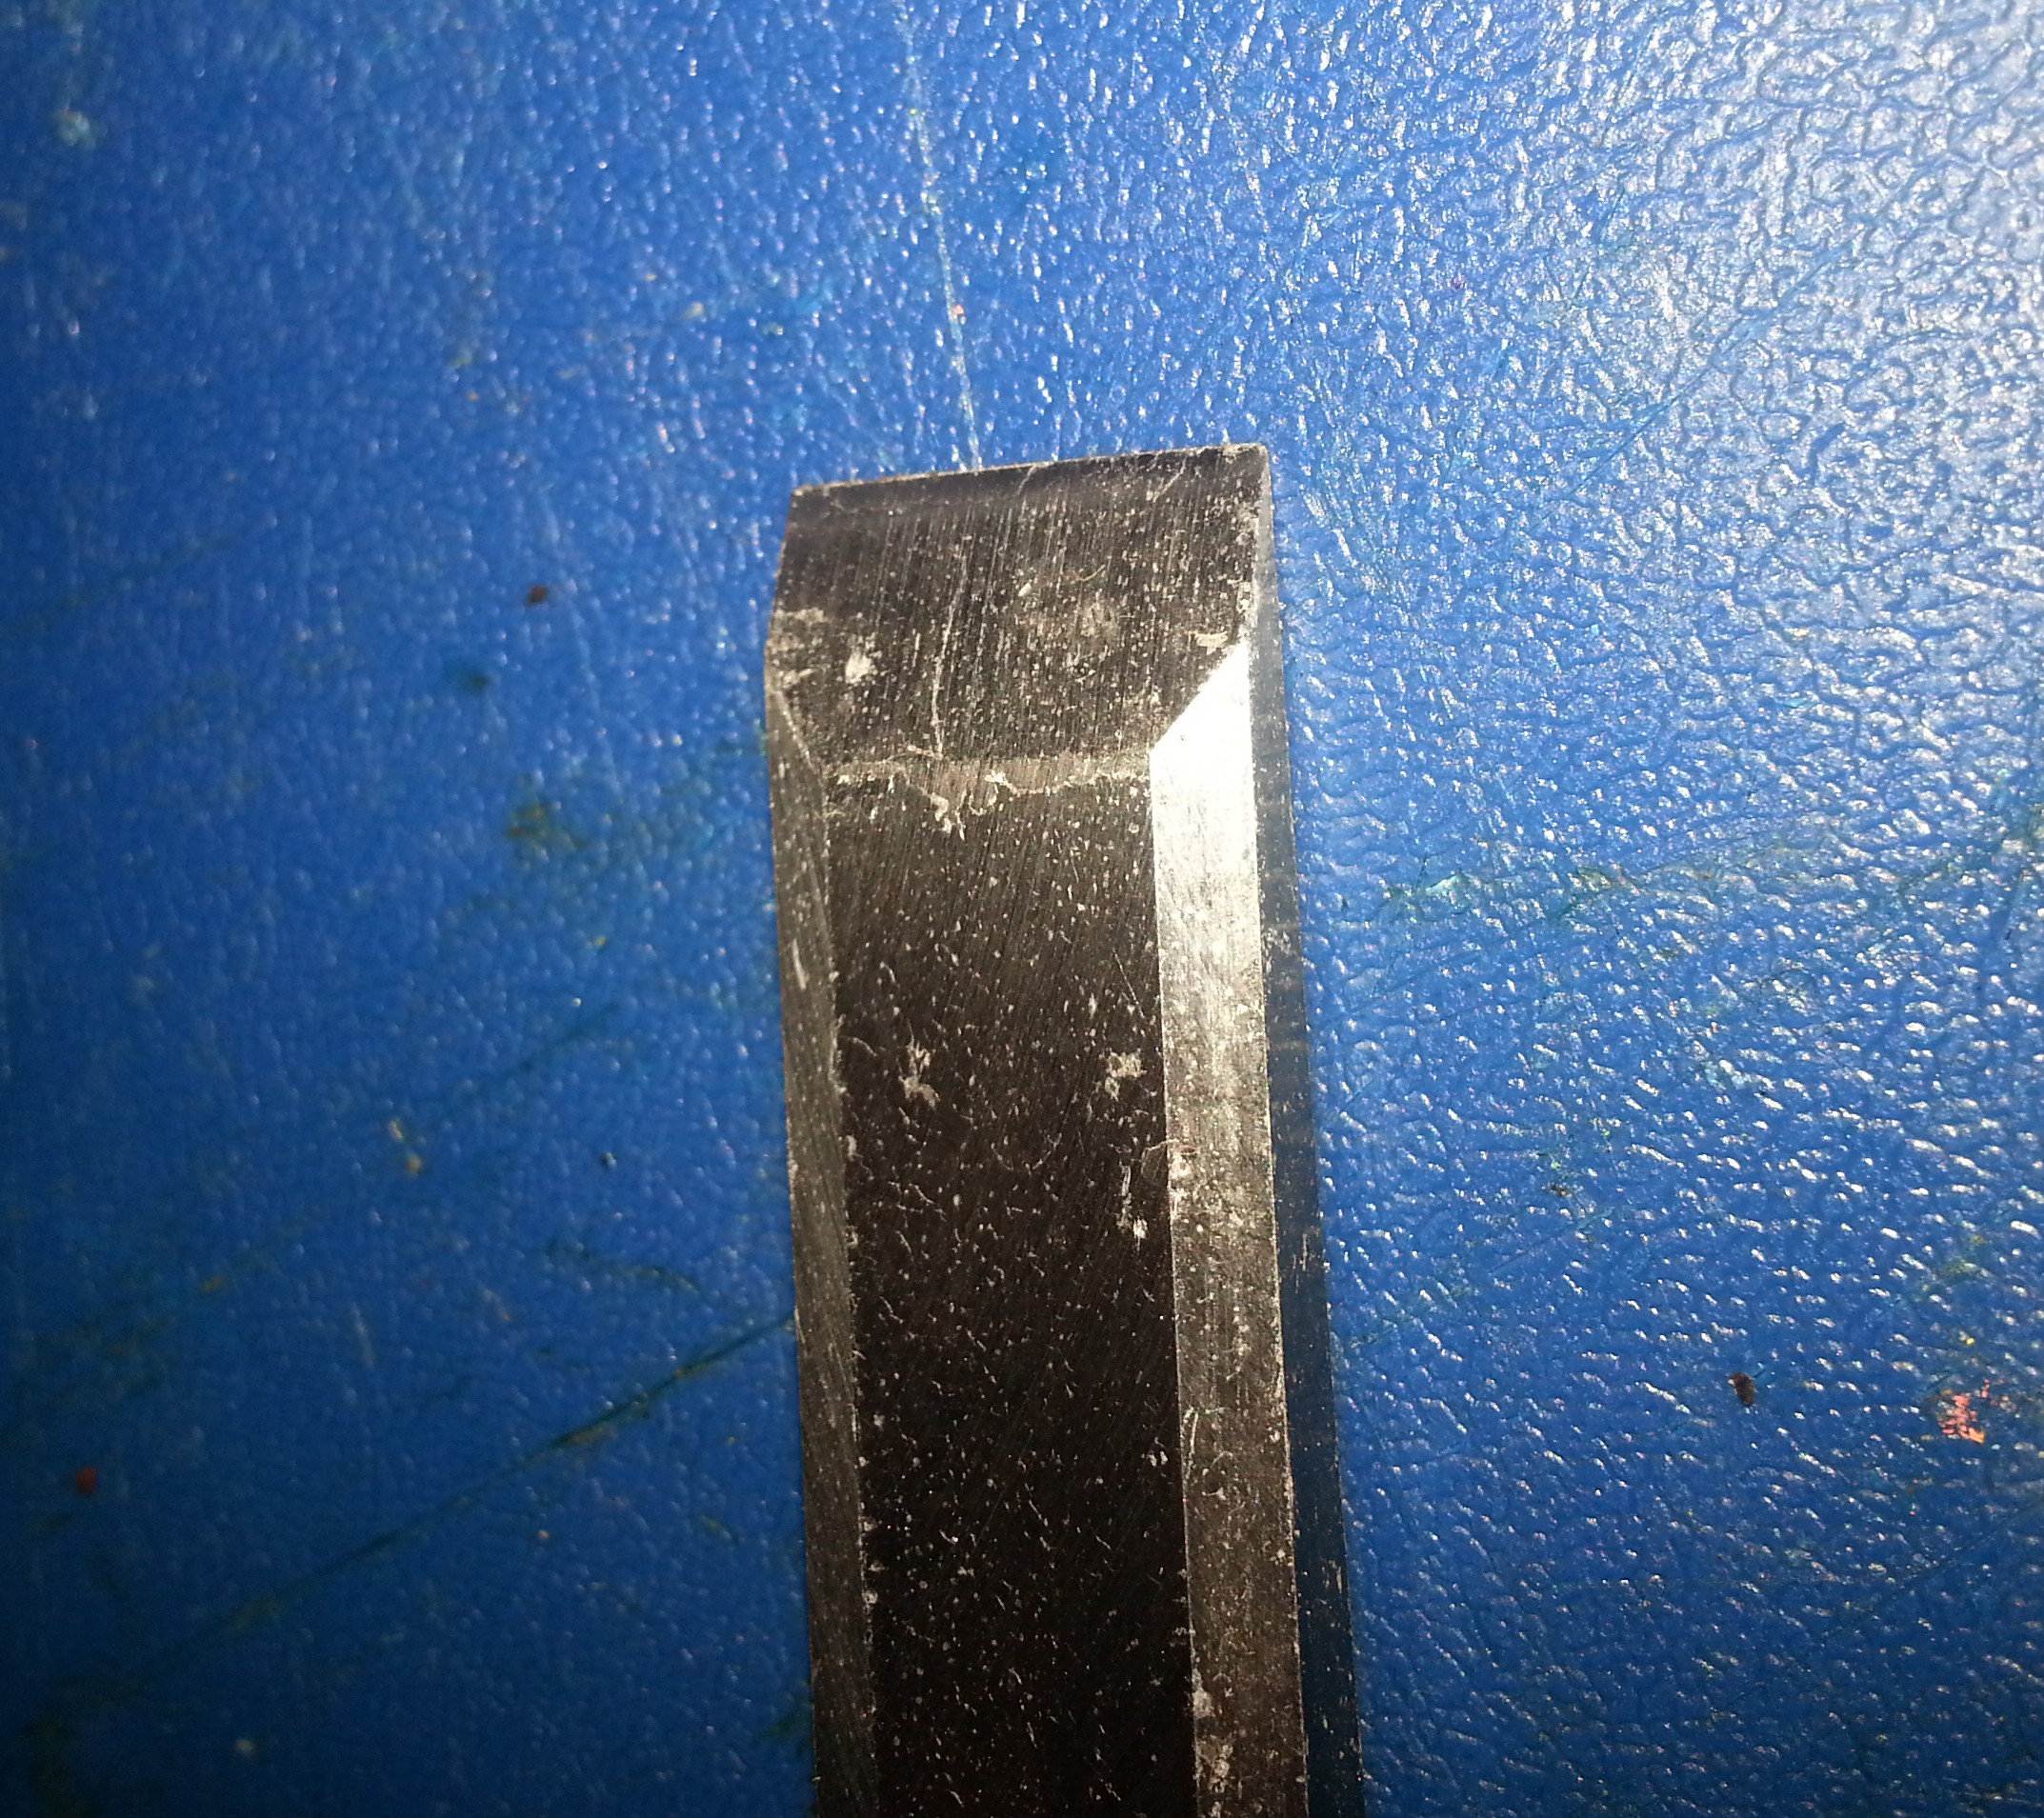
A close inspection shows the factory bevels are rough. That is not really something rare. Most tool manufacturers do not sell hand tools that are ready to use right out of the packaging. Some commissioning and honing is required. These are really questionable, however. Not only are these chisels not close to sharp, they have both sawtooth edges and visibly distinct burrs. It also appears that someone at Stanley decided to sell the shiny by coating the metal in a coat of varnish. It will protect against rust while sitting on the shelf, but completely antithetical to functional use of the tool.
Well, how to do we fix all these little problems and make them look more like their medieval counterparts? A good bit of the polyurethane and sharpening issues will be resolved during the actual commissioning process — that is polishing the back of the chisel and sharpening the bevel into an actual cutting edge. The handles are a whole other story.
About a year ago I chopped down and even turned a couple of handles out of Black Locust. While not at all an Old World hardwood, Black Locust is very rot resistant, very split resistant, and very hard with tight grain. Given that these will be tanged chisels that will be used with a mallet, this is a pretty good wood choice.
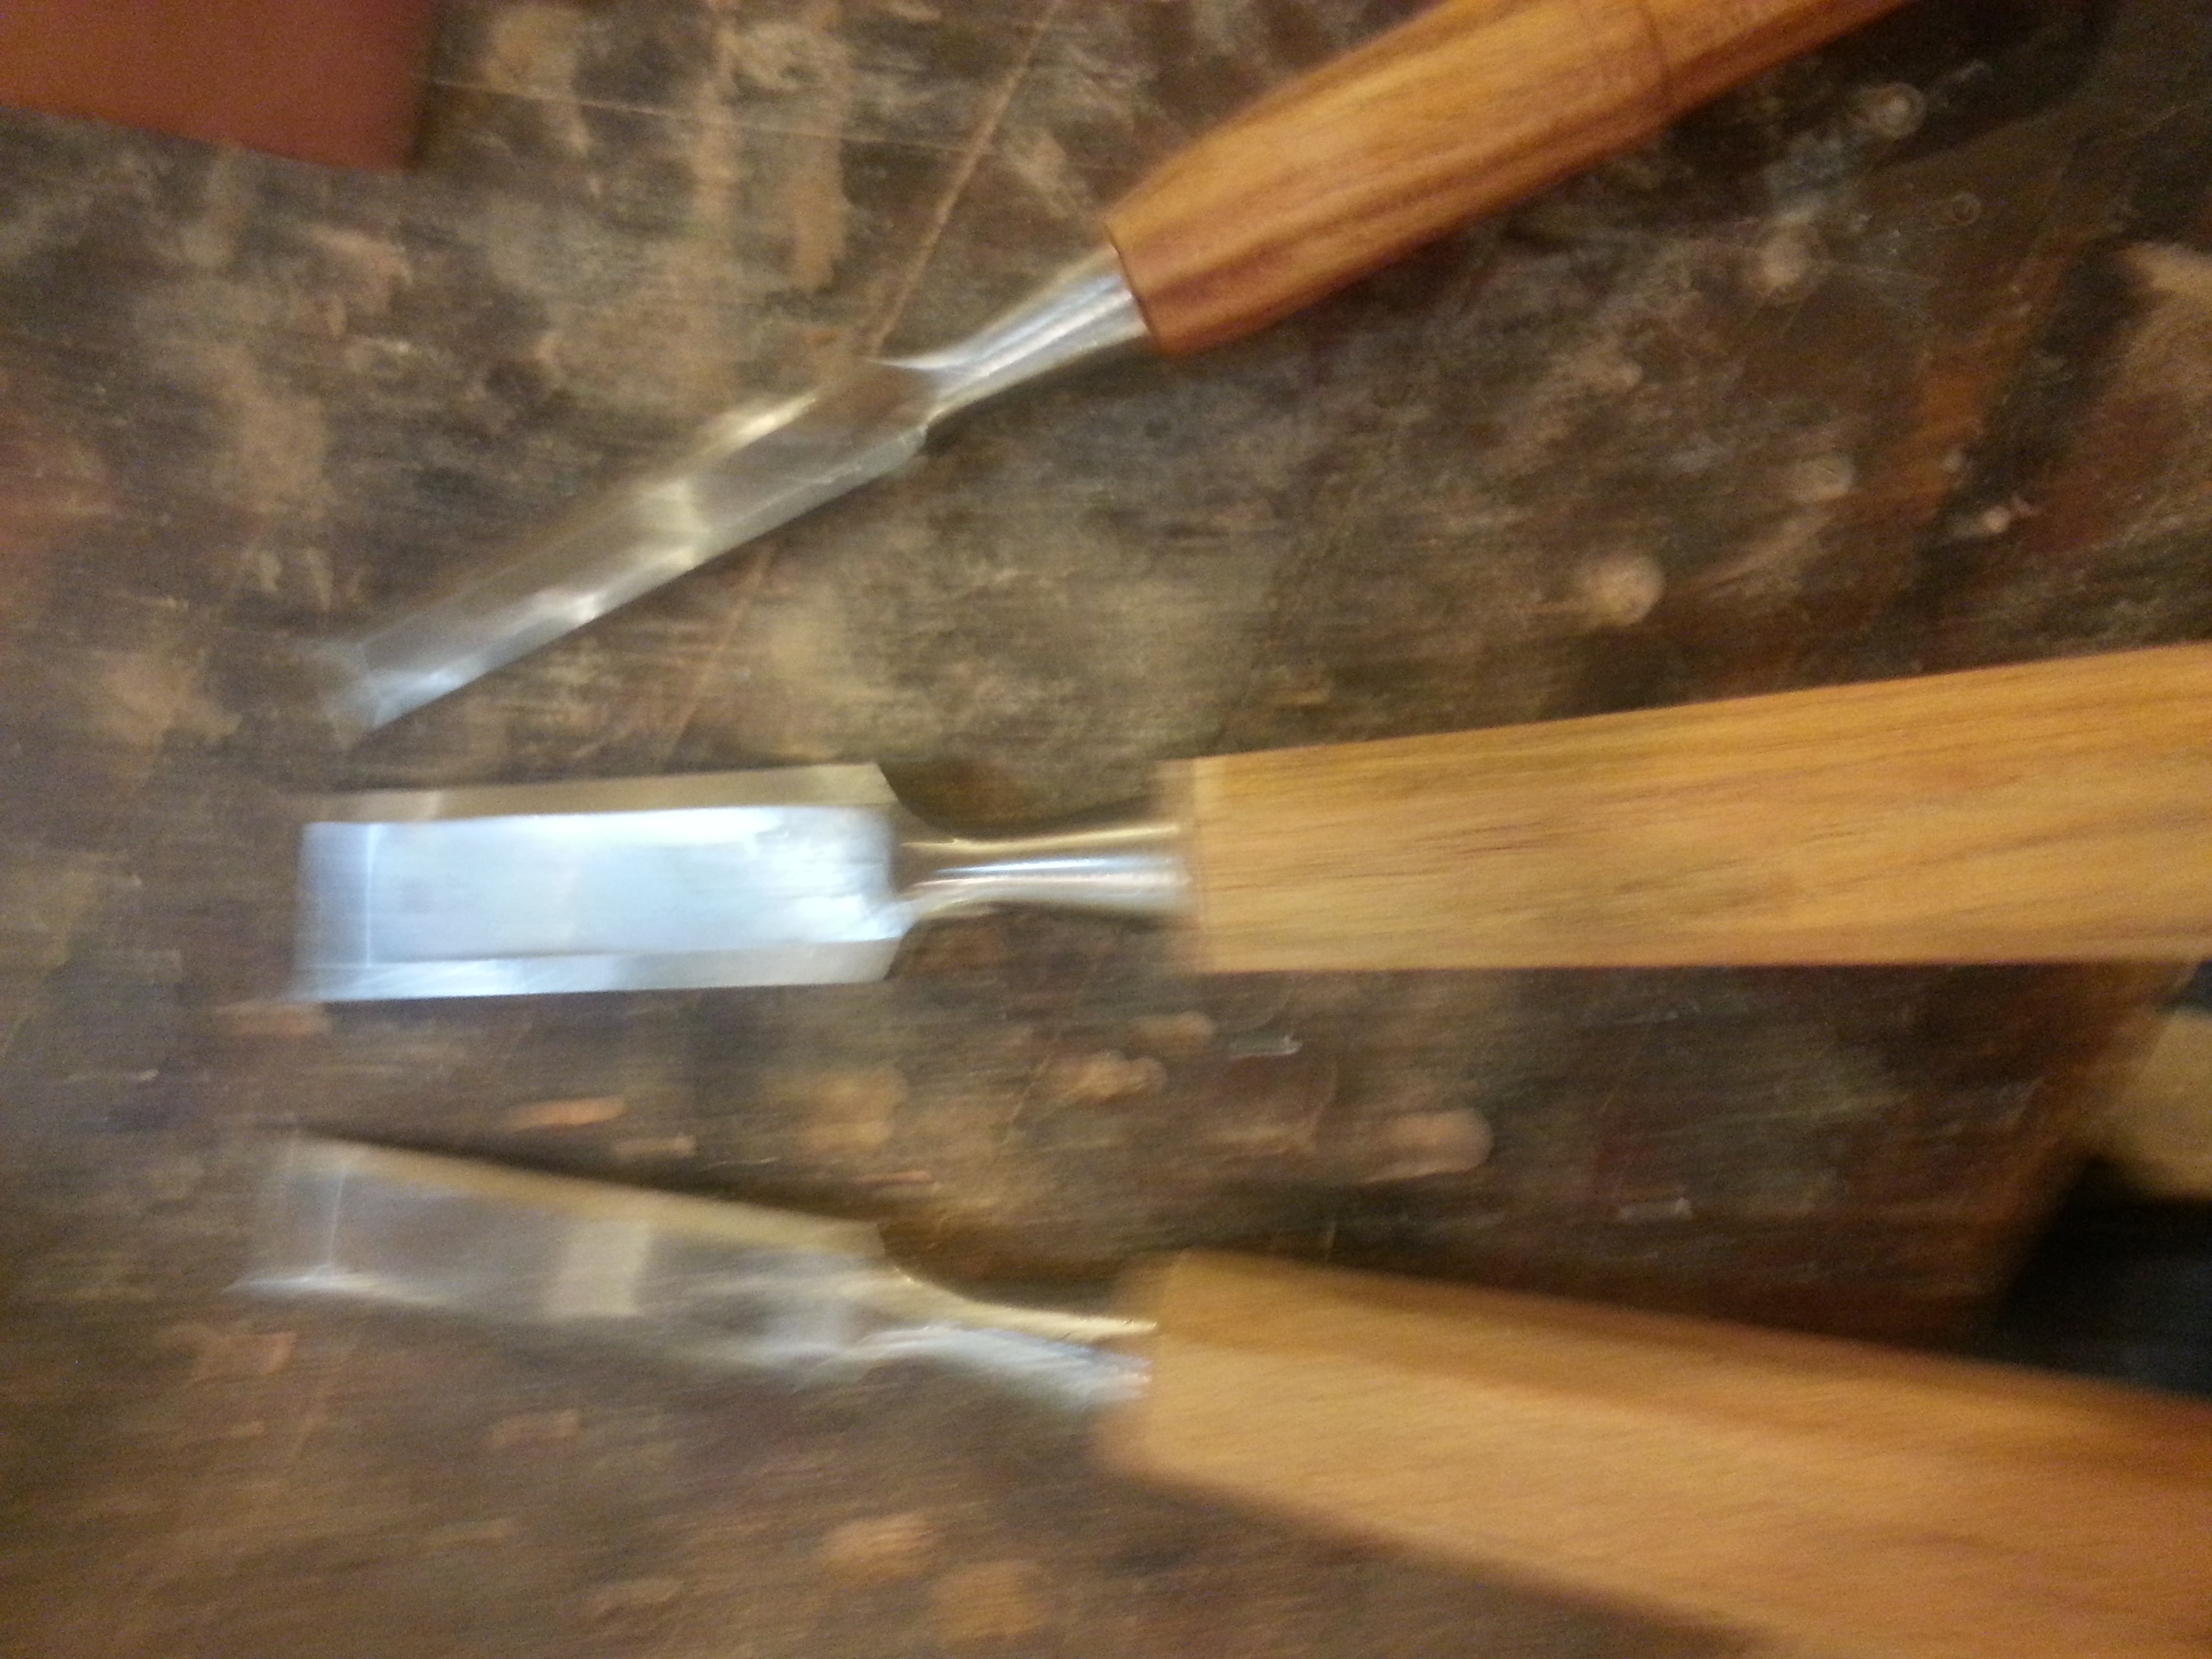
I’ve picked three of the handles I prepped. Two are octagonal while the third has been turned.
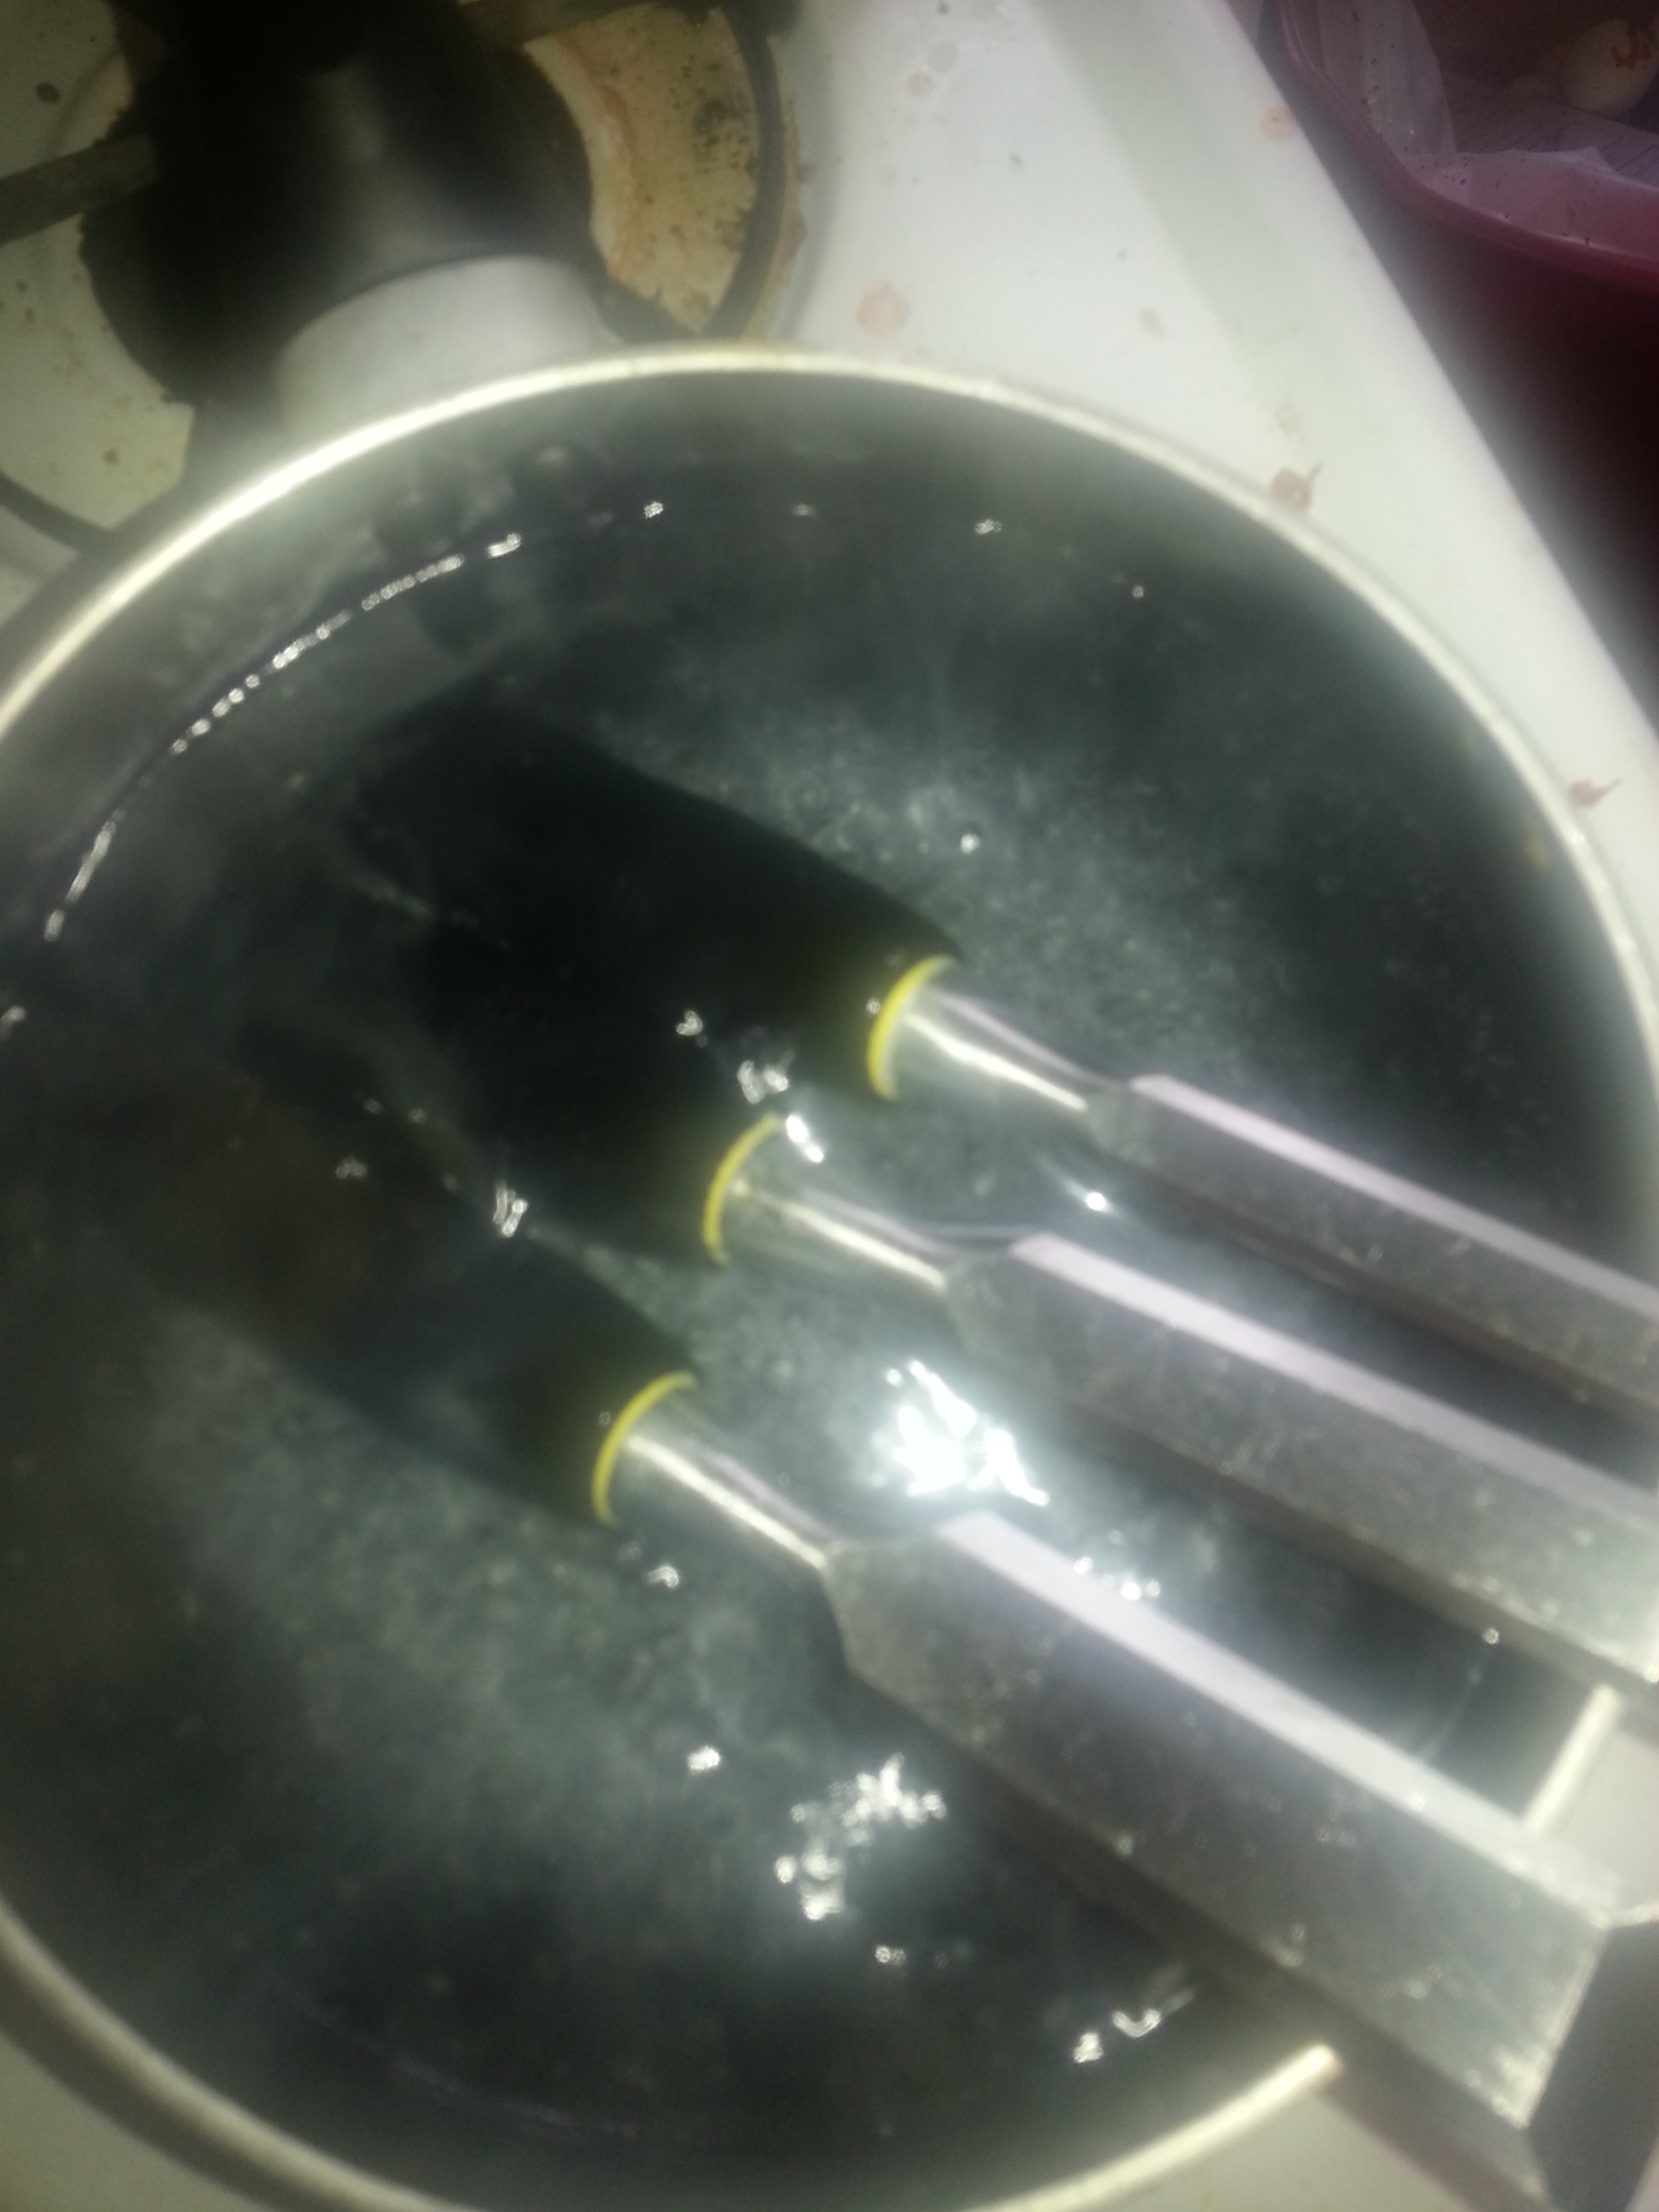
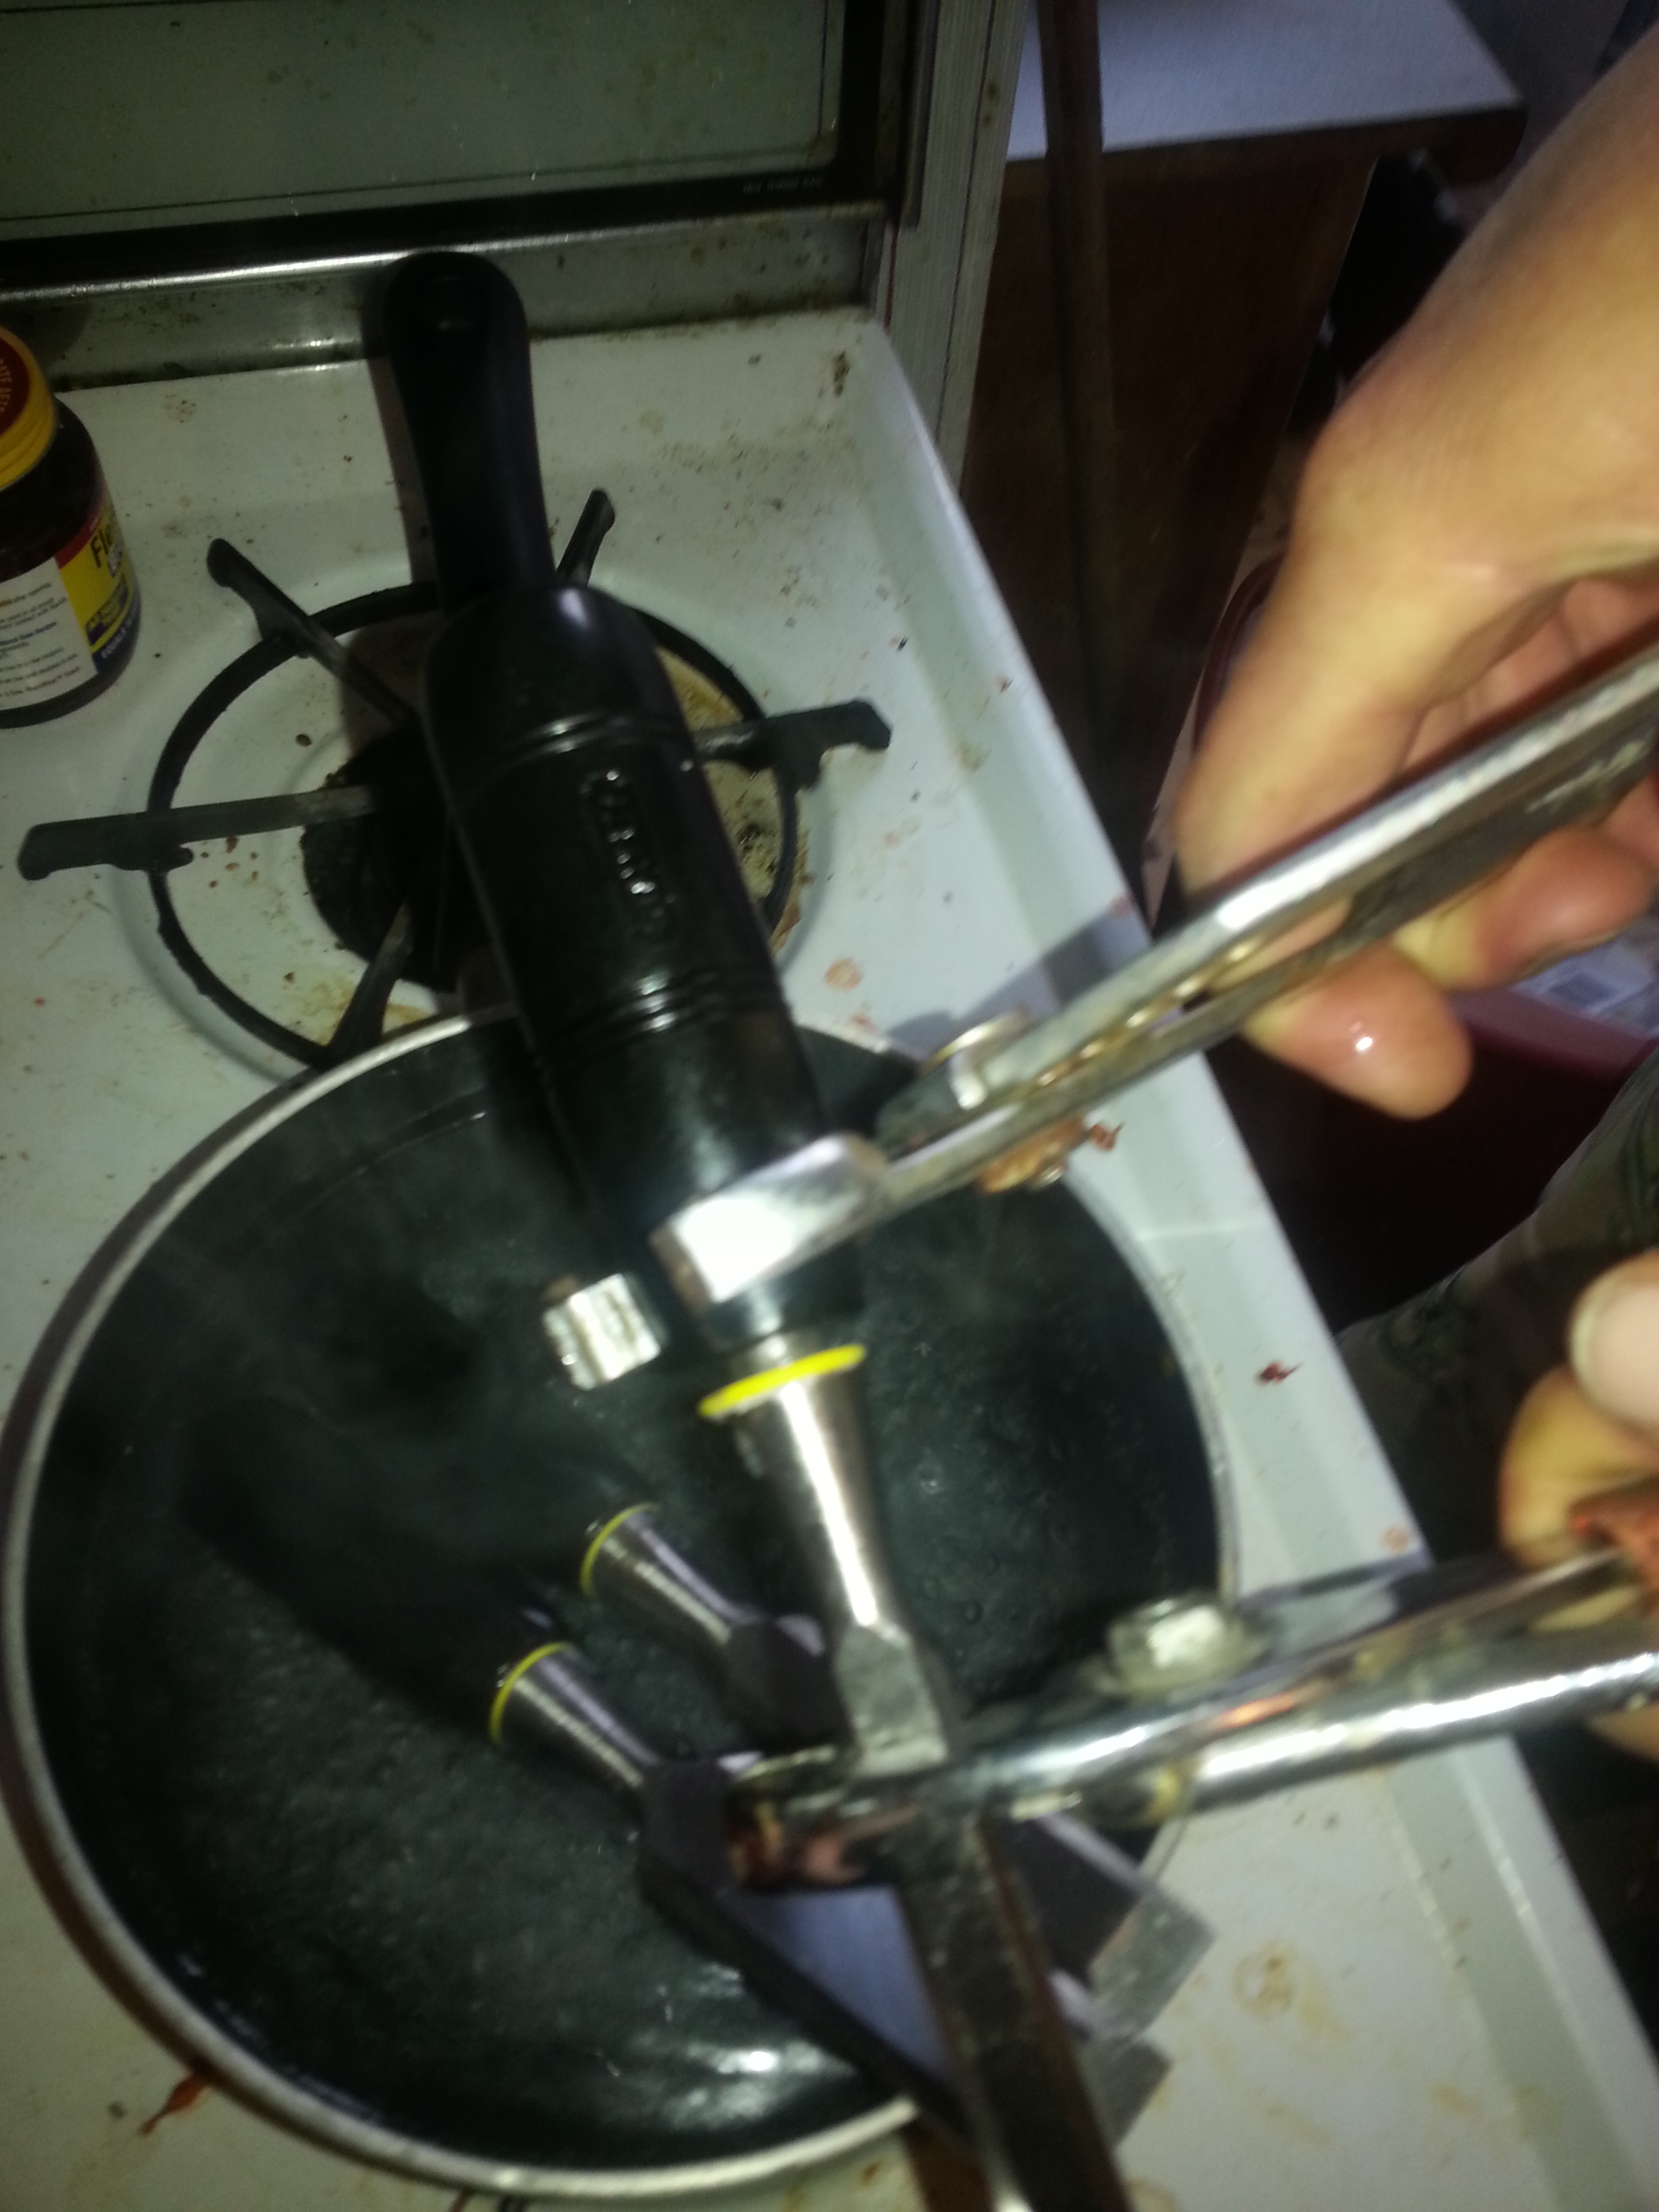
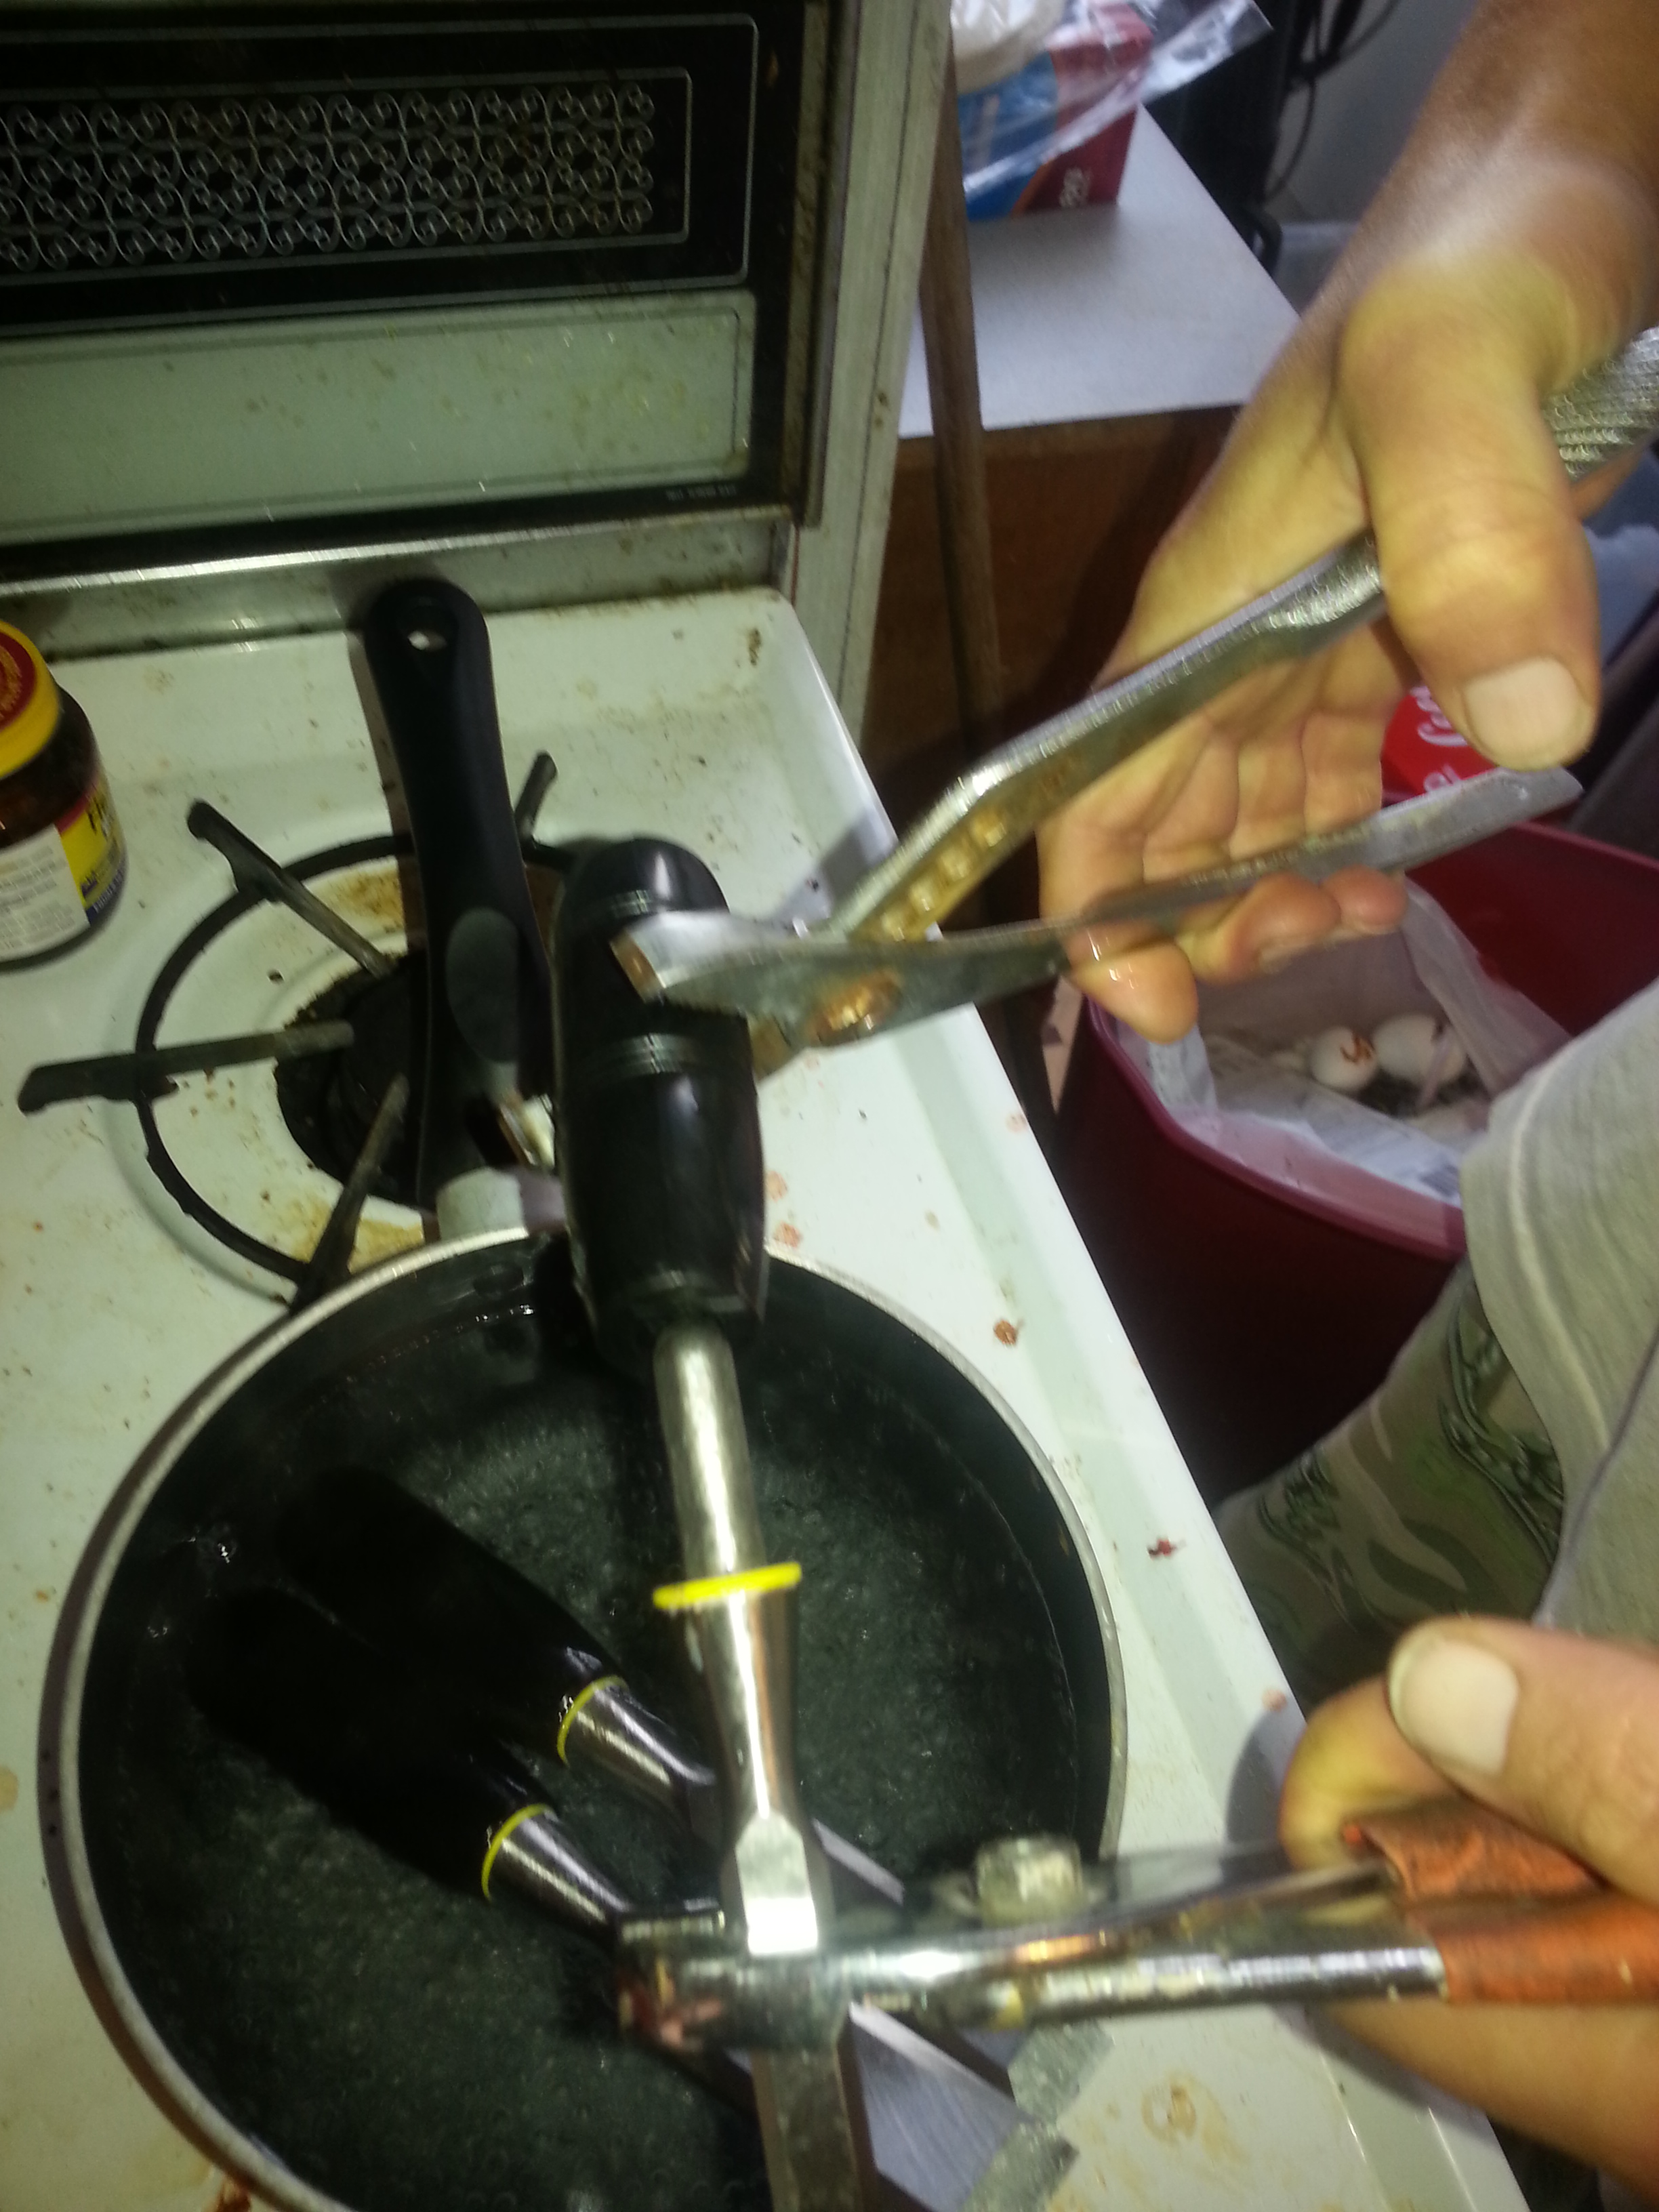
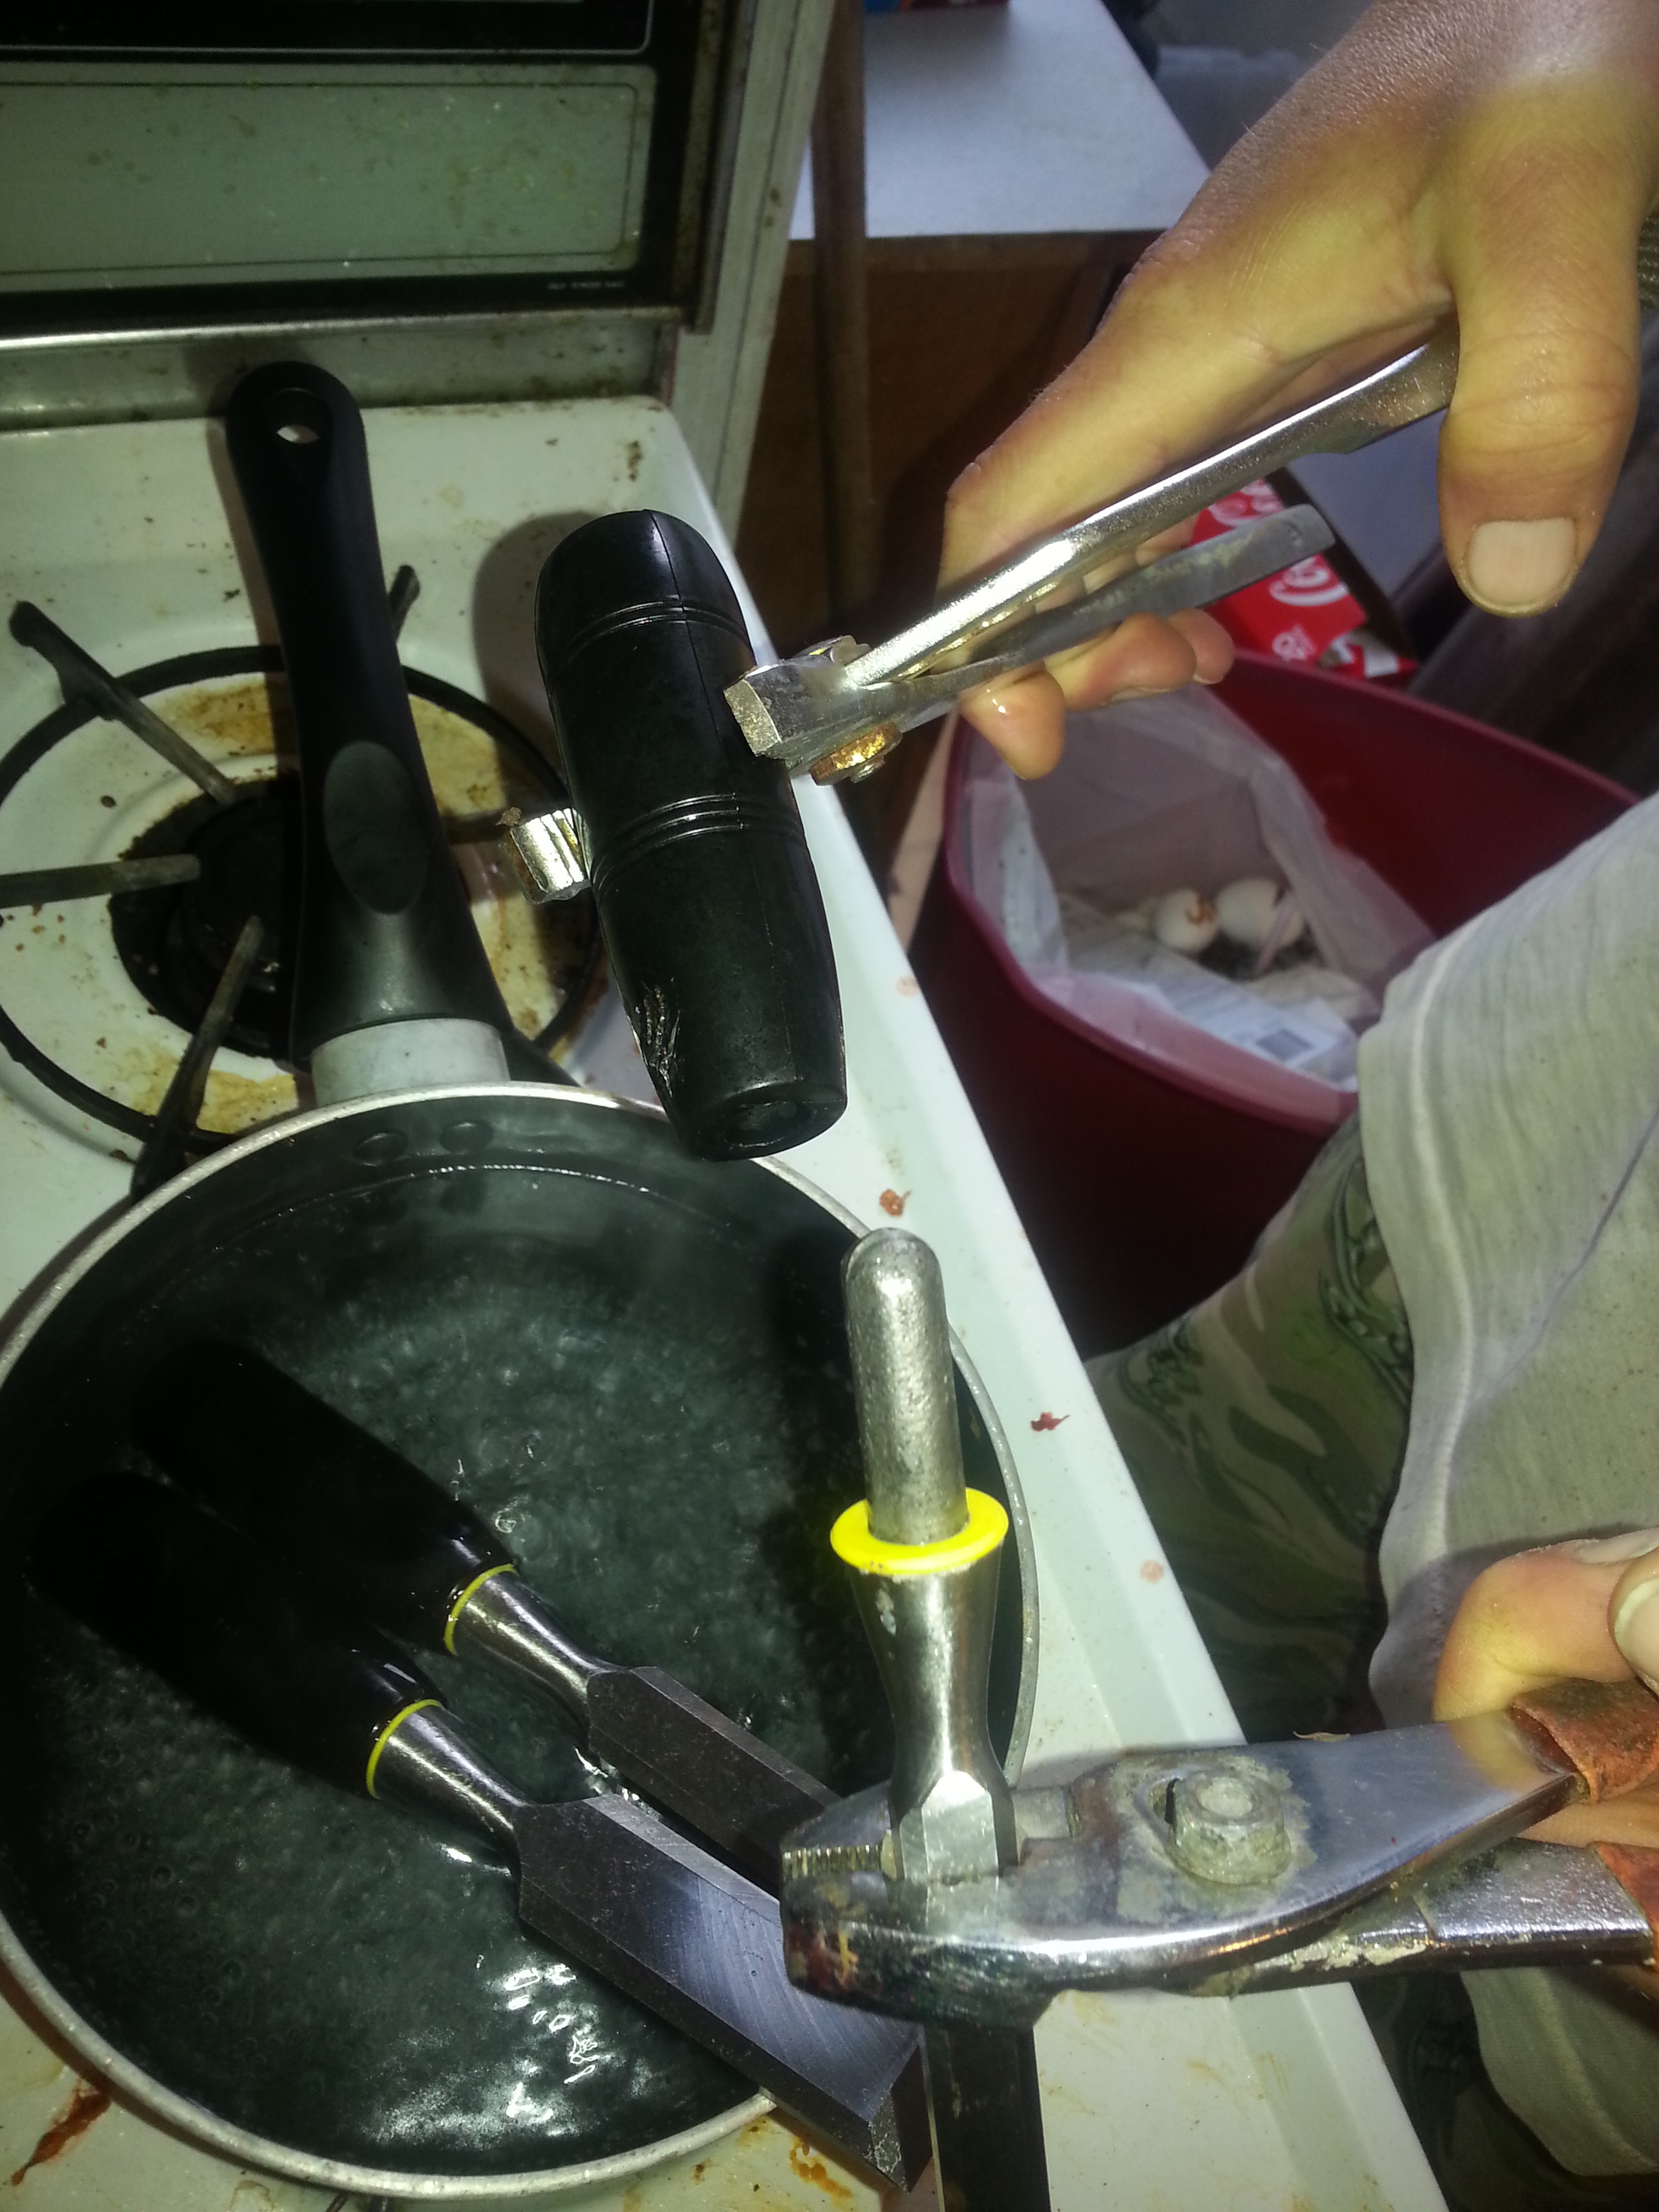
Getting the plastic handles off was a lot easier than expected. Boiling water has some amazing properties. At the least, it is hot. If you can’t figure out that boiling water is too hot to handle bare-handed, then perhaps you should keep to other hobbies. Twenty minutes in boiling water loosens the glue holding the handles on very effectively. The handles then twist off with a couple pair of pliers large enough to grip the chisels.
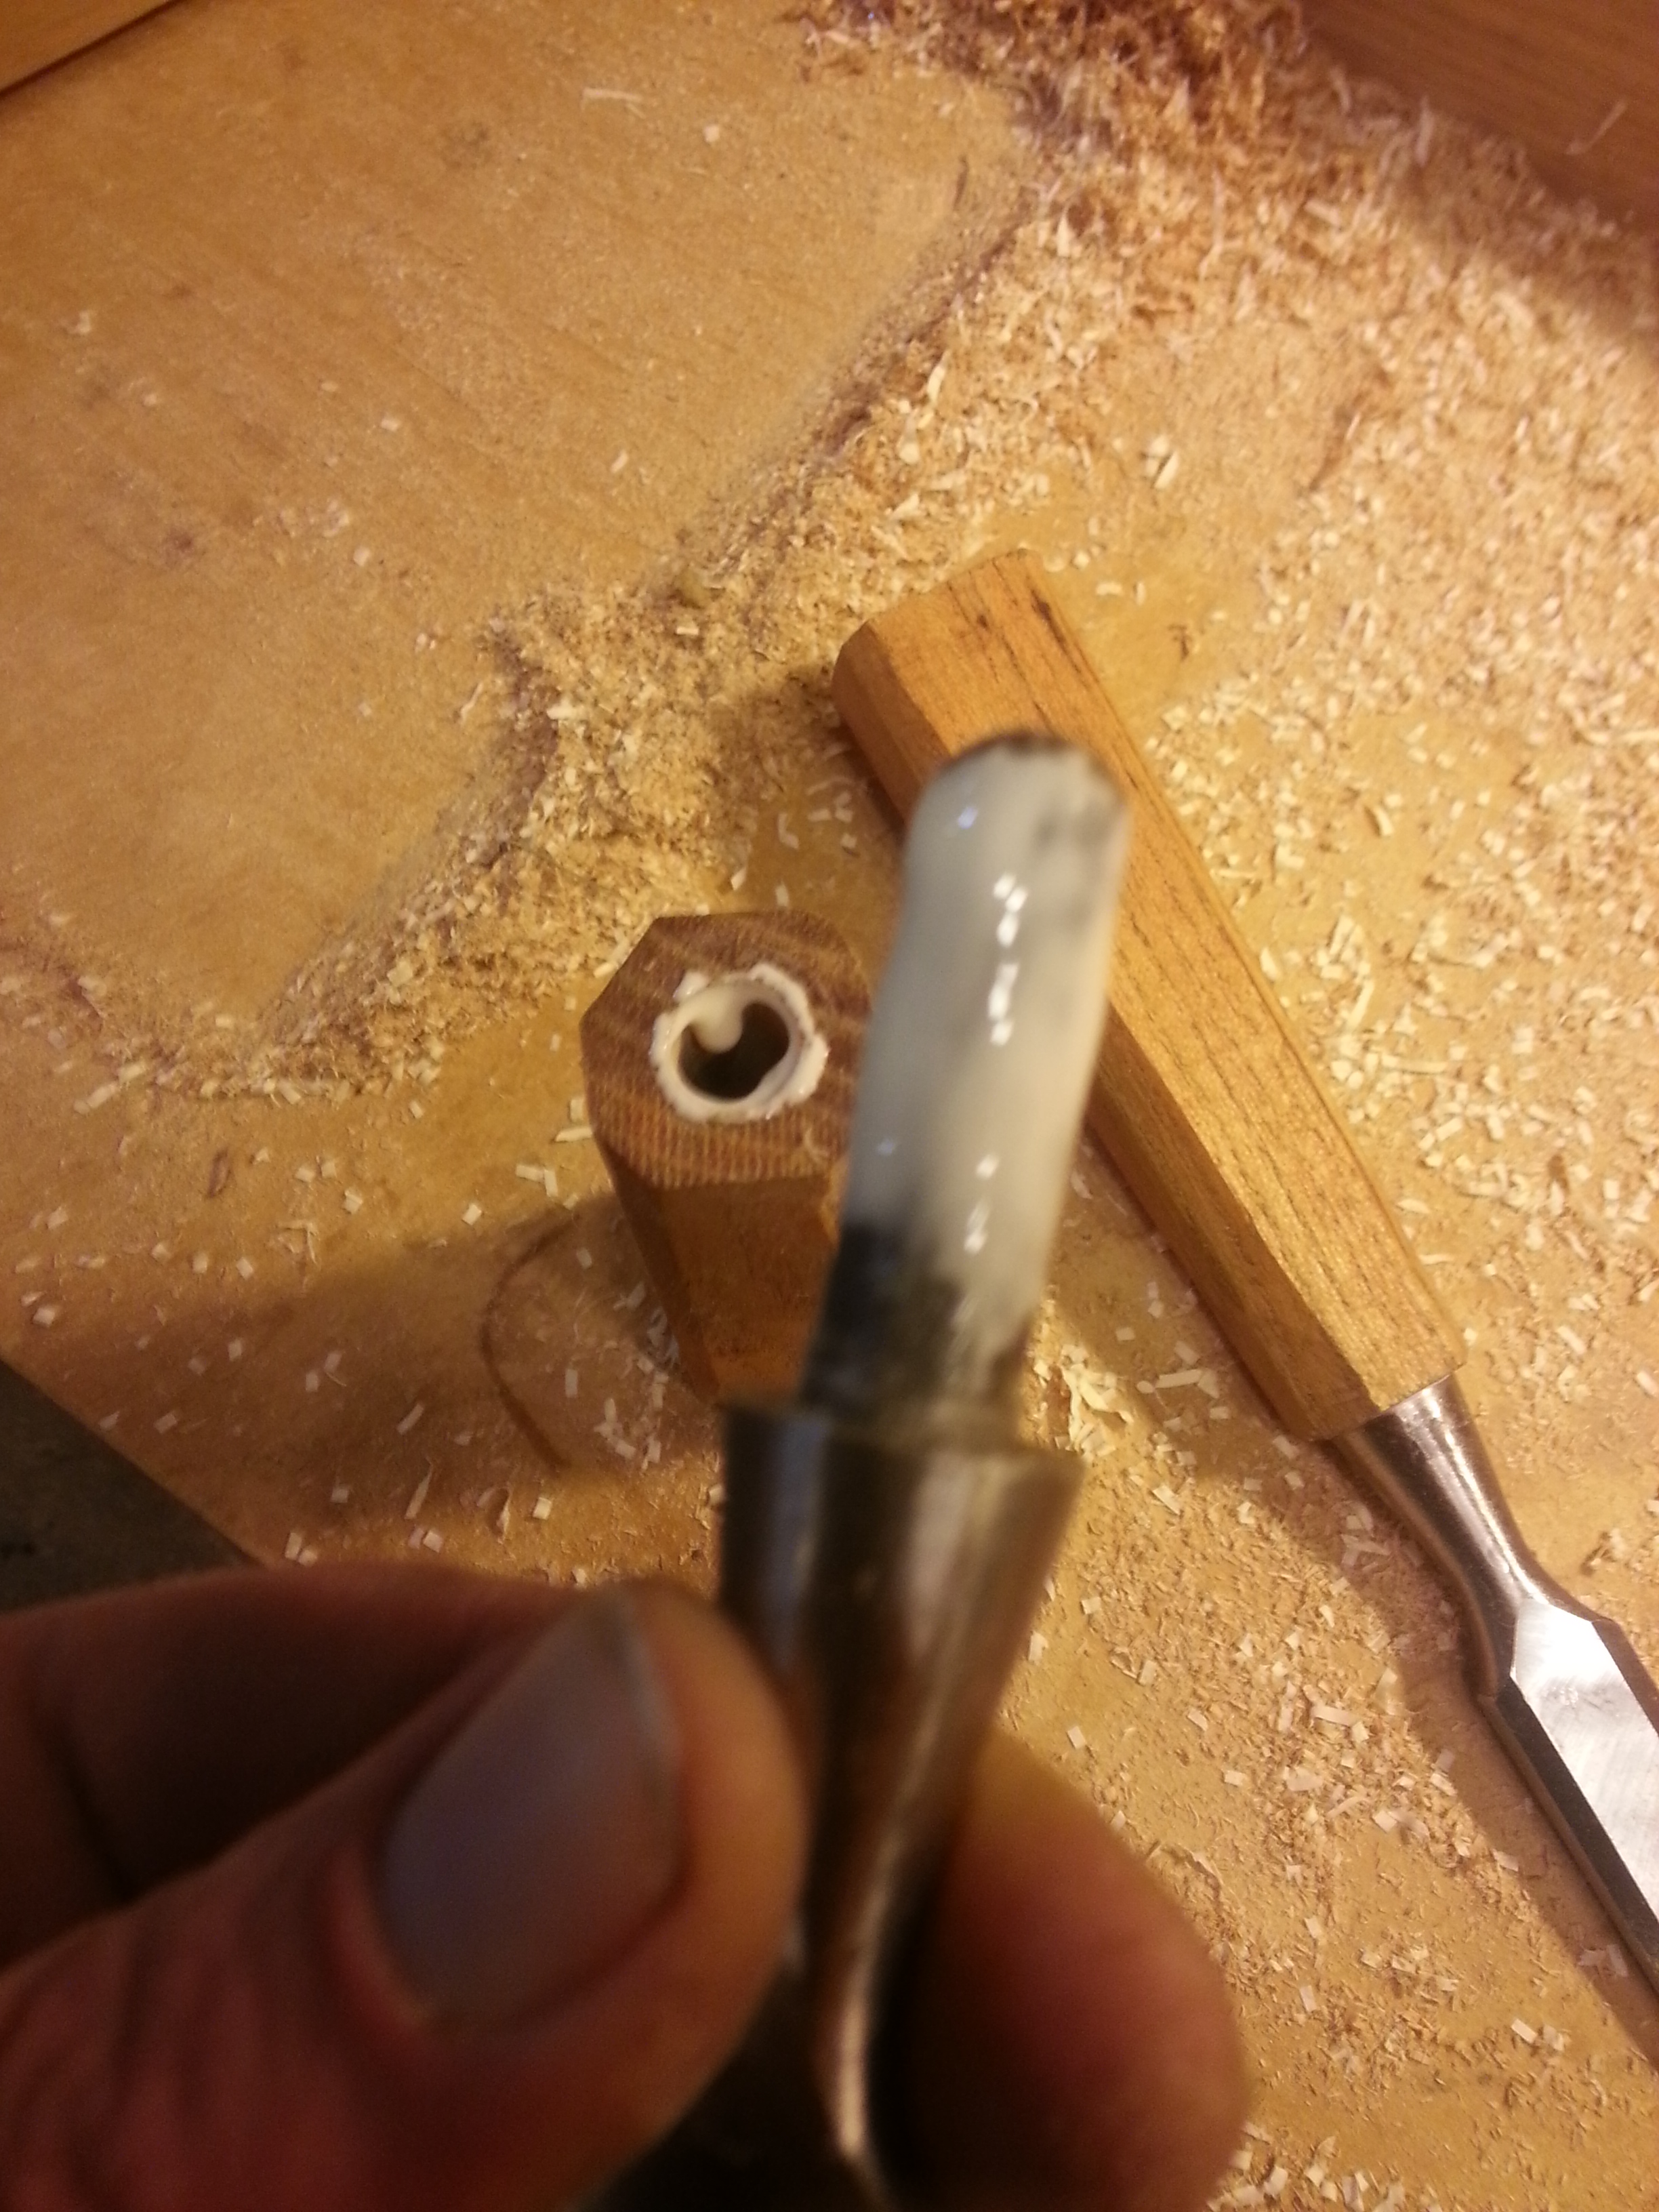
Now that the tangs are exposed, a caliper gives us a measurement of how large they actually are. The most traditional method of getting a tang into a handle is to grip the handle in a vise or clamp and bore a whole of slightly smaller diameter than the cross-section of the tang. Since the new handles have already had the centers marked and I have the technology, it’ll be quick work on a lathe for horizontal boring. It is also important to bore the hole deeper than the length of the tang, otherwise the chisel will not fully seat and won’t allow the ferule to do its job.
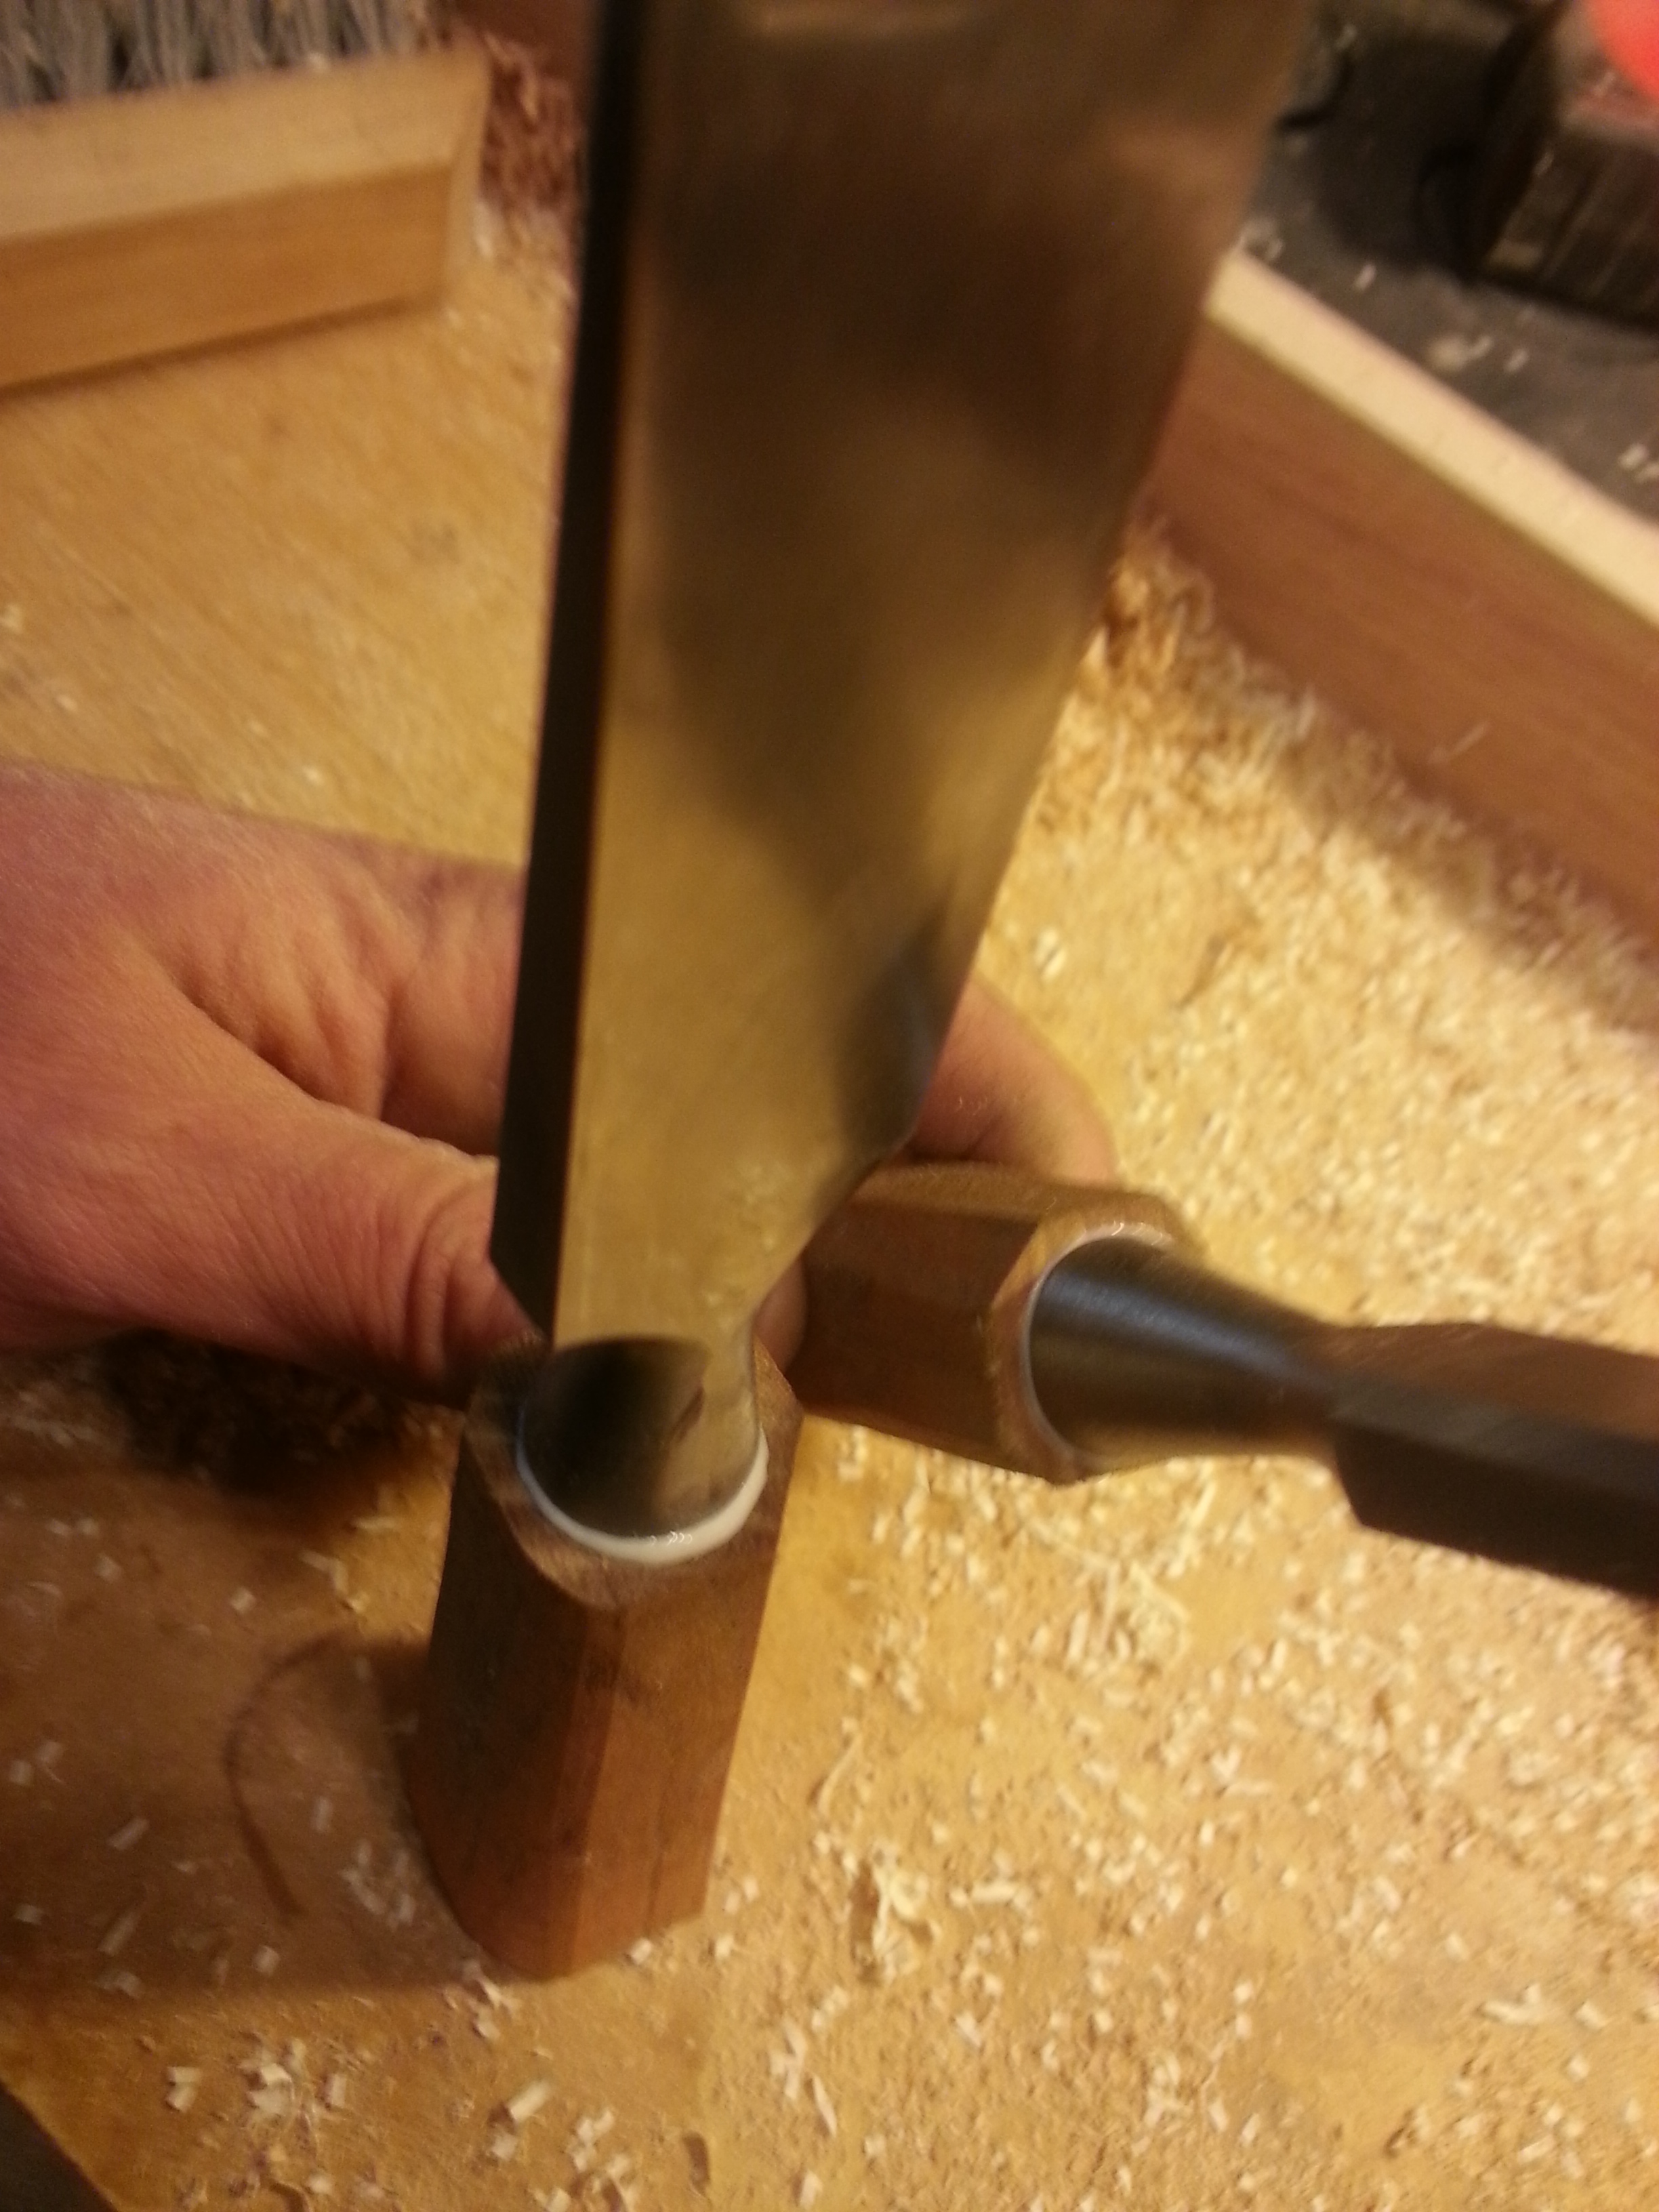
A little jiggering was required to get the tangs secured in the sockets. Being these chisels were cast, the tangs are not wholly consistent. The smallest chisel was easy enough to seat by pounding the handle onto the tang. The other two were a bit more difficult and required boring out larger holes in the handles. When I went a step too large, well…
 A little PVA glue on the tang and in the handle will serve to keep things together.
At last, here we are. The little overflow of glue was wiped off after it started to gel up. While not a great period reproduction of a tool, it certainly looks a whole lot better than where we started.
One more thing to discuss here: commissioning the blades.
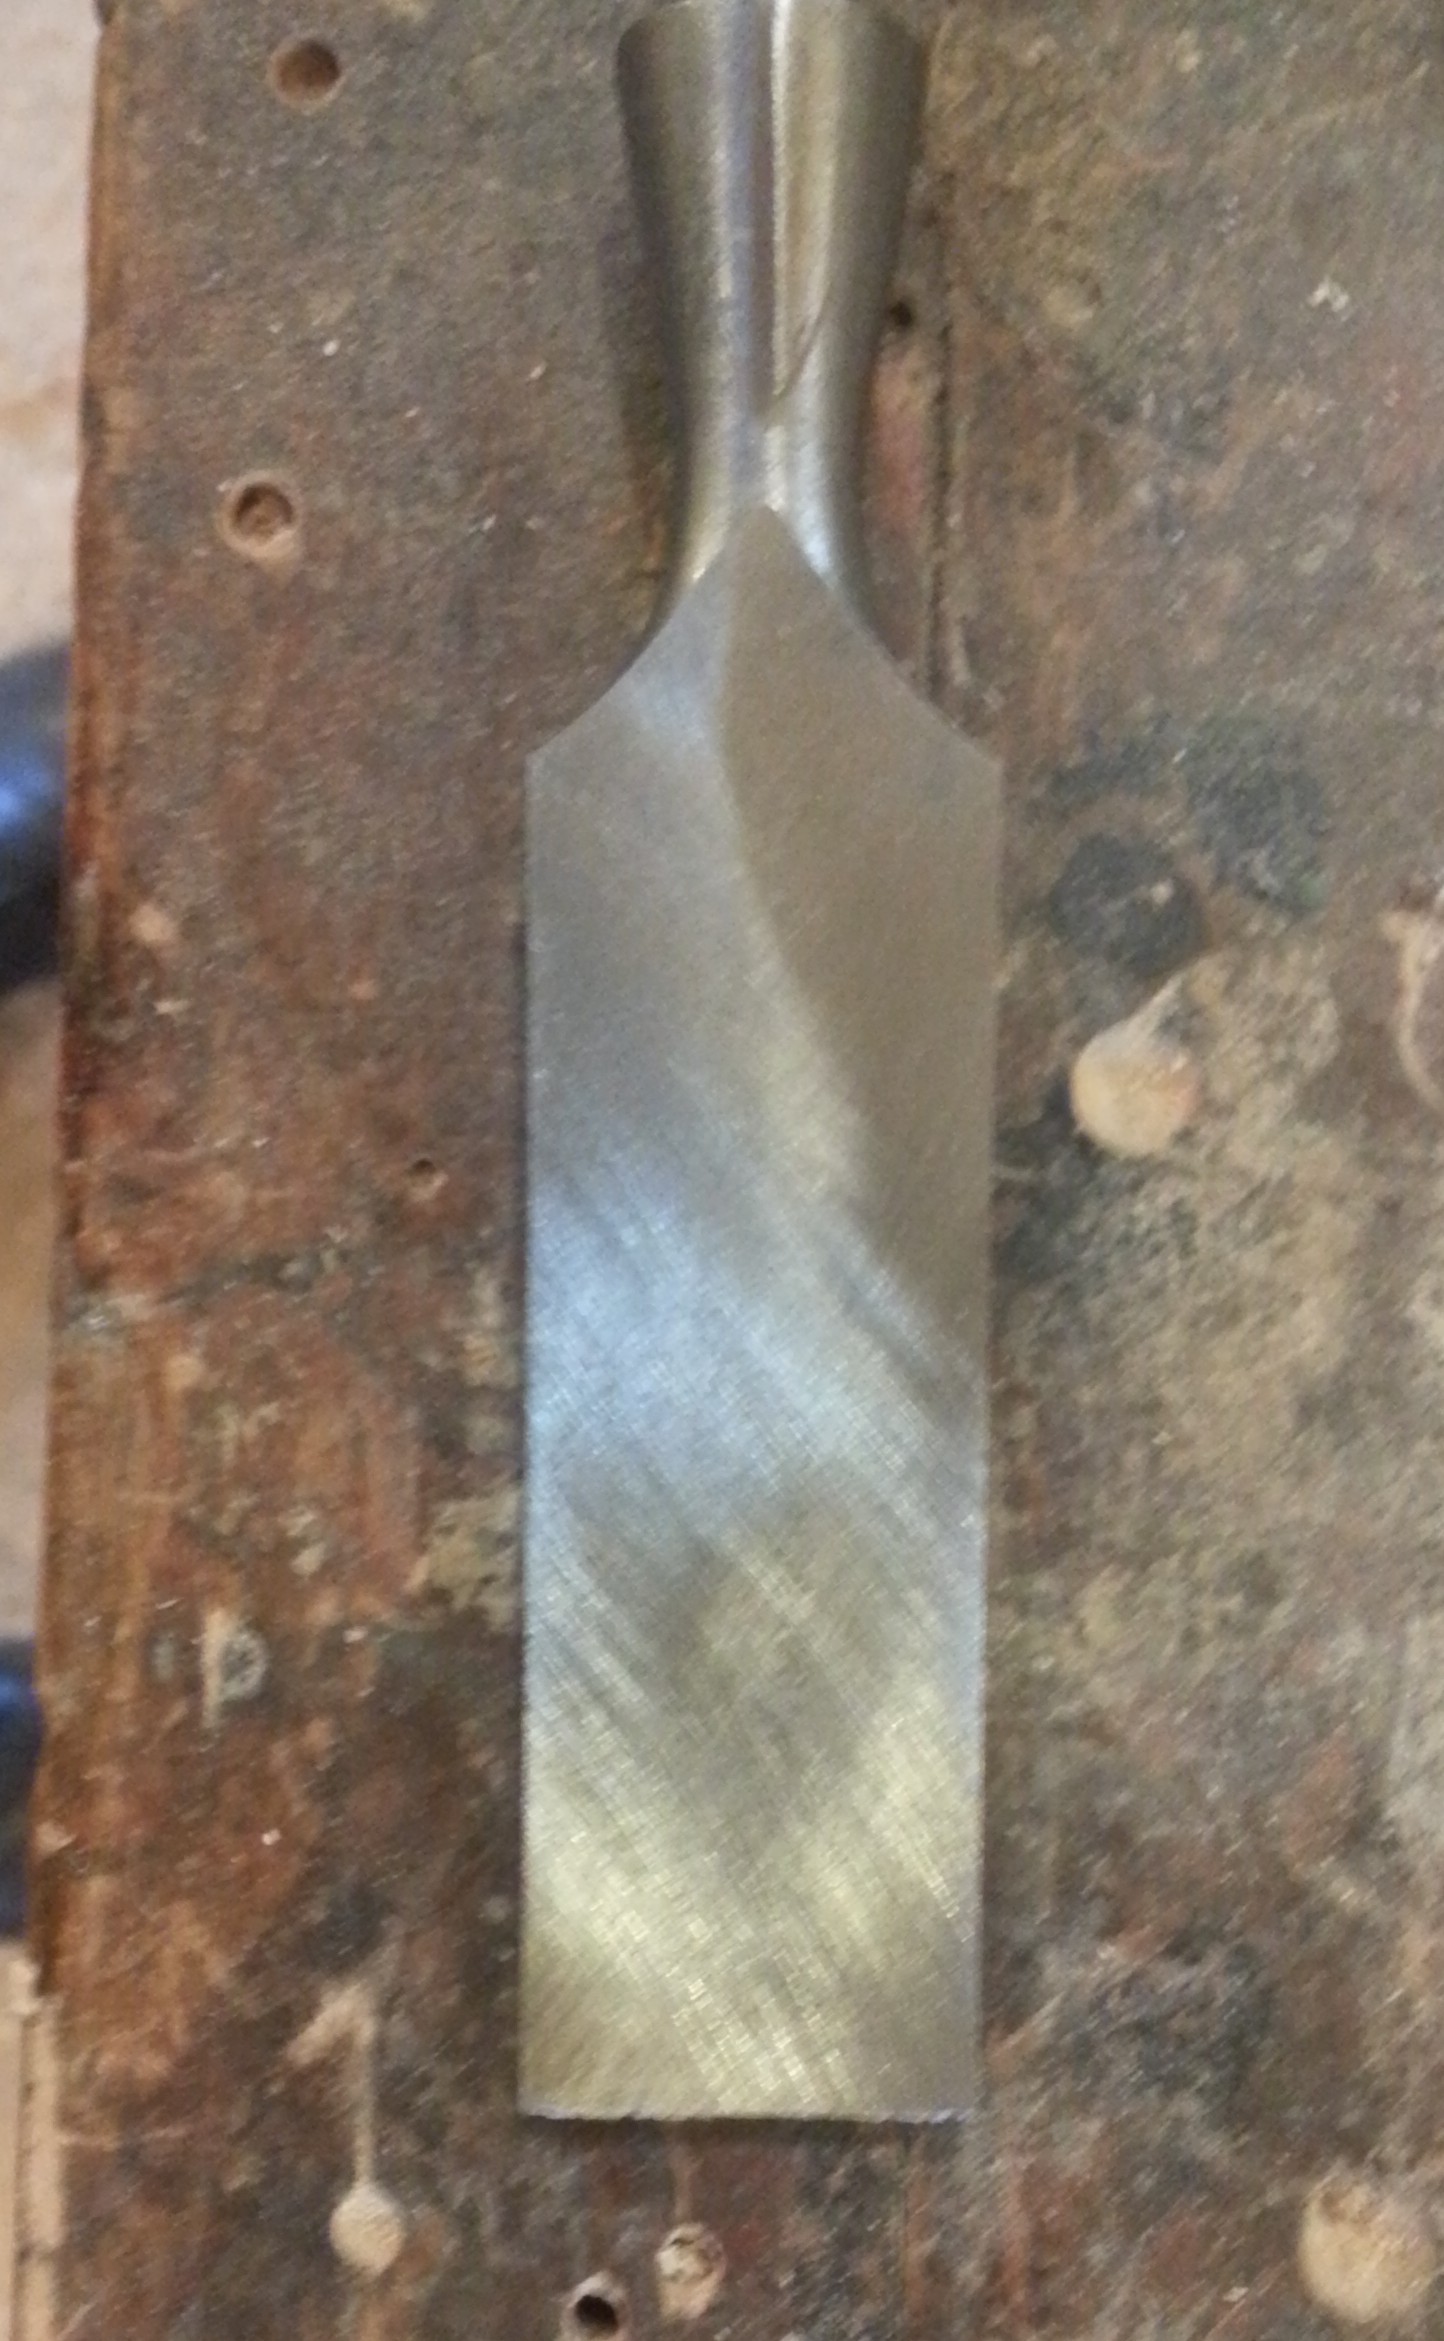
The backs of these chisels were actually horrible. The side edges and the bit were coplanar, but the bellies themselves were actually not only concave but twisted. It took about an hour between a worksharp and a diamond stone to get the backs actually flat. Most people wouldn’t find this an issue. Hell, most people who bought this set of chisels wouldn’t even know how to sharpen them. Being as the back of a chisel is very often a reference face when I work with them, being truly dead flat is very important.
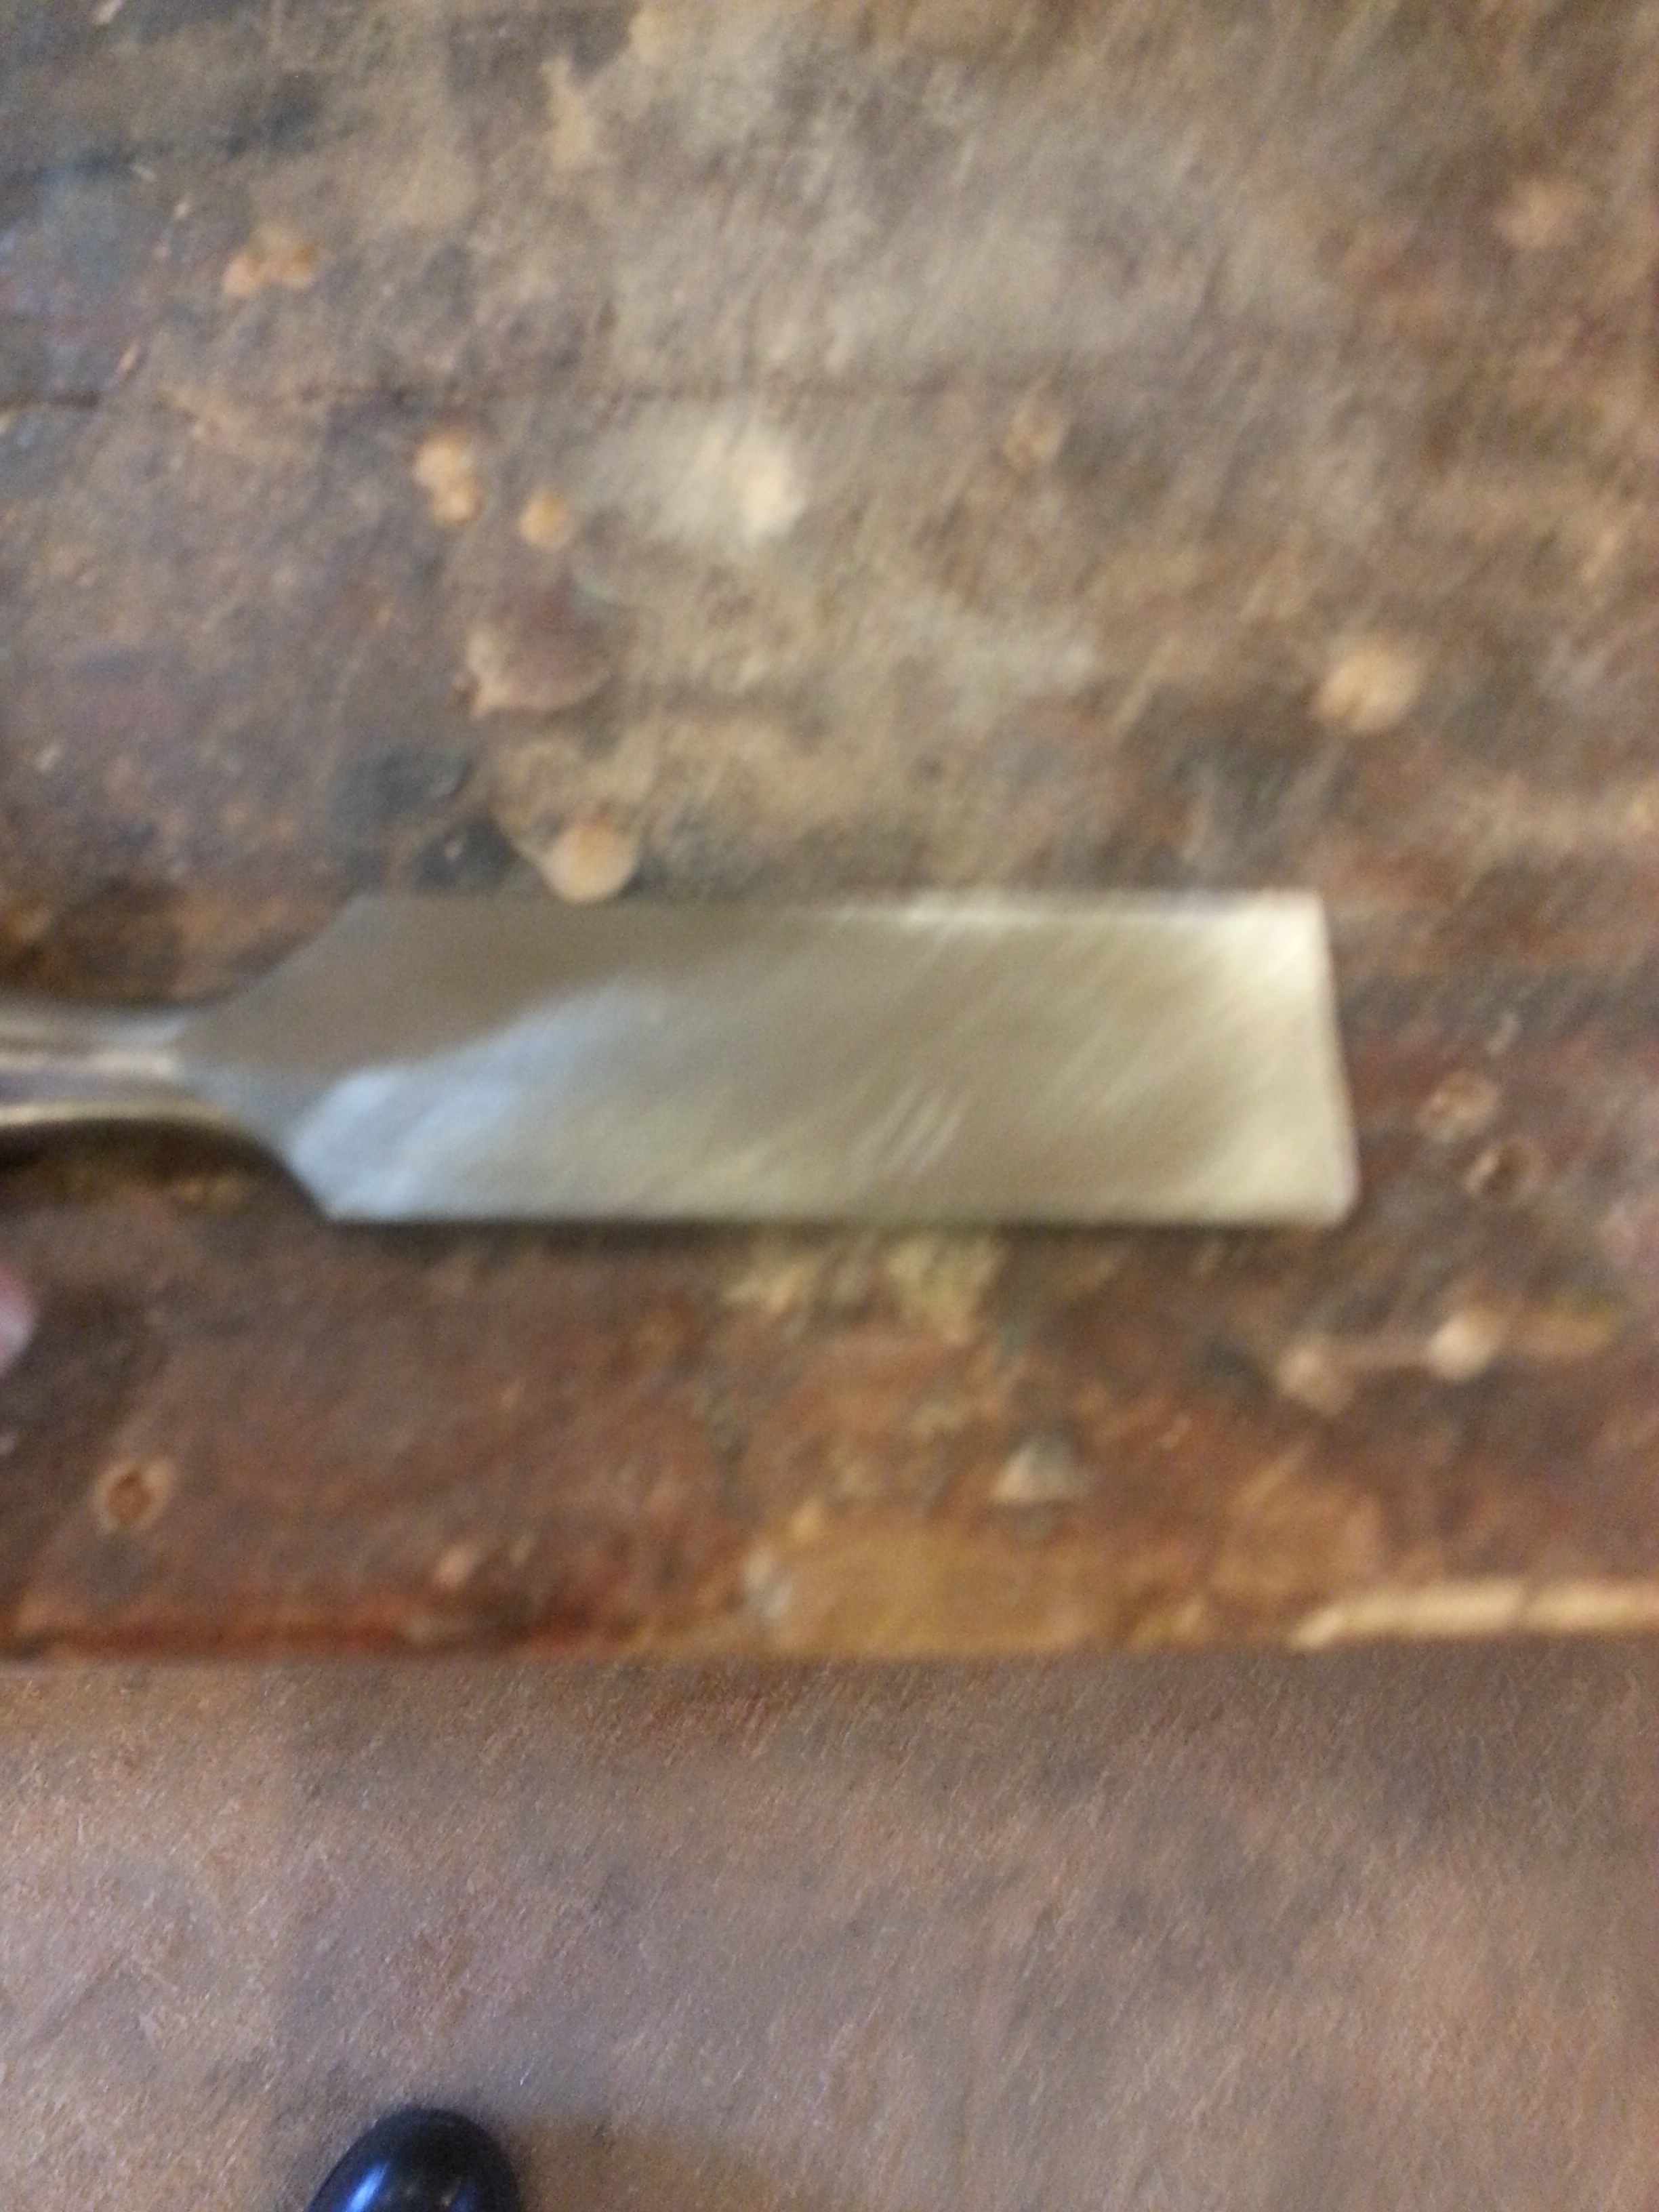
A very small hollow is still present on the 1″ blade. The actual measurement of the hollow is less than a thou. Not so bad, at this point. Once I get them on the water stones and get the mill marks out that hollow should be pretty inconsequential. I still have a few hours of honing ahead to get the scratches out, but from where we started, this is a long way to making a useful and historically appearing tool.
