
Despite my preferred desire, my longest running series and most references articles have been on Boarded Chests. Two summers ago that was what I spent time and energy expounding upon, hence, those articles have gathered quite a bit of attention.
During the course of discussing the “right way” to build boarded chests, I mentioned a number of methods that reenactors thought to be “improvements” and rightly maligned those suggestions. While quite a few people have taken my word for the better way of doing things, I figured it might be prudent to show why those are the better methods.
Thing 1
Thing 2
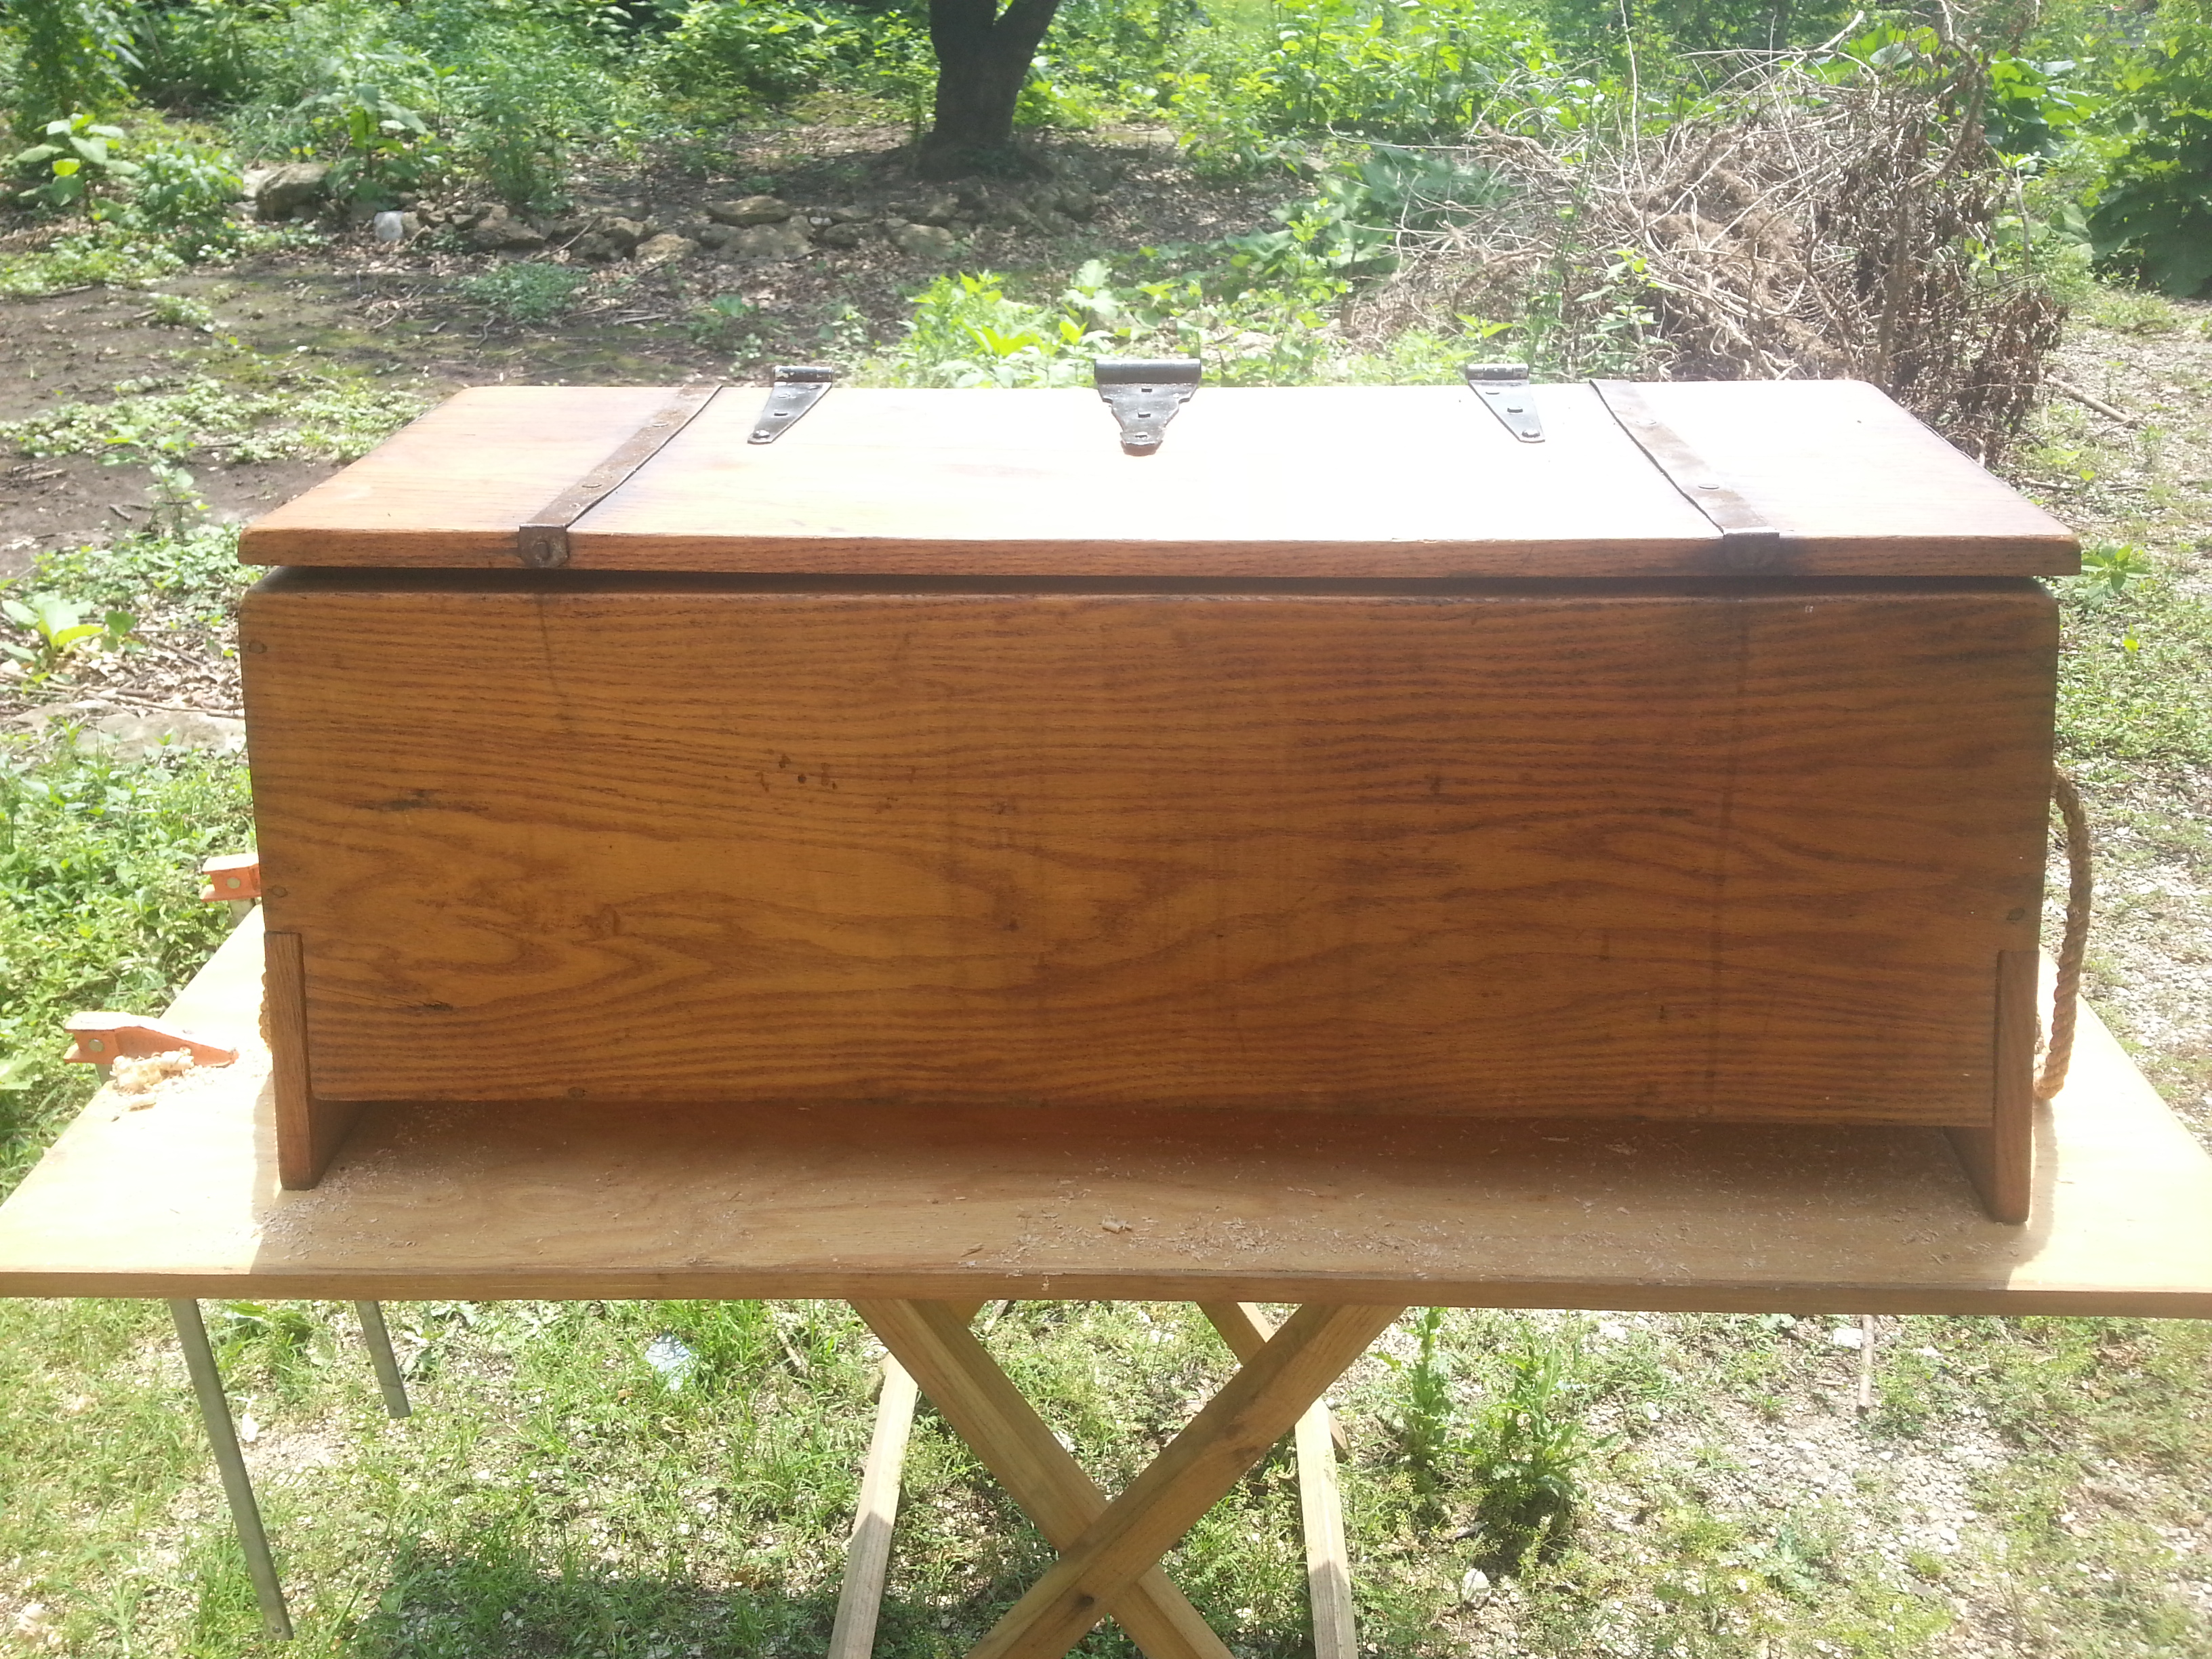
For your consideration: Thing 1 and Thing 2. These are a pair of chests I made circa 2006. They are badly in need of repair, and have been so for several years. The abomination, it which shall not be named, was my first boarded chest. These were third and fourth. The second didn’t survive infancy. Sometime between these and now I have made more boarded chests than I can recall, and learned quite a few things on the way. It is a step back to simpler things to review and repair these old workhorses of mine.
Thing 1 had several steel straps added to it during initial construction because the wood was splitting out on the lid and back panel. Thing 2 did not have such poor luck as being made of boards from a Big Box store that had conspicuous cracks, because had I known then what I know now, I wouldn’t have even bought that board. Matter of fact, I wouldn’t have been buying my lumber at a big box and wondering why things were falling apart…
Still, Thing 2 lost it’s floor earlier this spring because the glue joint that was the only thing holding in the bottom gave up. More to the point, the wood on either side of the glue joint gave up. The glue held on just fine — the wood around it split away after nearly a decade of humidity changes and rough handling. I had already repaired the bottom, and as can be seen, nailed the hell out of it. Also, that replacement was the impetus for the essential rebuilds that went on this July Fourth weekend.
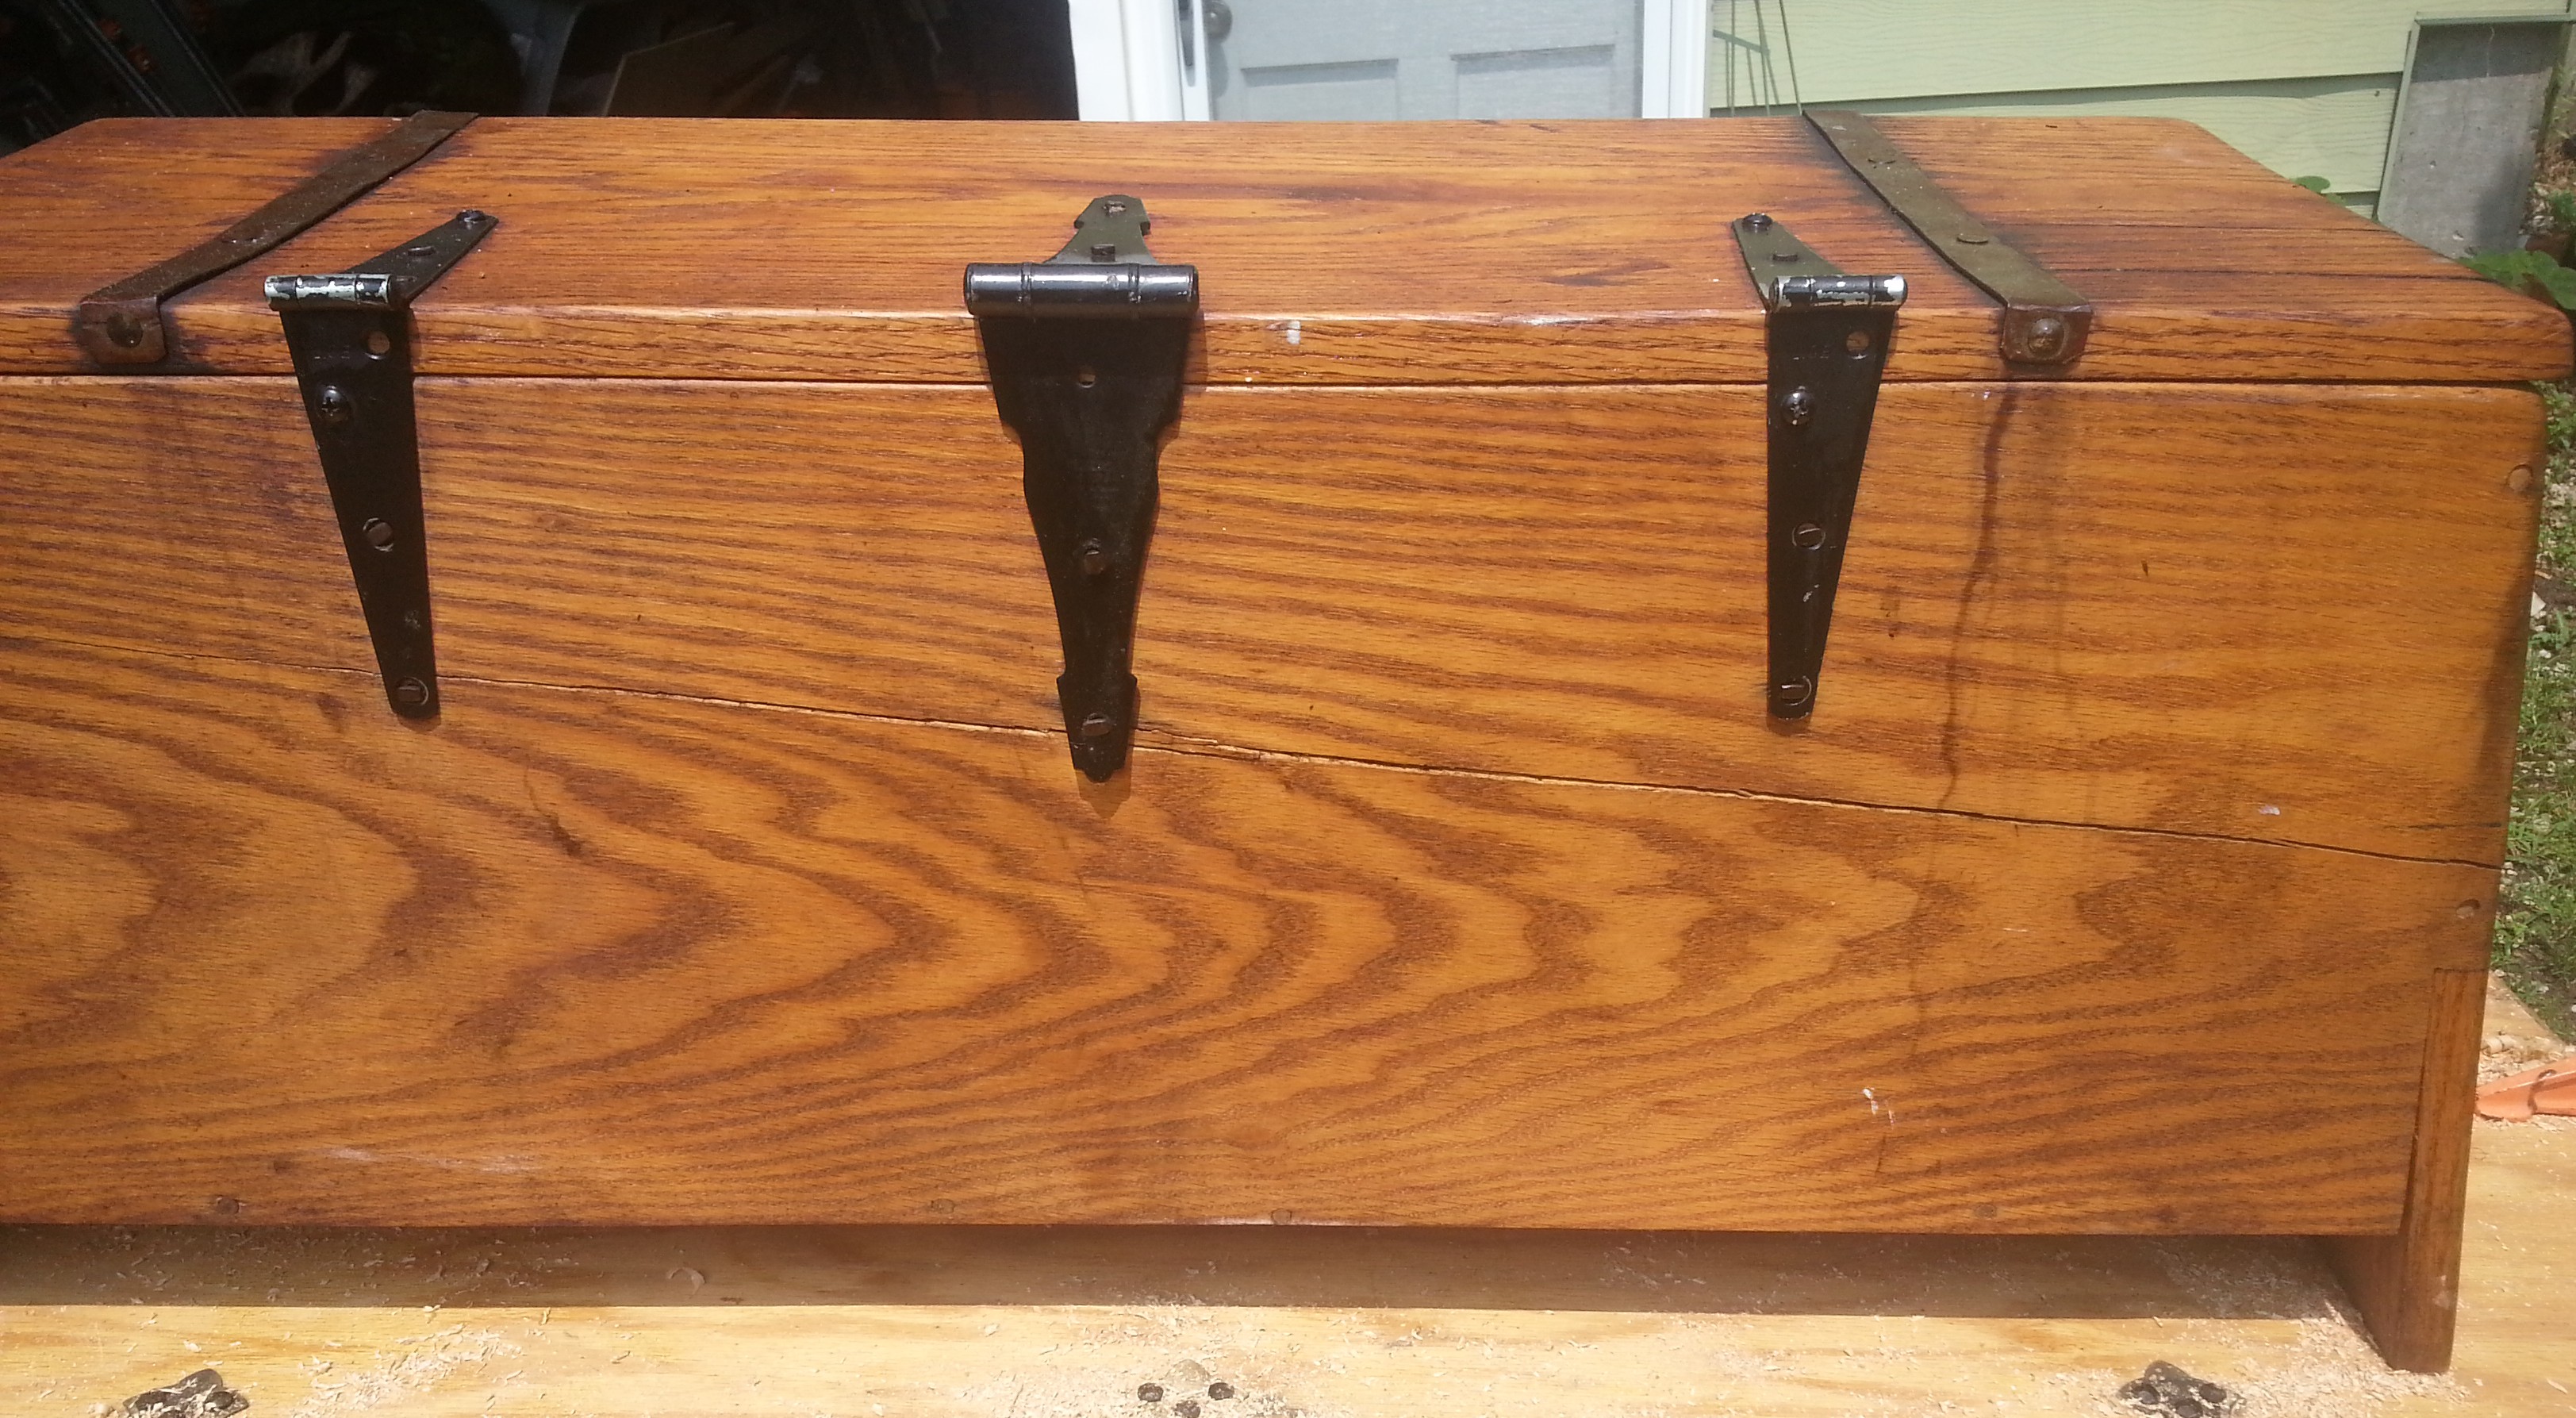
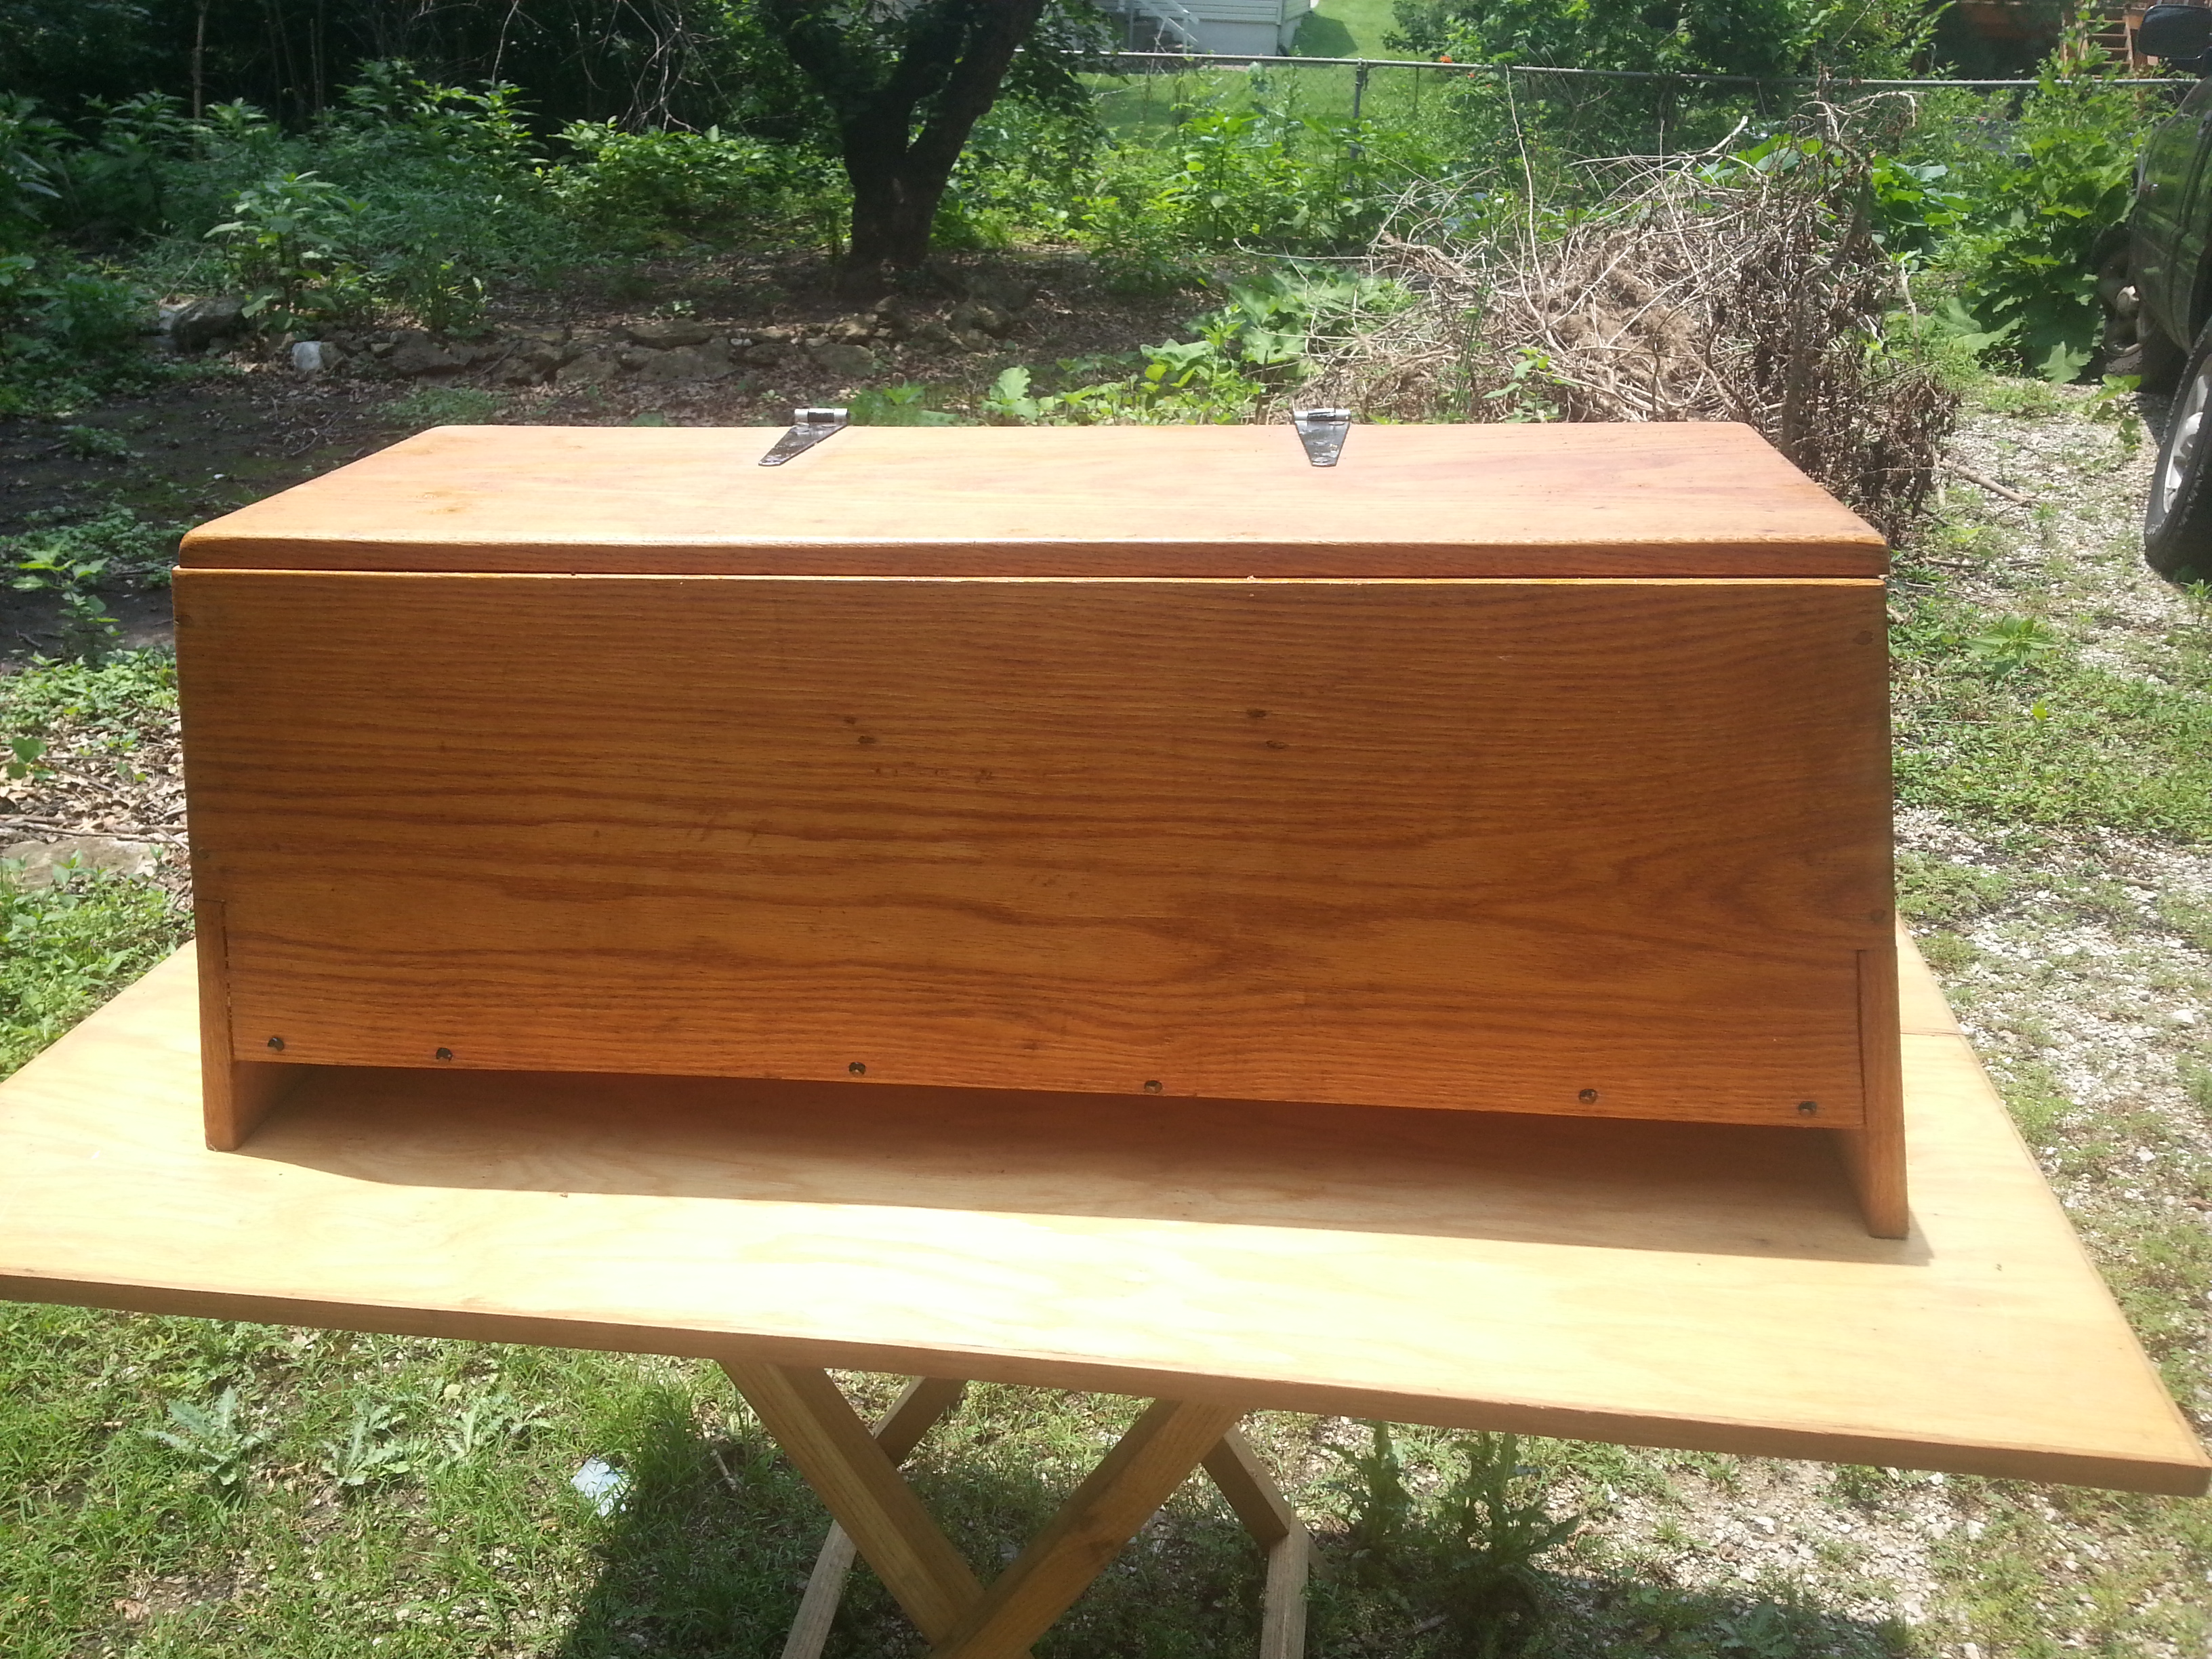
This is Thing 1’s back. Notice the crack that run from the right side of the photograph, through where two nails are being used to hold in the center and left hinge? So this was the lesson to both not use over-dry lumber, and to pre-bore for cut nails at the right diameter. Eventually this split will be repaired with additional metal straps, just not today. Repairing split lumber in such a way appears to have been fairly common during the European Middle Ages and Renaissance. Matter of fact, there are quite a few examples where the straps went beyond simple repairs and became decorative elements in and of themselves.
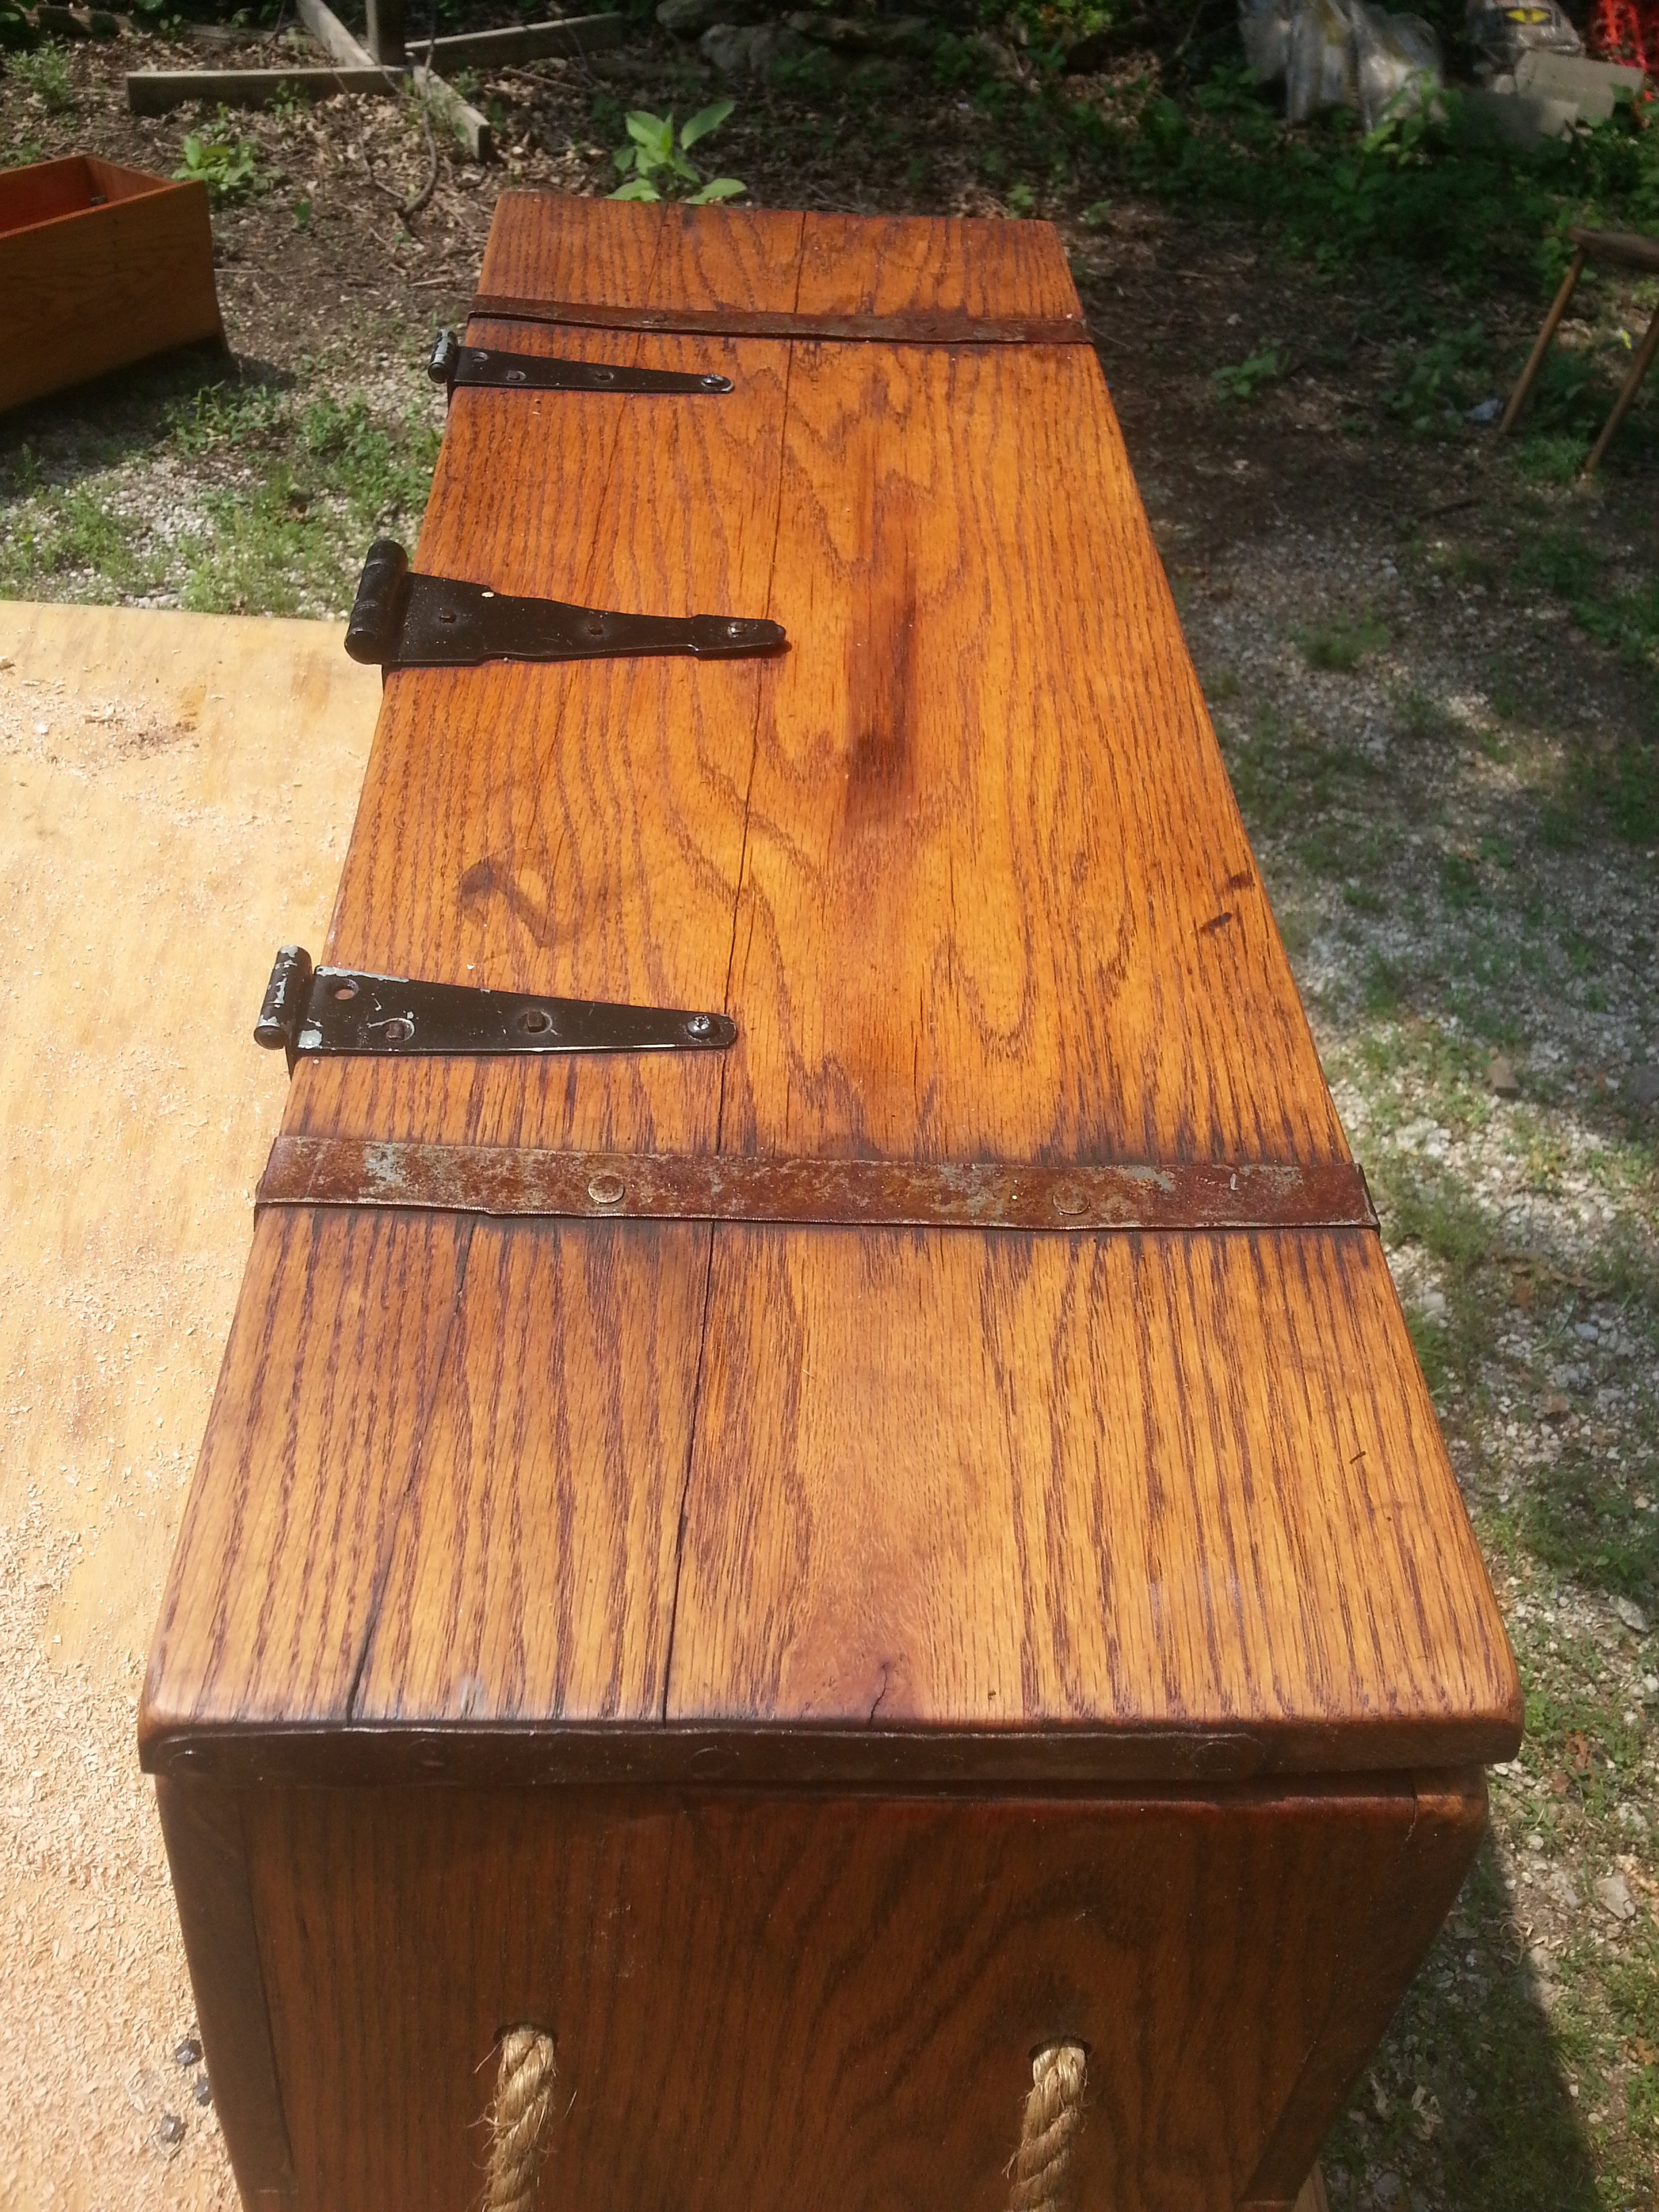 Looking down the lid we can see the same problem here as is on the back board. Obviously there was a crack already existing in the crappy, case-hardened, overdried and poorly stored board I picked up from the home center.
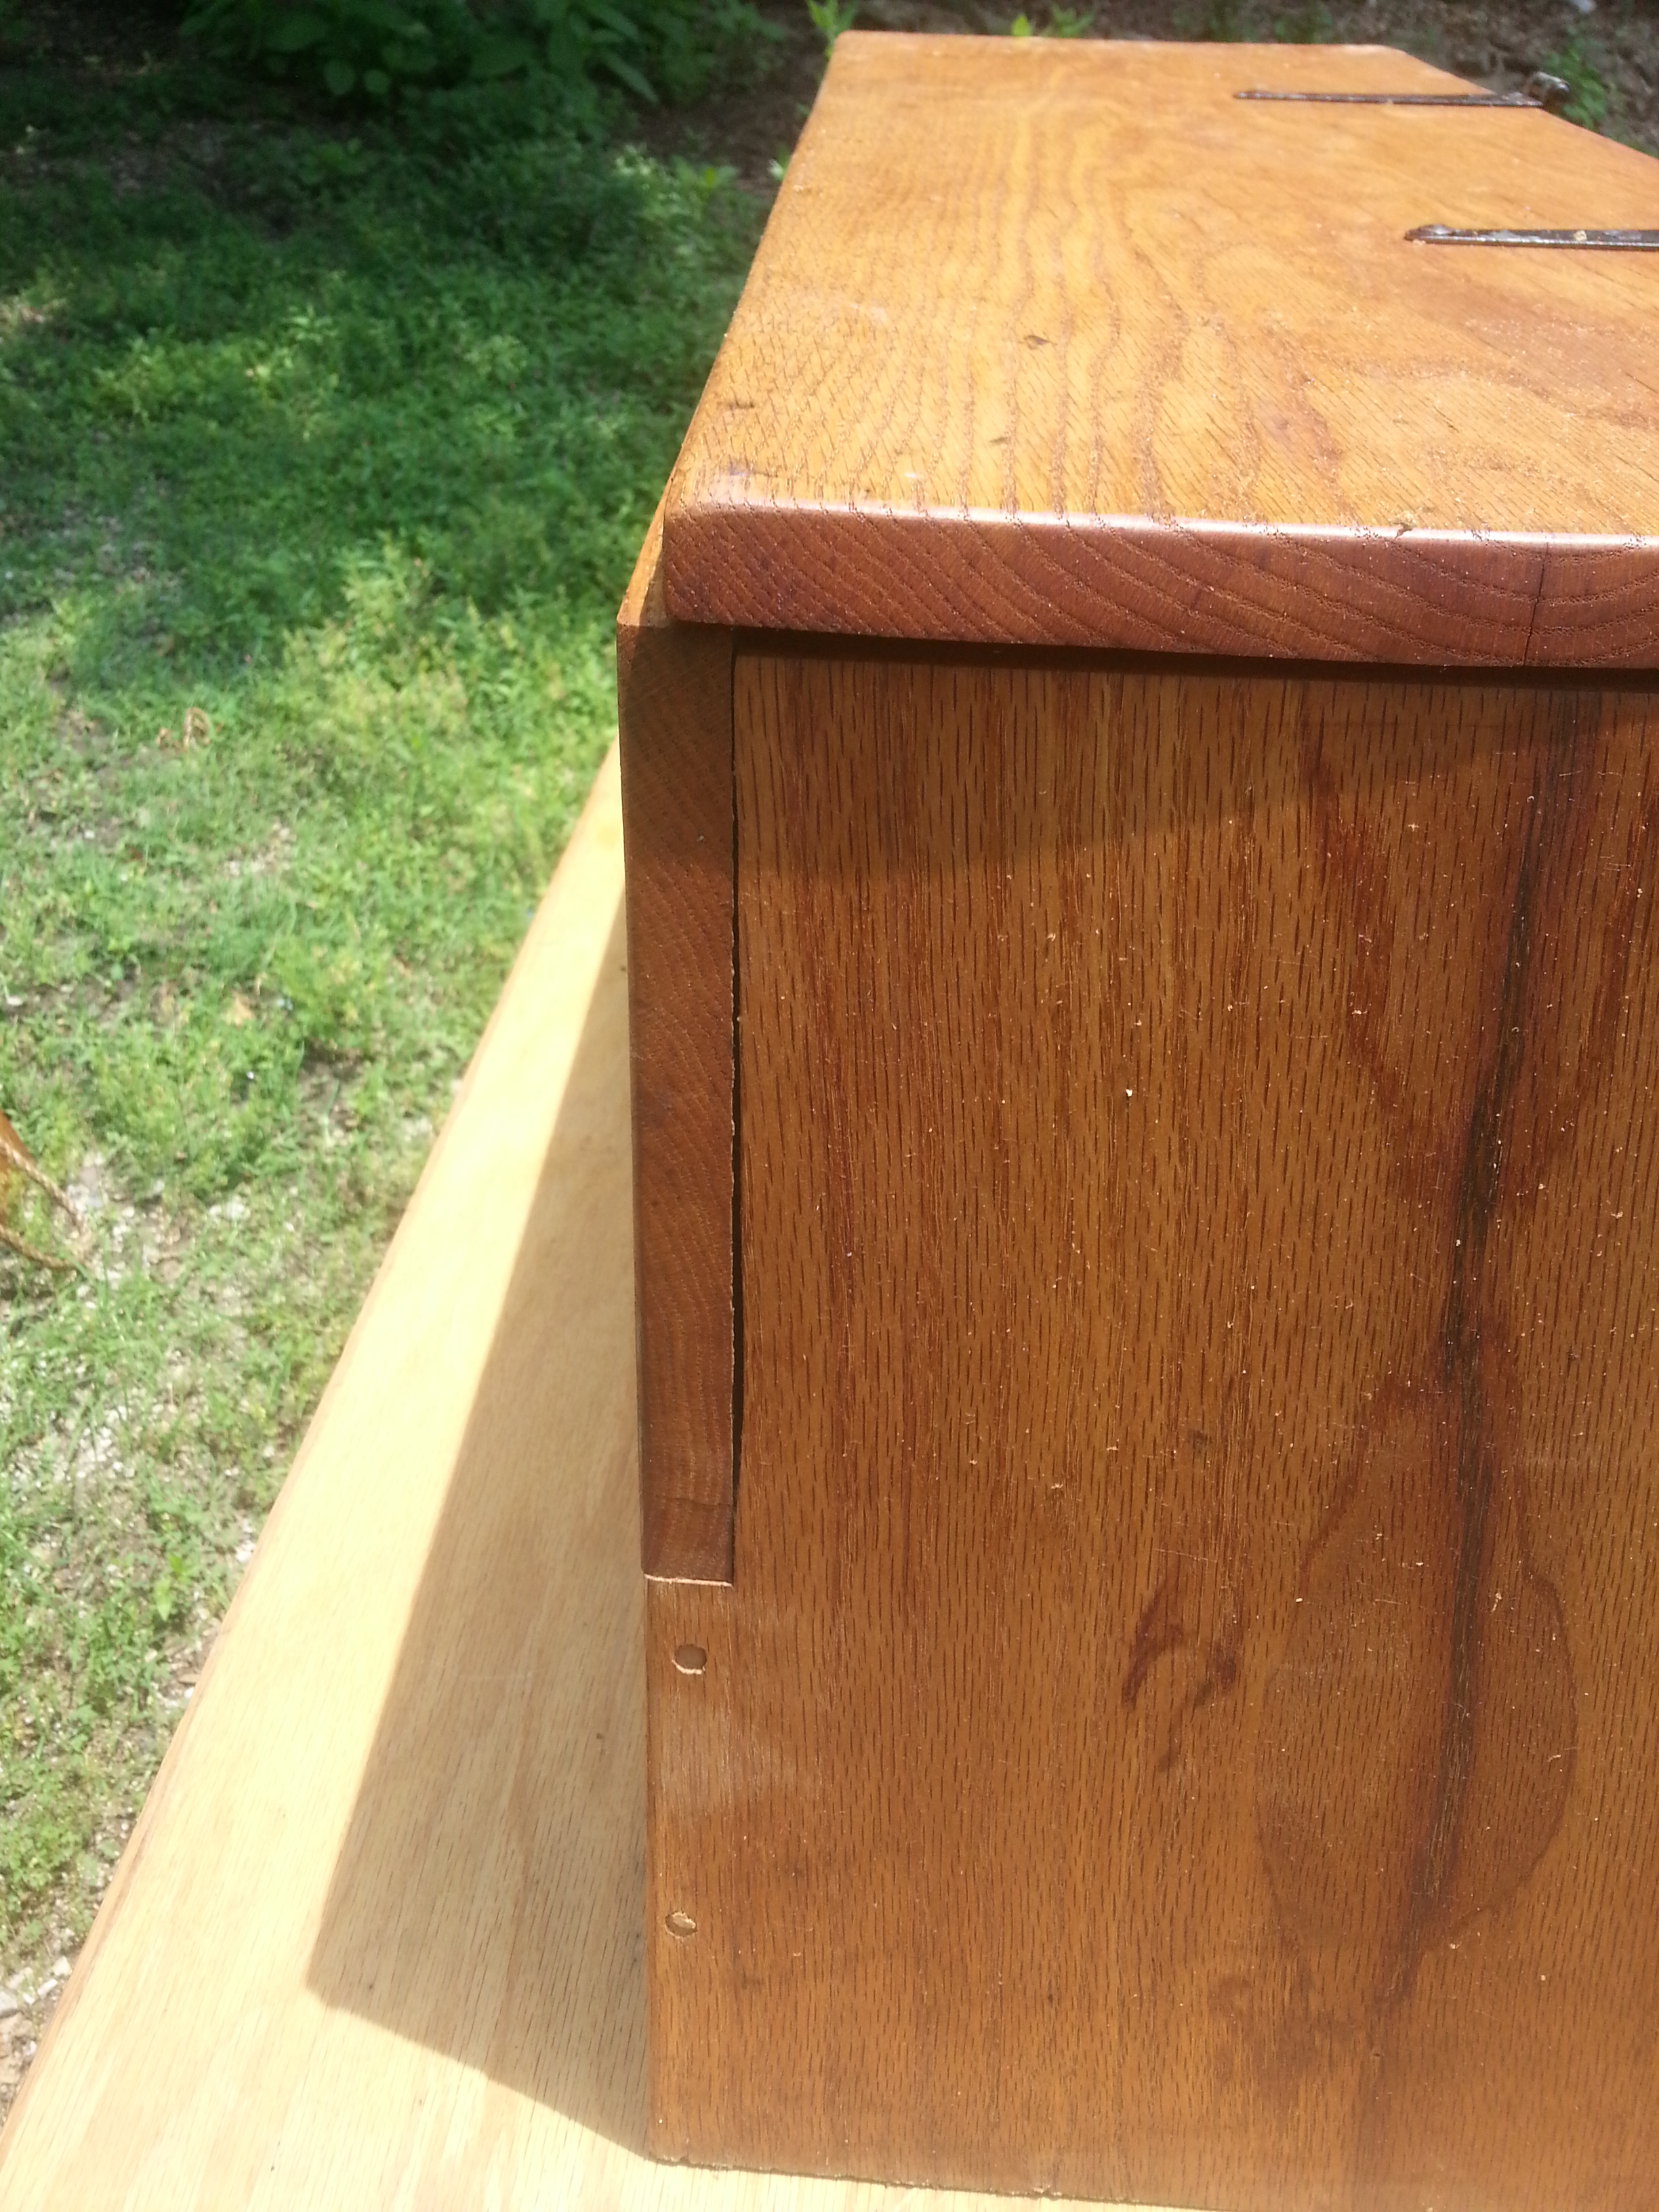
 It doesn’t seem like much in the photograph, but that shoulder was tight when this chest was built. Now it has relaxed and wobbles a bit. “How can this be?” you might ask. Well, like a dummy I trusted people who said that pegged joints with glue does just fine for boarded chests. By blowing up the picture (go ahead, click it), you can see that the shoulder joint is open quite a bit, the pegs are sucked out, and the glue, though present, is only adhered to splinters on one side. Why? Because pegs are piss poor for maintaining a cross-grain construction. Were these indoor pieces, or frame and panel constructions where the cross-grain joints were encased, this wouldn’t be much of a problem.
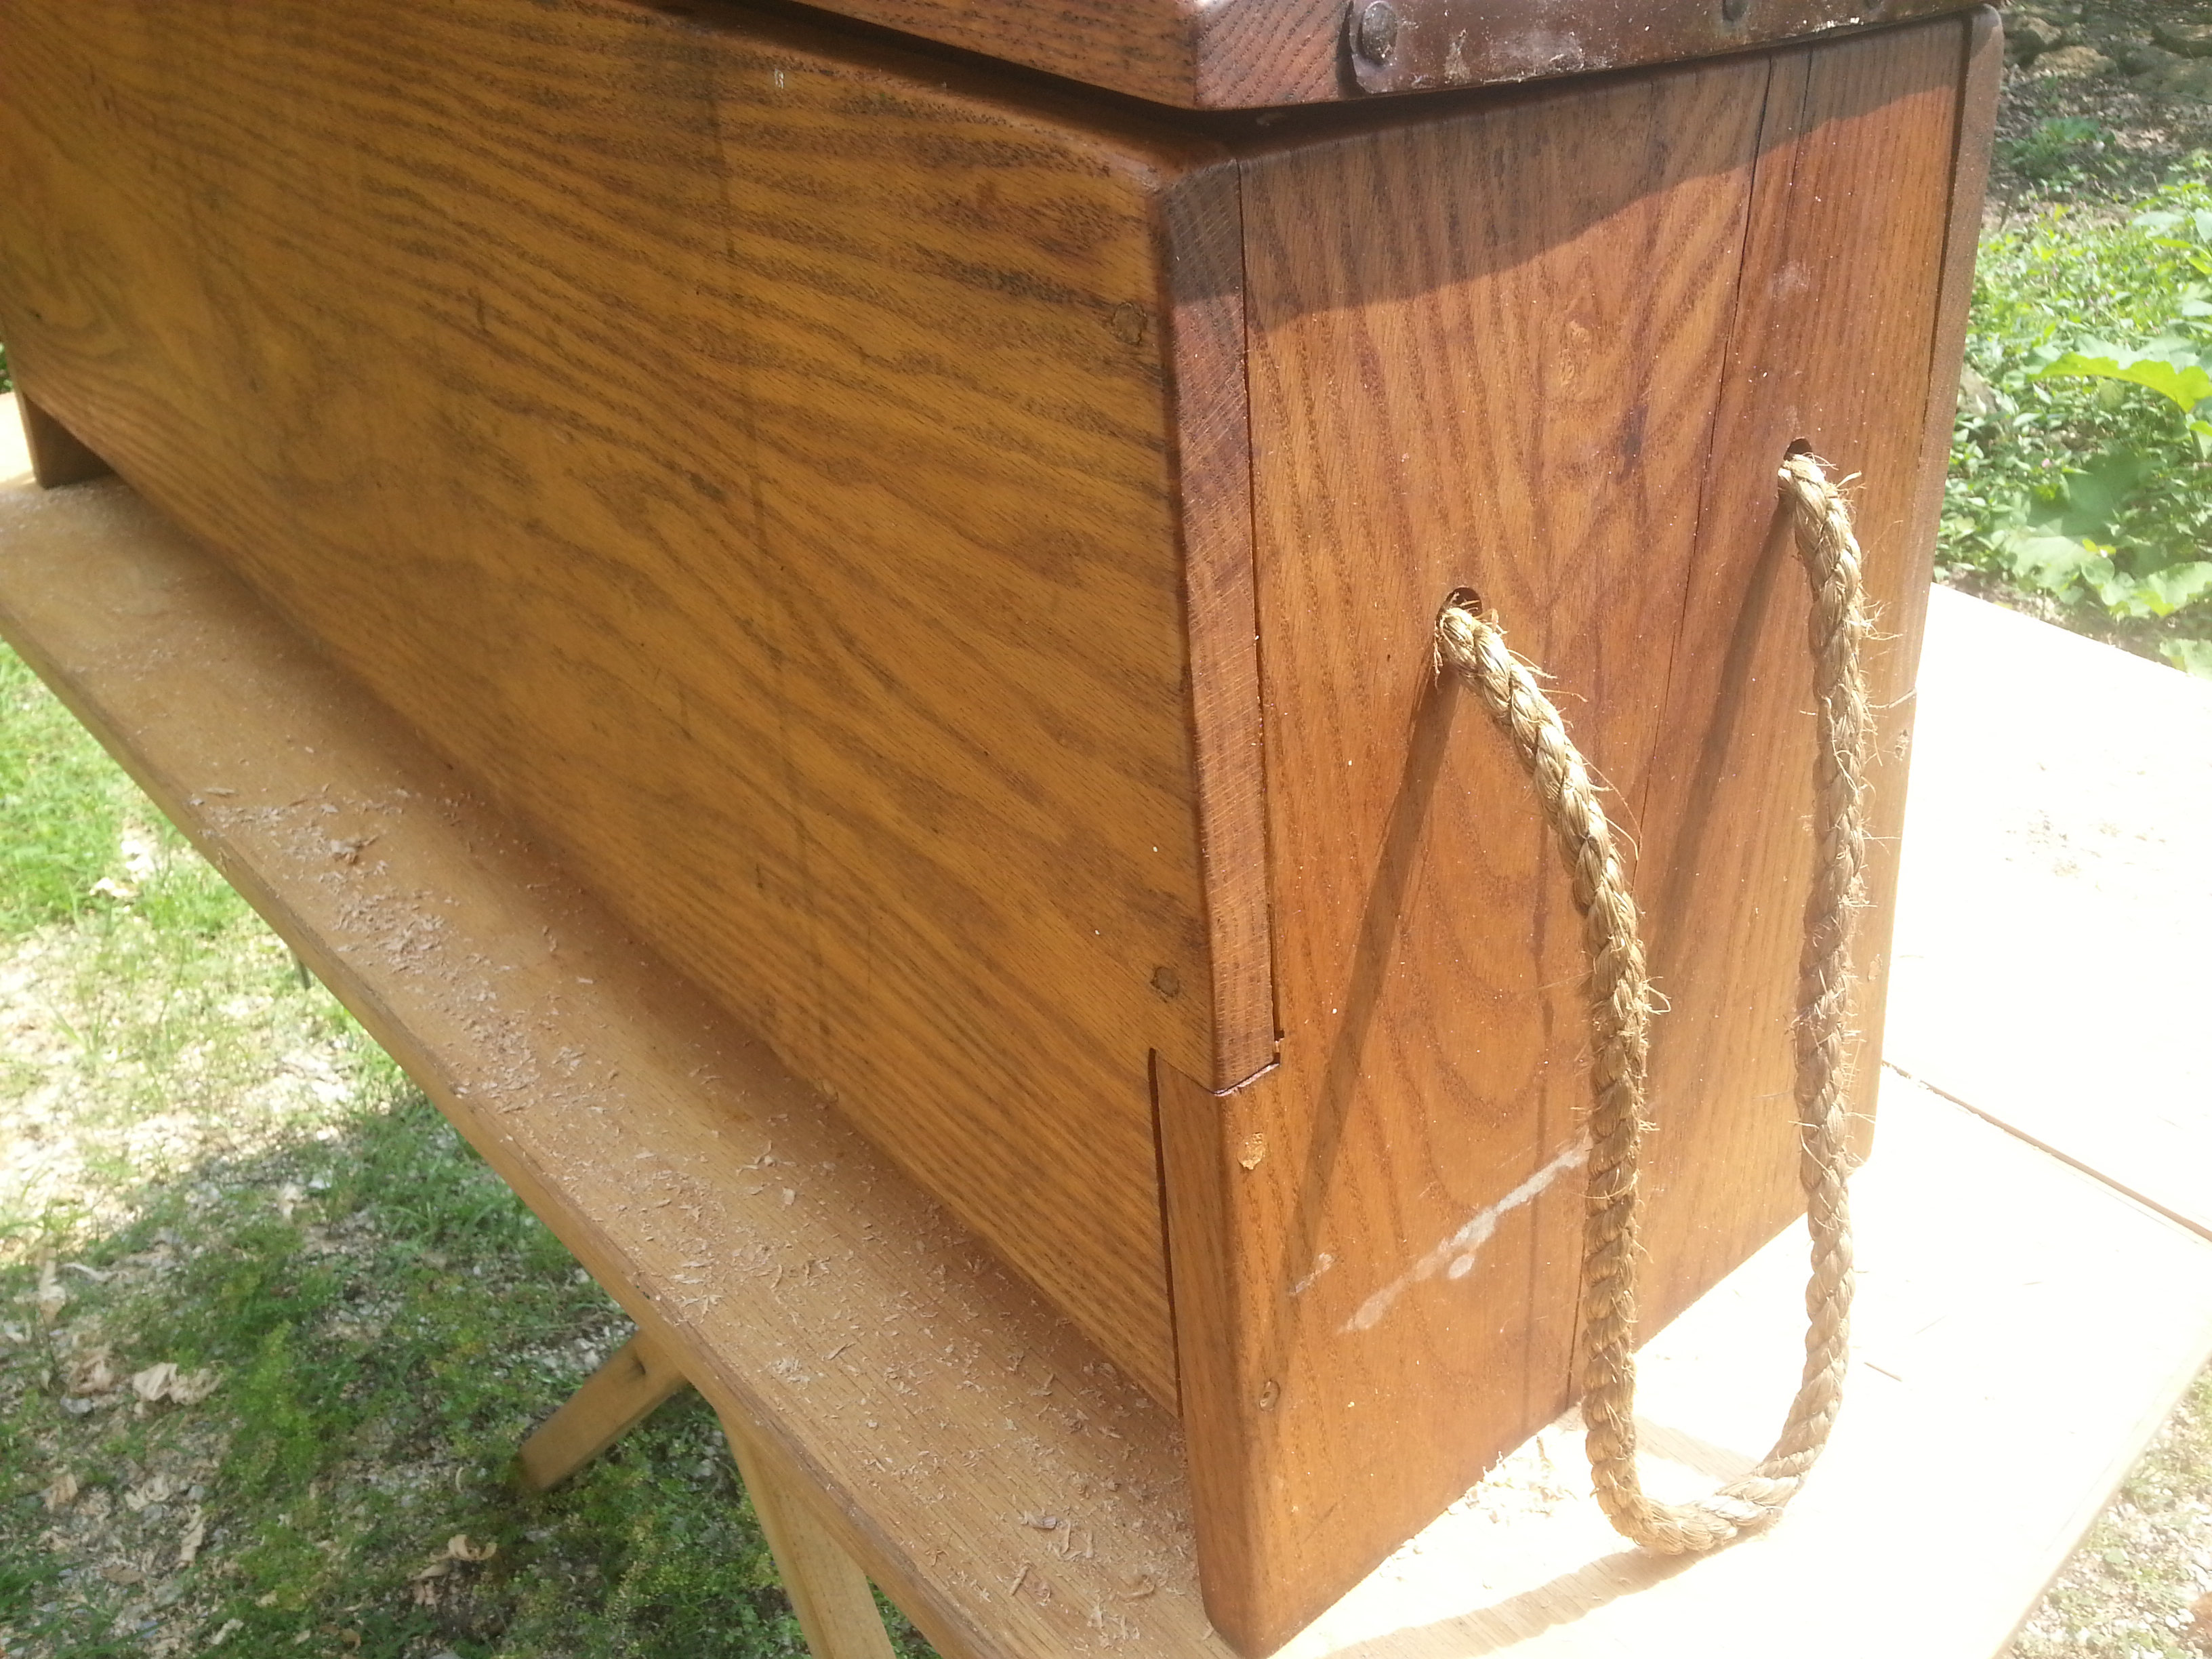
Suck out on the pegs and the face panel of Thing 2 ready to ride itself off for a solo career. I will fully admit that I needed to learn how to build chests. “Learning” from the easy how-to articles I found on the internet did little service. The next set of photos though…
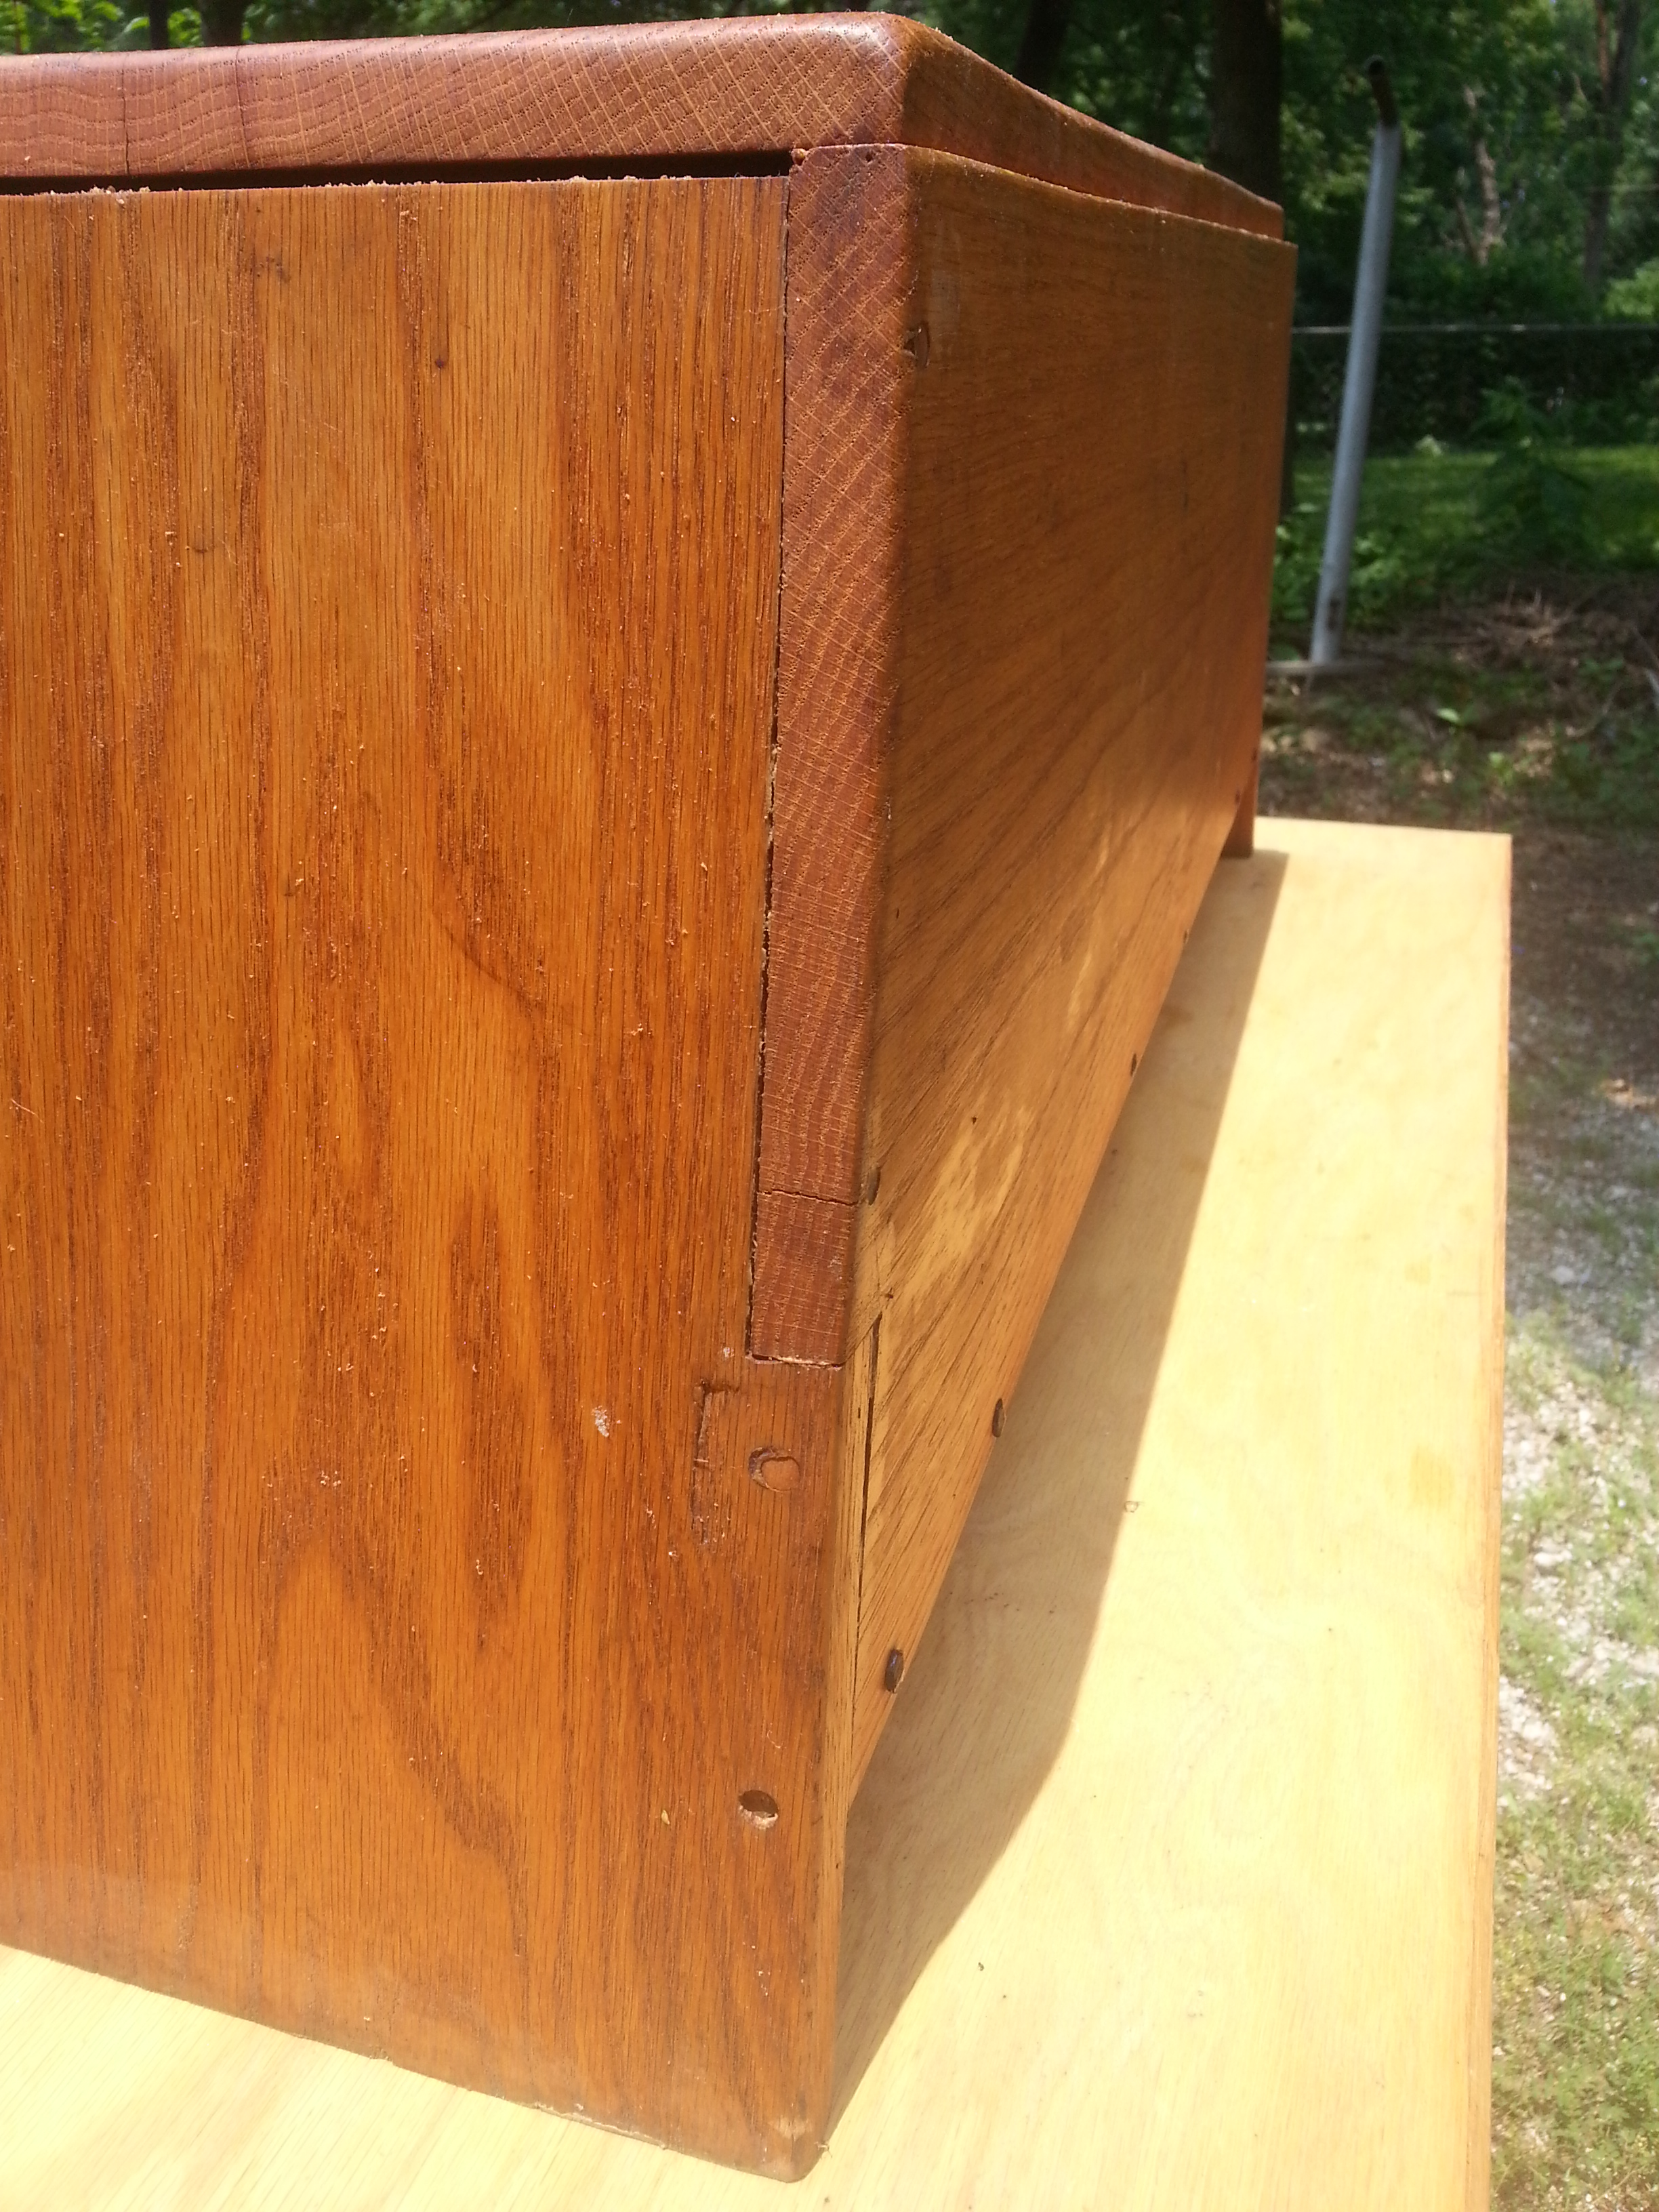
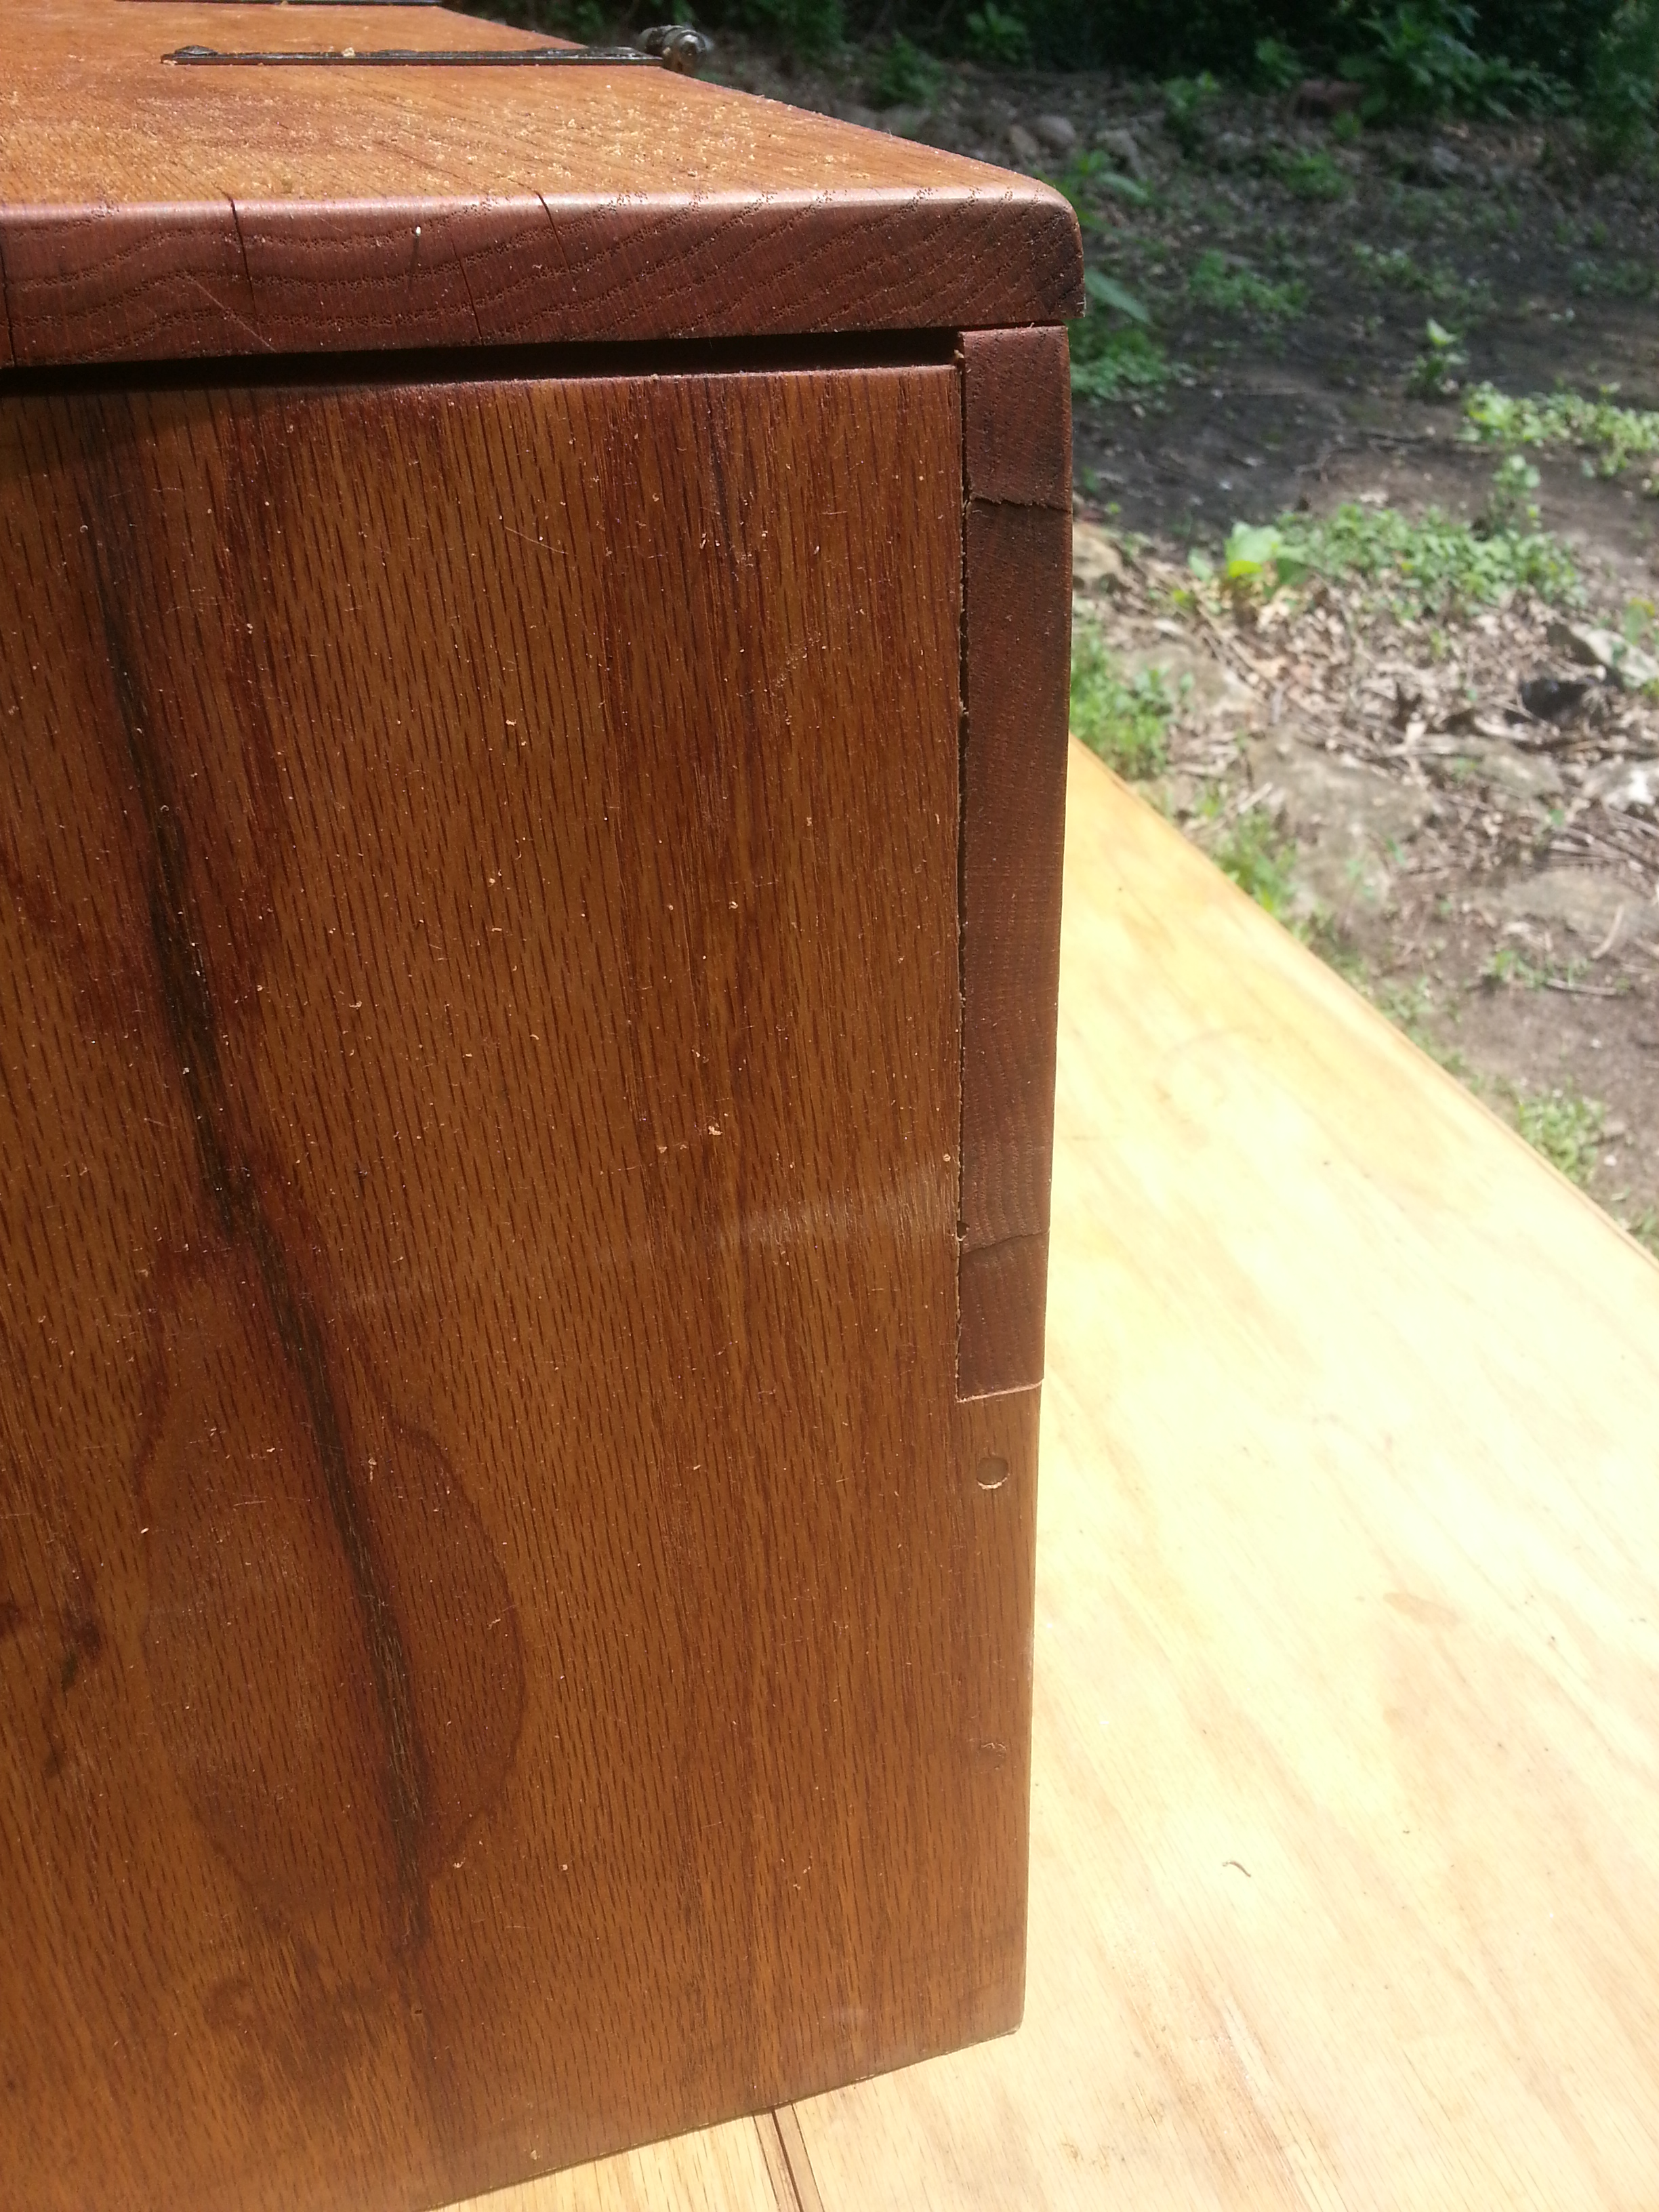
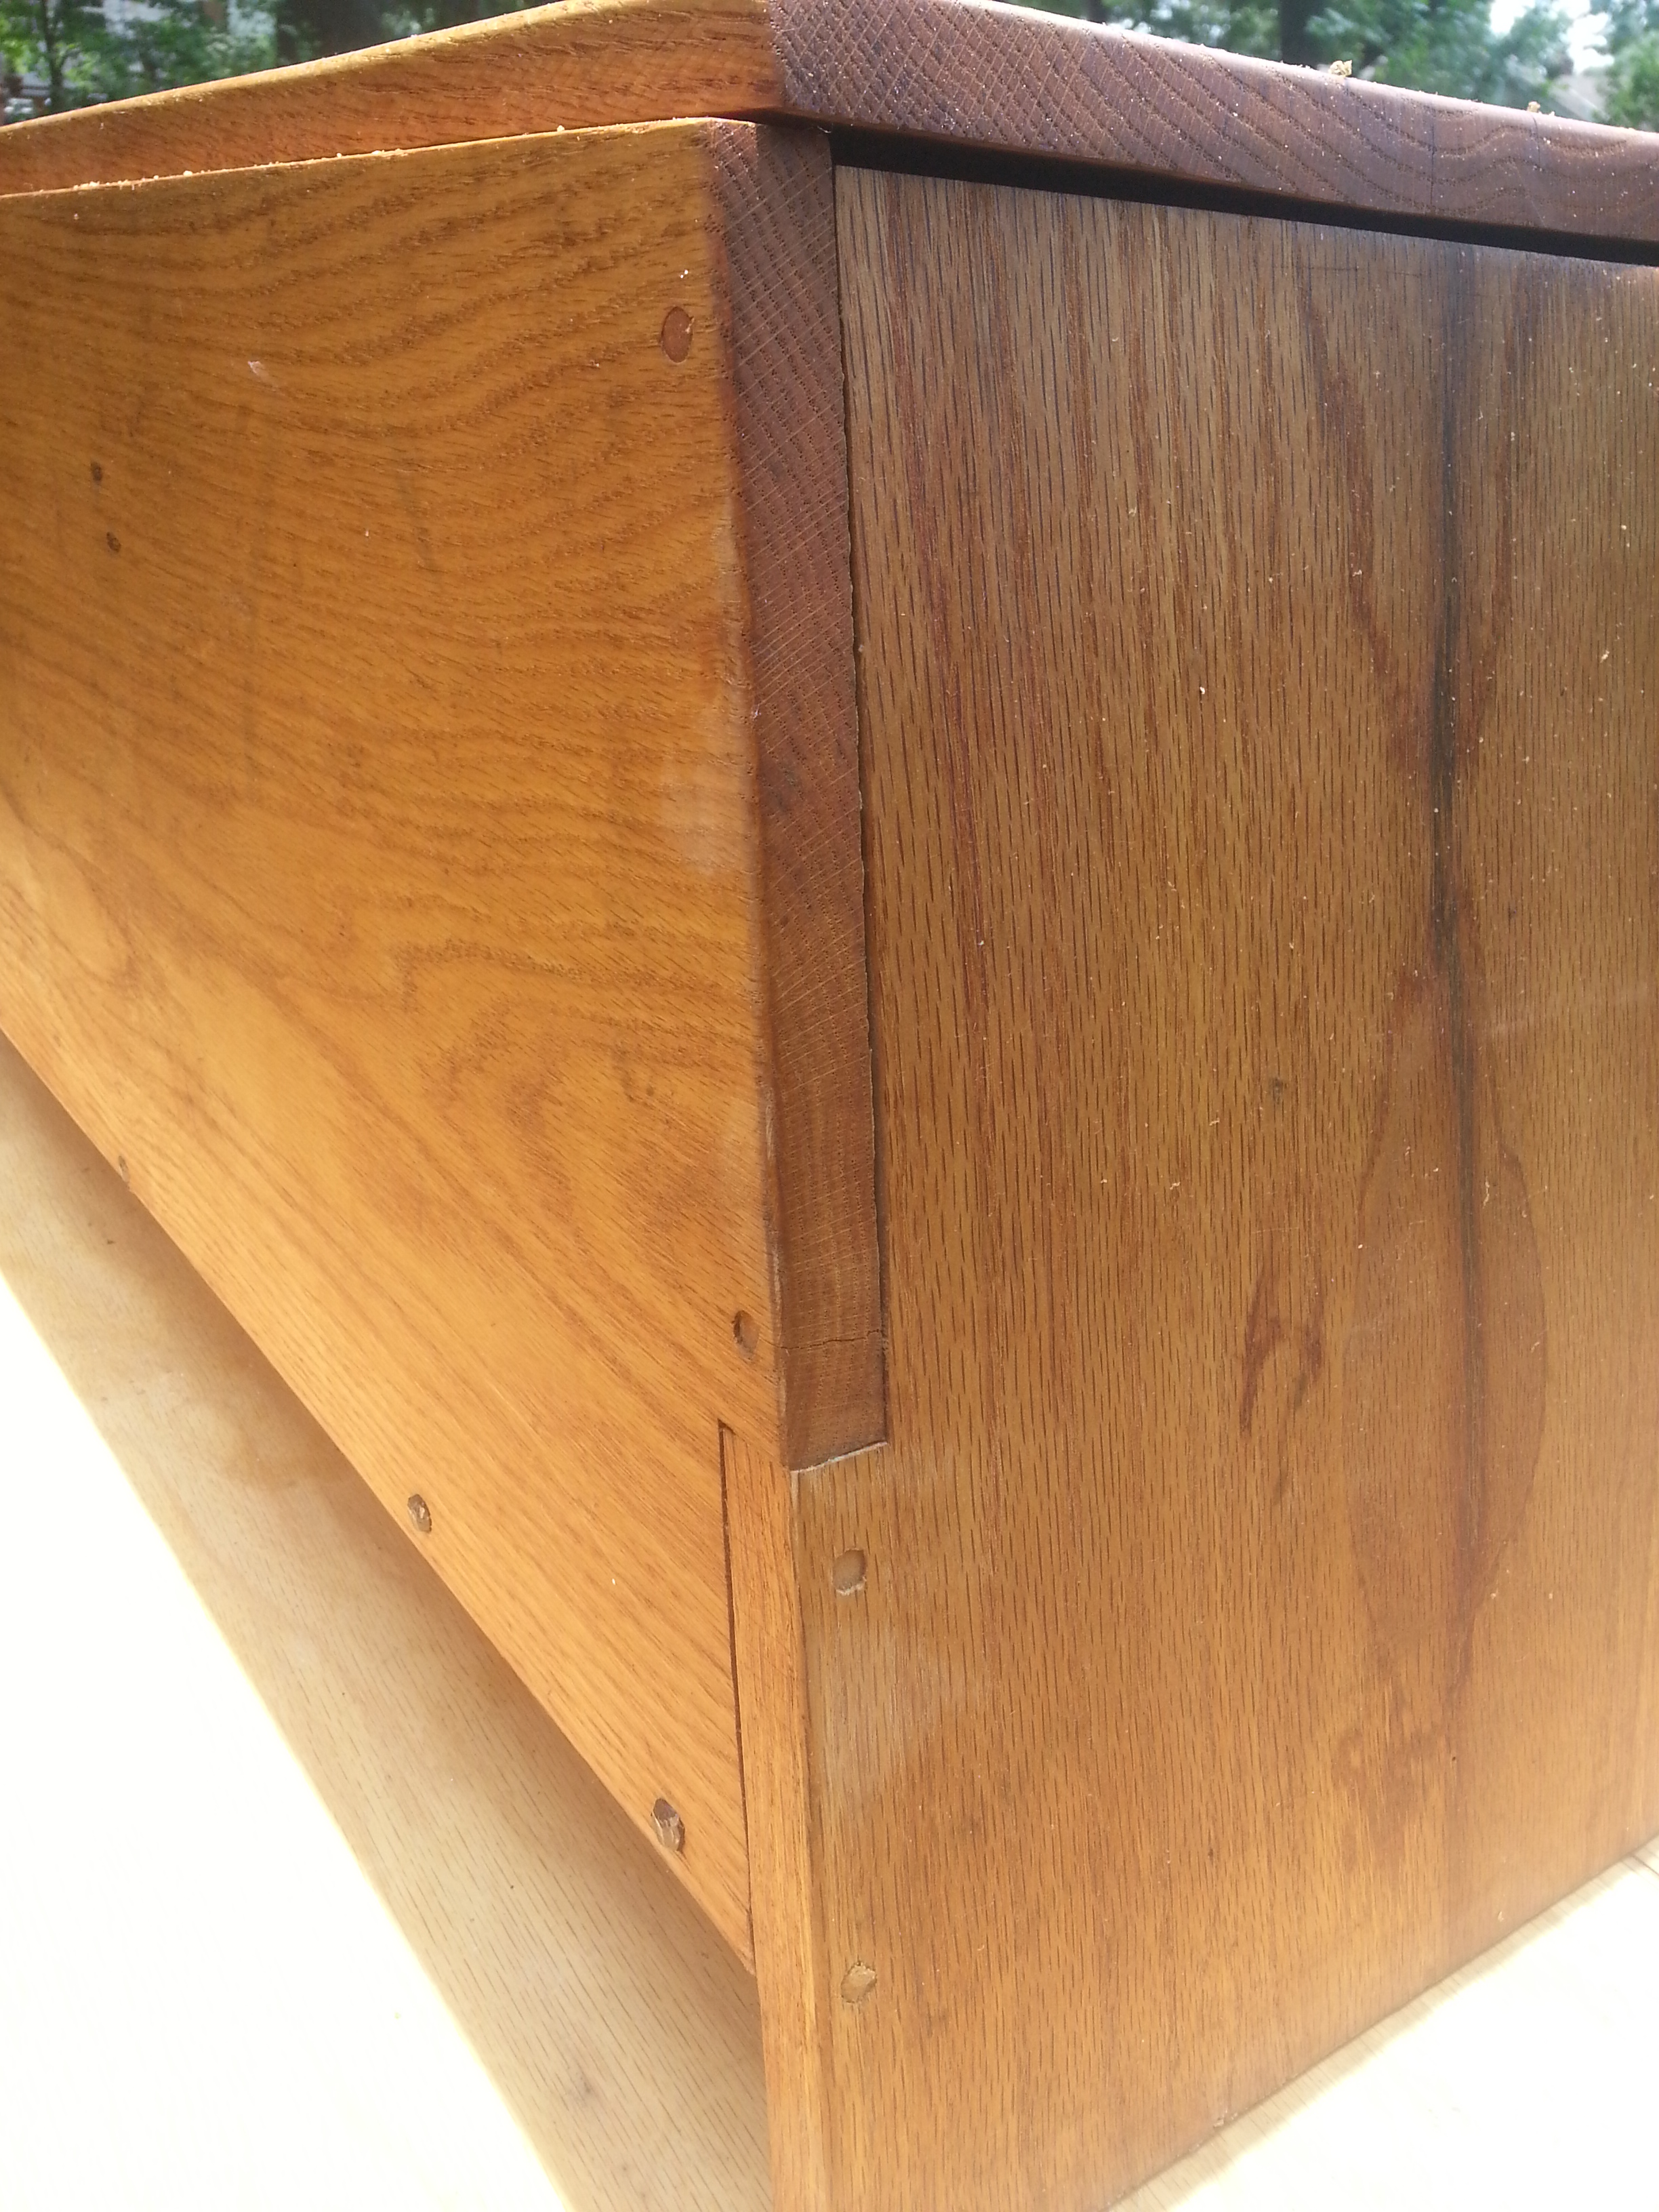
This is the opposite corner of Thing 2. While not entirely trying to run away, the suck out on those poor pulped pegs is pretty problematic. As the wood in the pegs and in the joining boards has moved over time, the movement of the pegs has resulted in them becoming little more than strings of wood filament that are loosely held together. The pegs stopped doing their job several years ago. Add to that, the glue that did keep those pegs together until such time as the wood inside the glue sheath gave up did a darling job of splitting the wood. The endgrain visible on both corners has some wicked cracks on the face boards. So, while the pegs didn’t fail there, the improper application of wood dowels in this type of furniture compromised the wood around it. Remember, these chests are less than 10 years old and are falling apart. Meanwhile, the Mastermyr, which Thing 1 and Thing 2 were loosely based on, sat in a marsh for several hundred years, then continued it’s millennium of functional service under dirt once the swamp was drained. A 1000 year old chest put together from cut nails has shown a greater functional survival state two orders of magnitude greater than two chests put together with modern PVA glue and wooden pegs.
So here I am after less than 10 years of irregular service from these chests, having to essentially rebuild them. It is okay though, it is a short rebuild.
