
Since most of the actual work was done during the initial construction of this pair of chests, repairs were relatively simple. Had I known to do these things right the first time, rather than following the good-intentioned but ill-informed suggestions of others, these repairs wouldn’t have been necessary in the first place.
Let’s have a quick look.
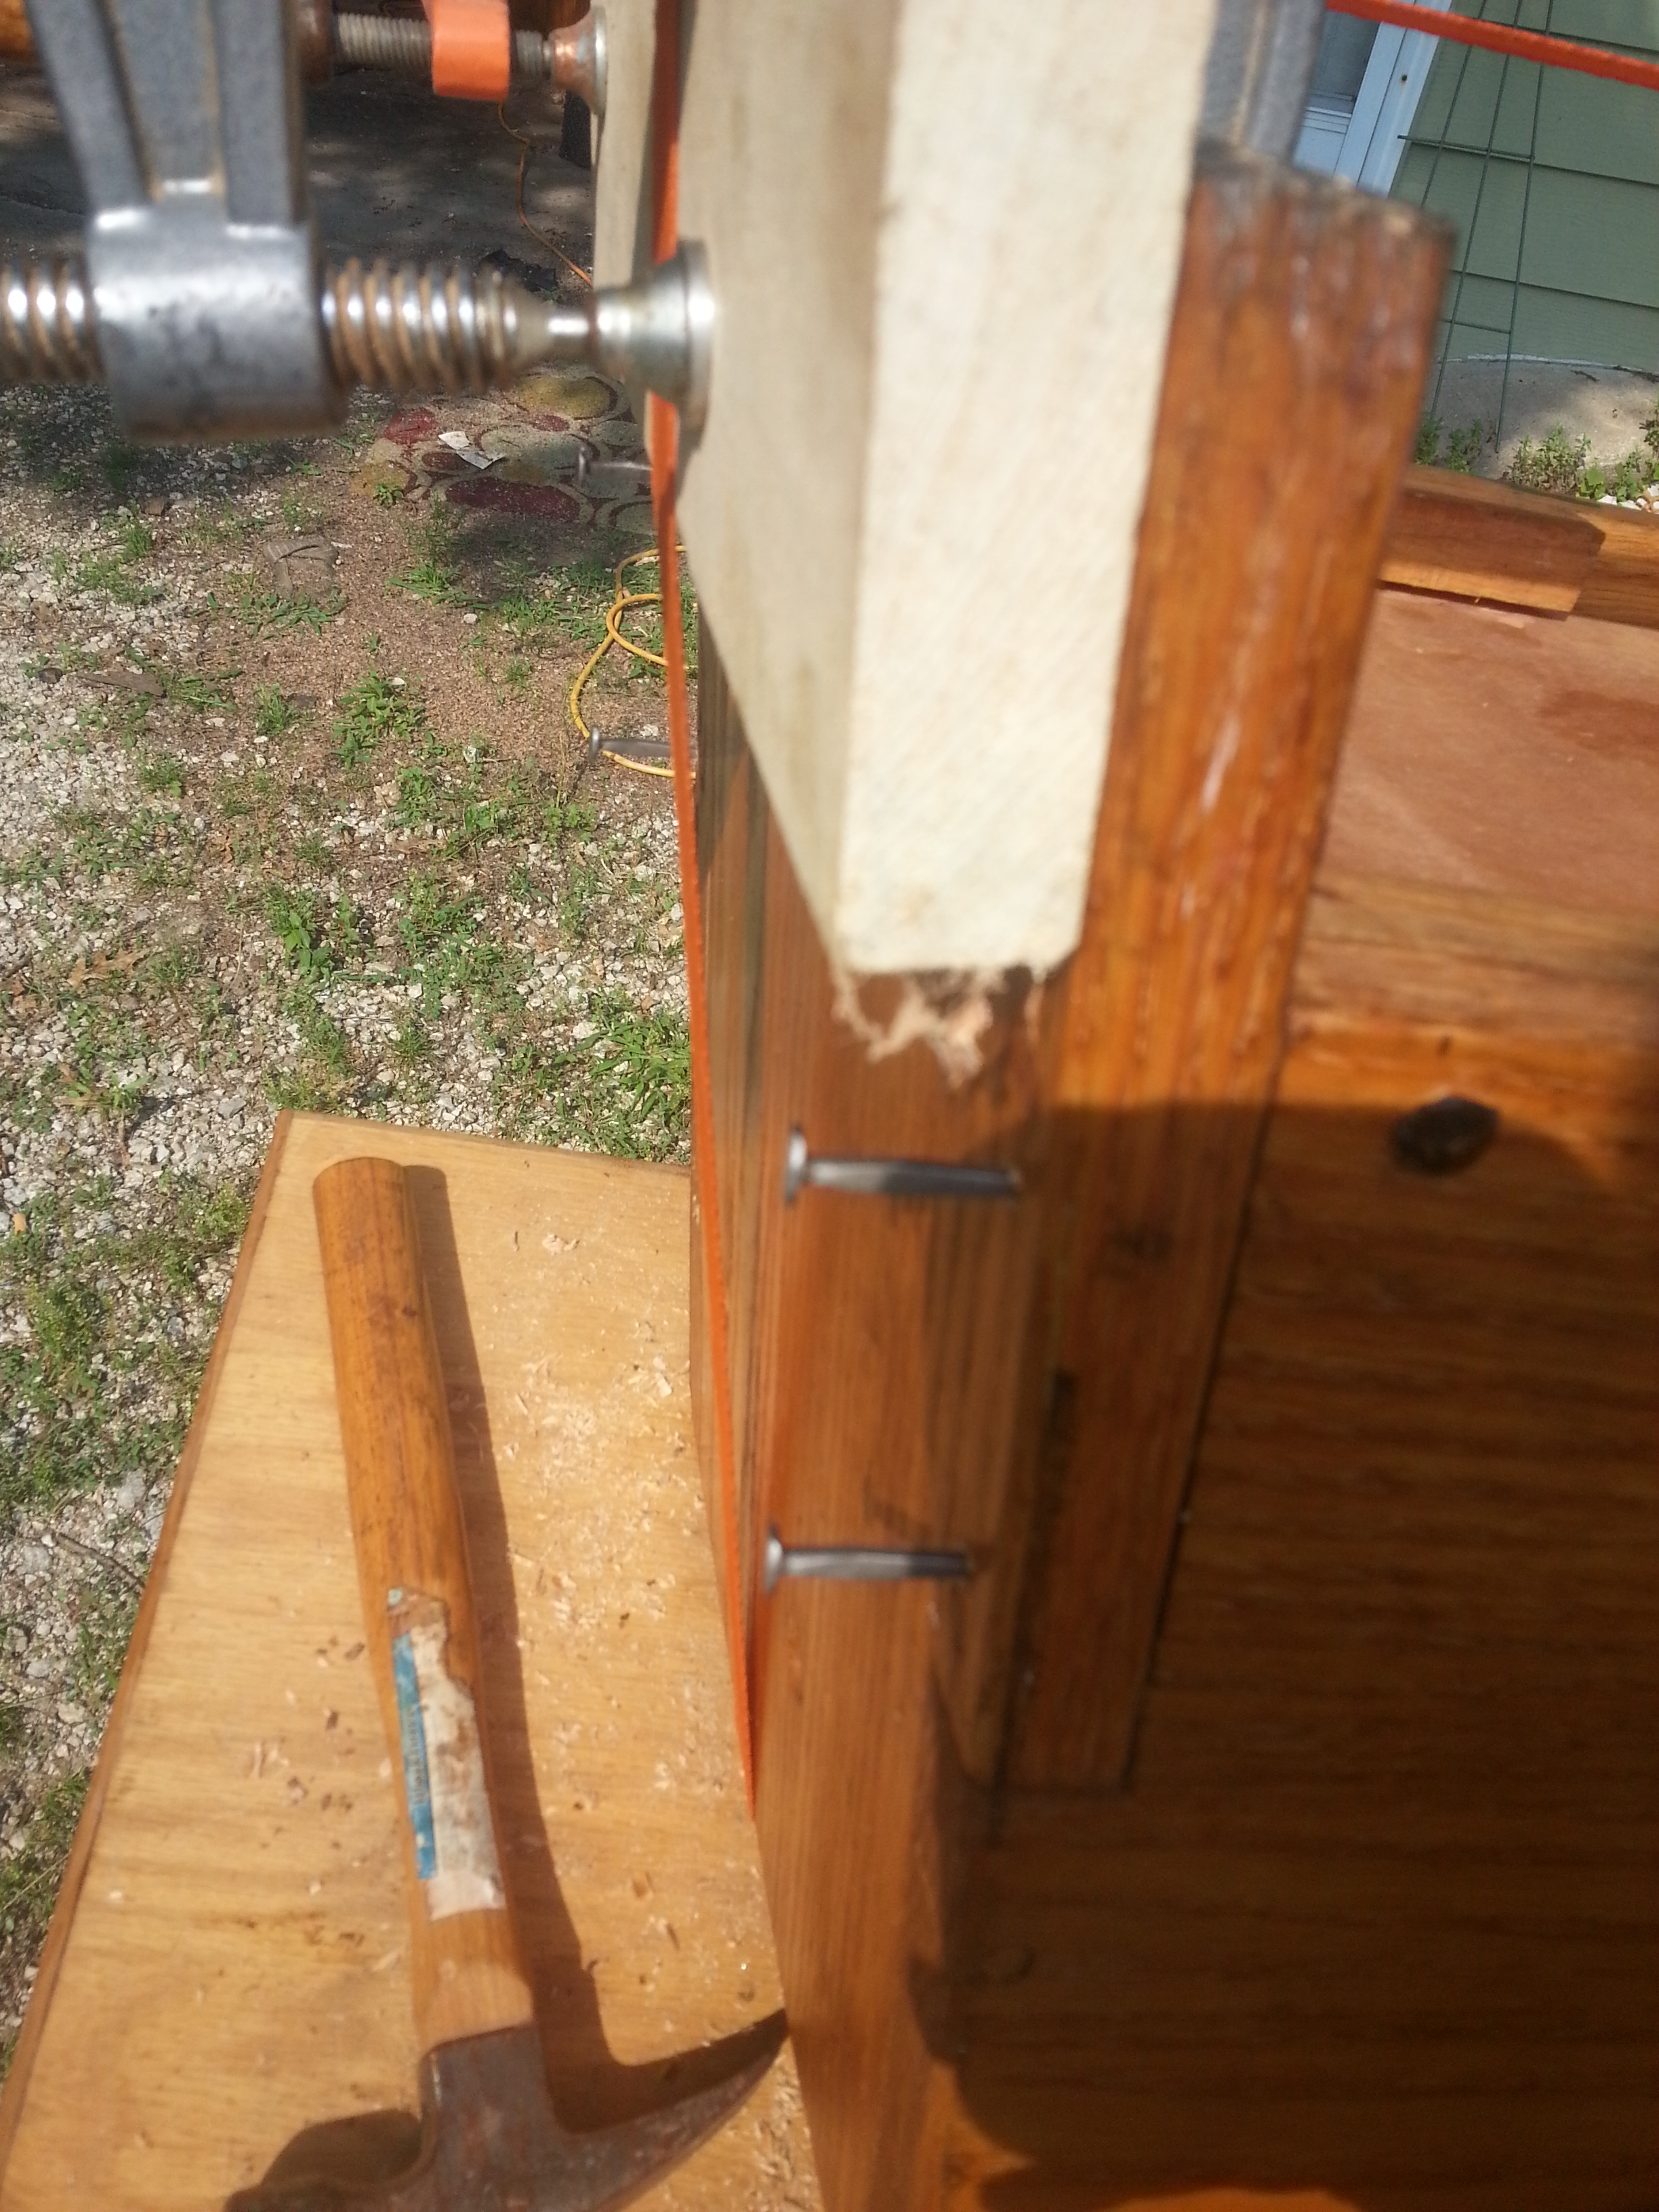
Thing 2 already had some nails added to reinforce the floor. With a couple good clamps I was able to draw the joints back together and pre-bore for new nails under the shoulder, bringing the “feet” of the end boards back in tight.
Then it was onto the face boards for the same treatment.
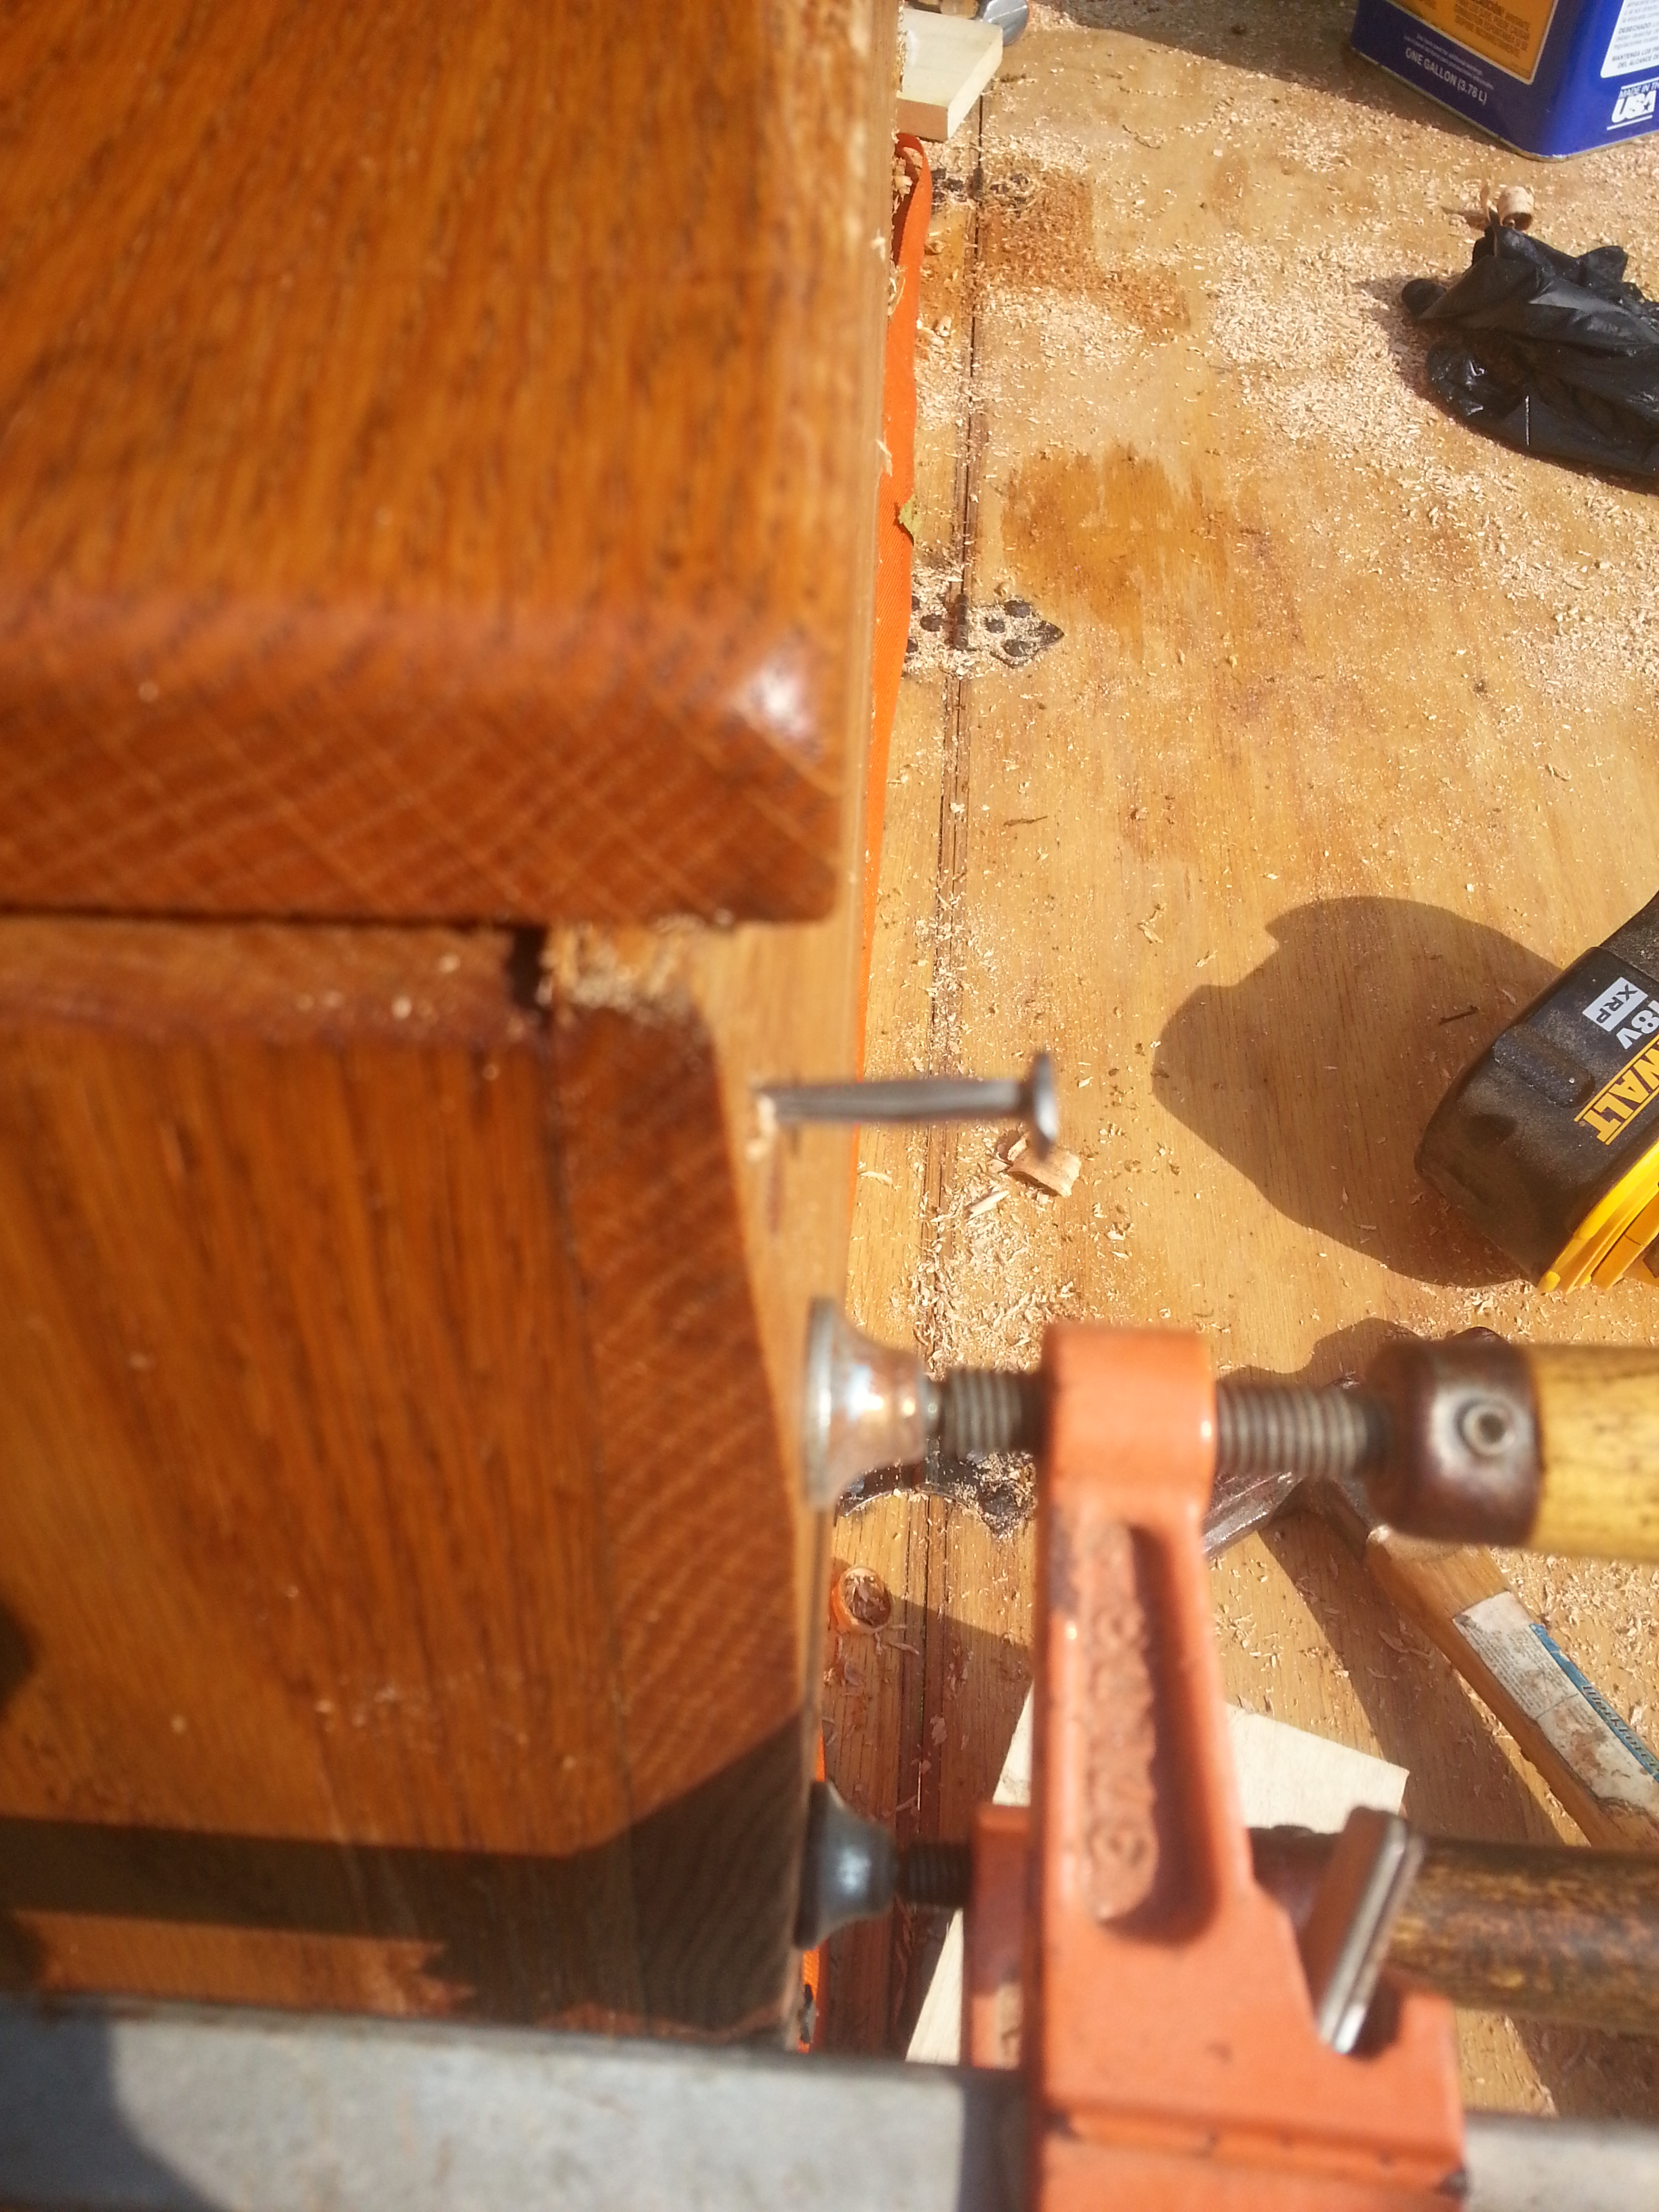
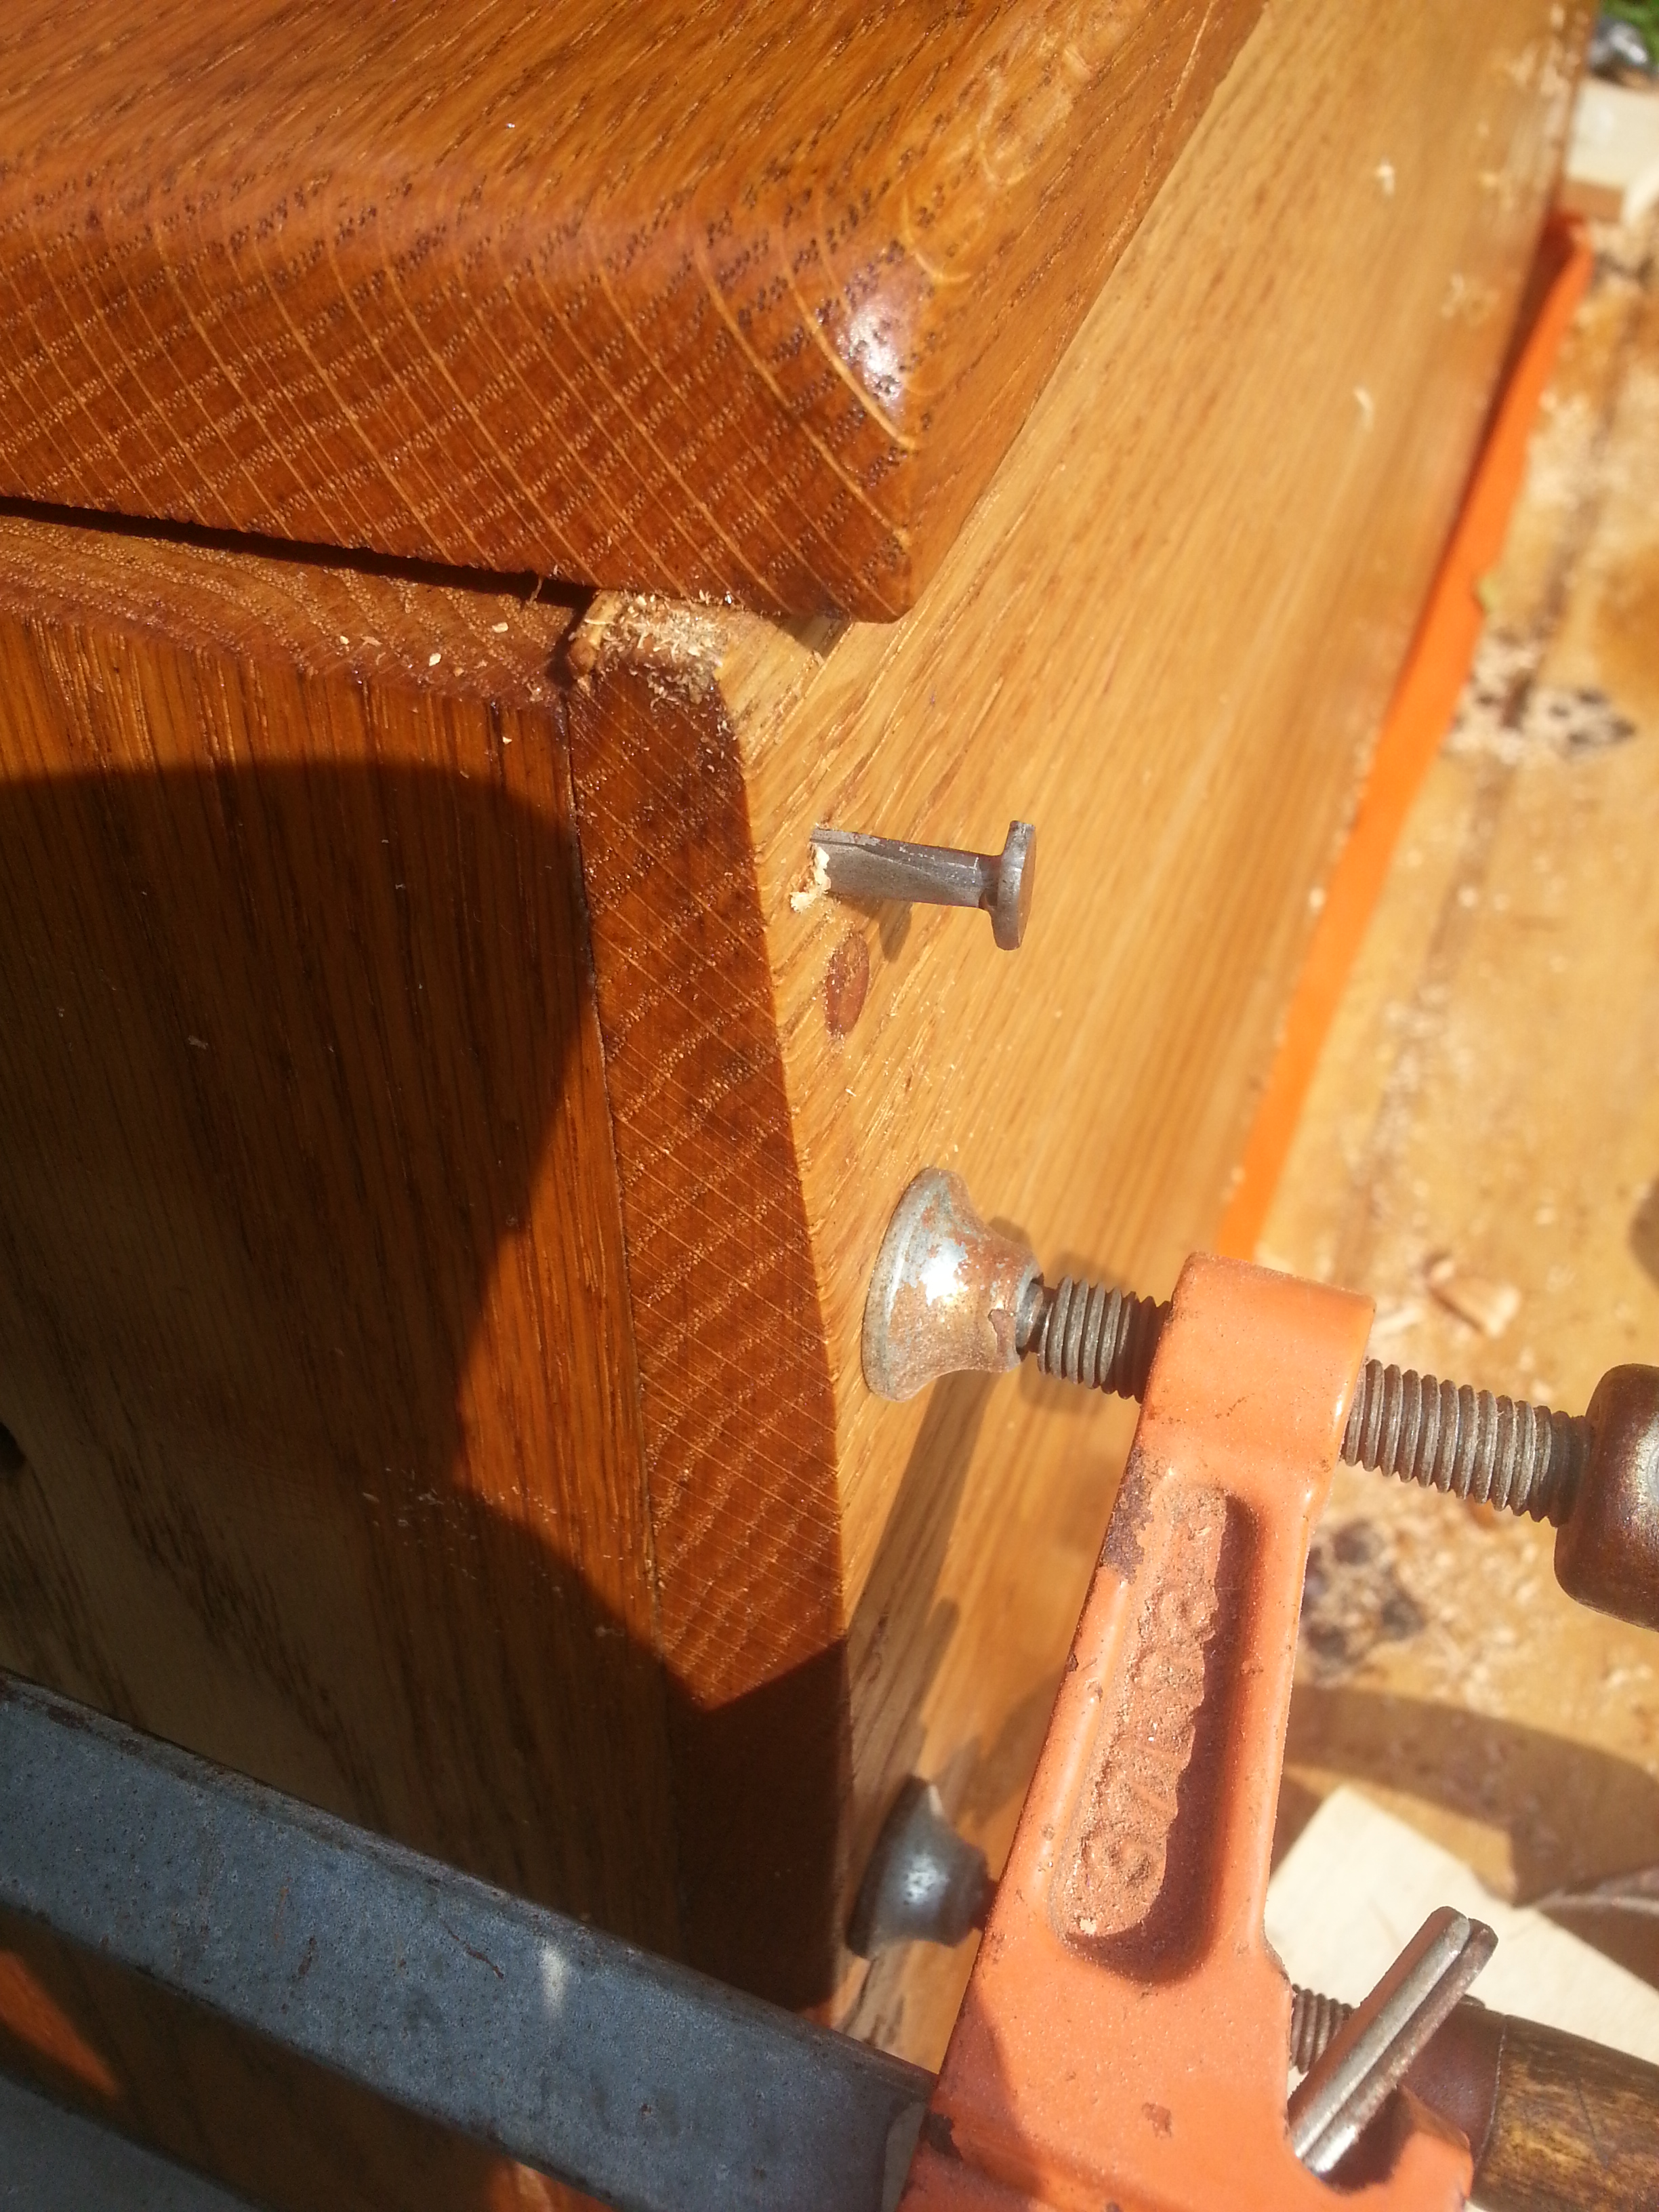
On the left, there is a good view of the correct orientation of the cut nail. The wedging action of the tapered nail is in line with the wood grain. On the right, the wedge is perpendicular to the wood grain. If the nail on the right is driven into the wood, the wedge will split out the board as the wedge forces the grain apart. The correct orientation (left) doesn’t put pressure across the grain, and the wedge will shear with the grain, creating a nearly microscopic “featherboard” effect. This will keep the nails from working loose as the wood moves, and assist in keeping the joints flush.
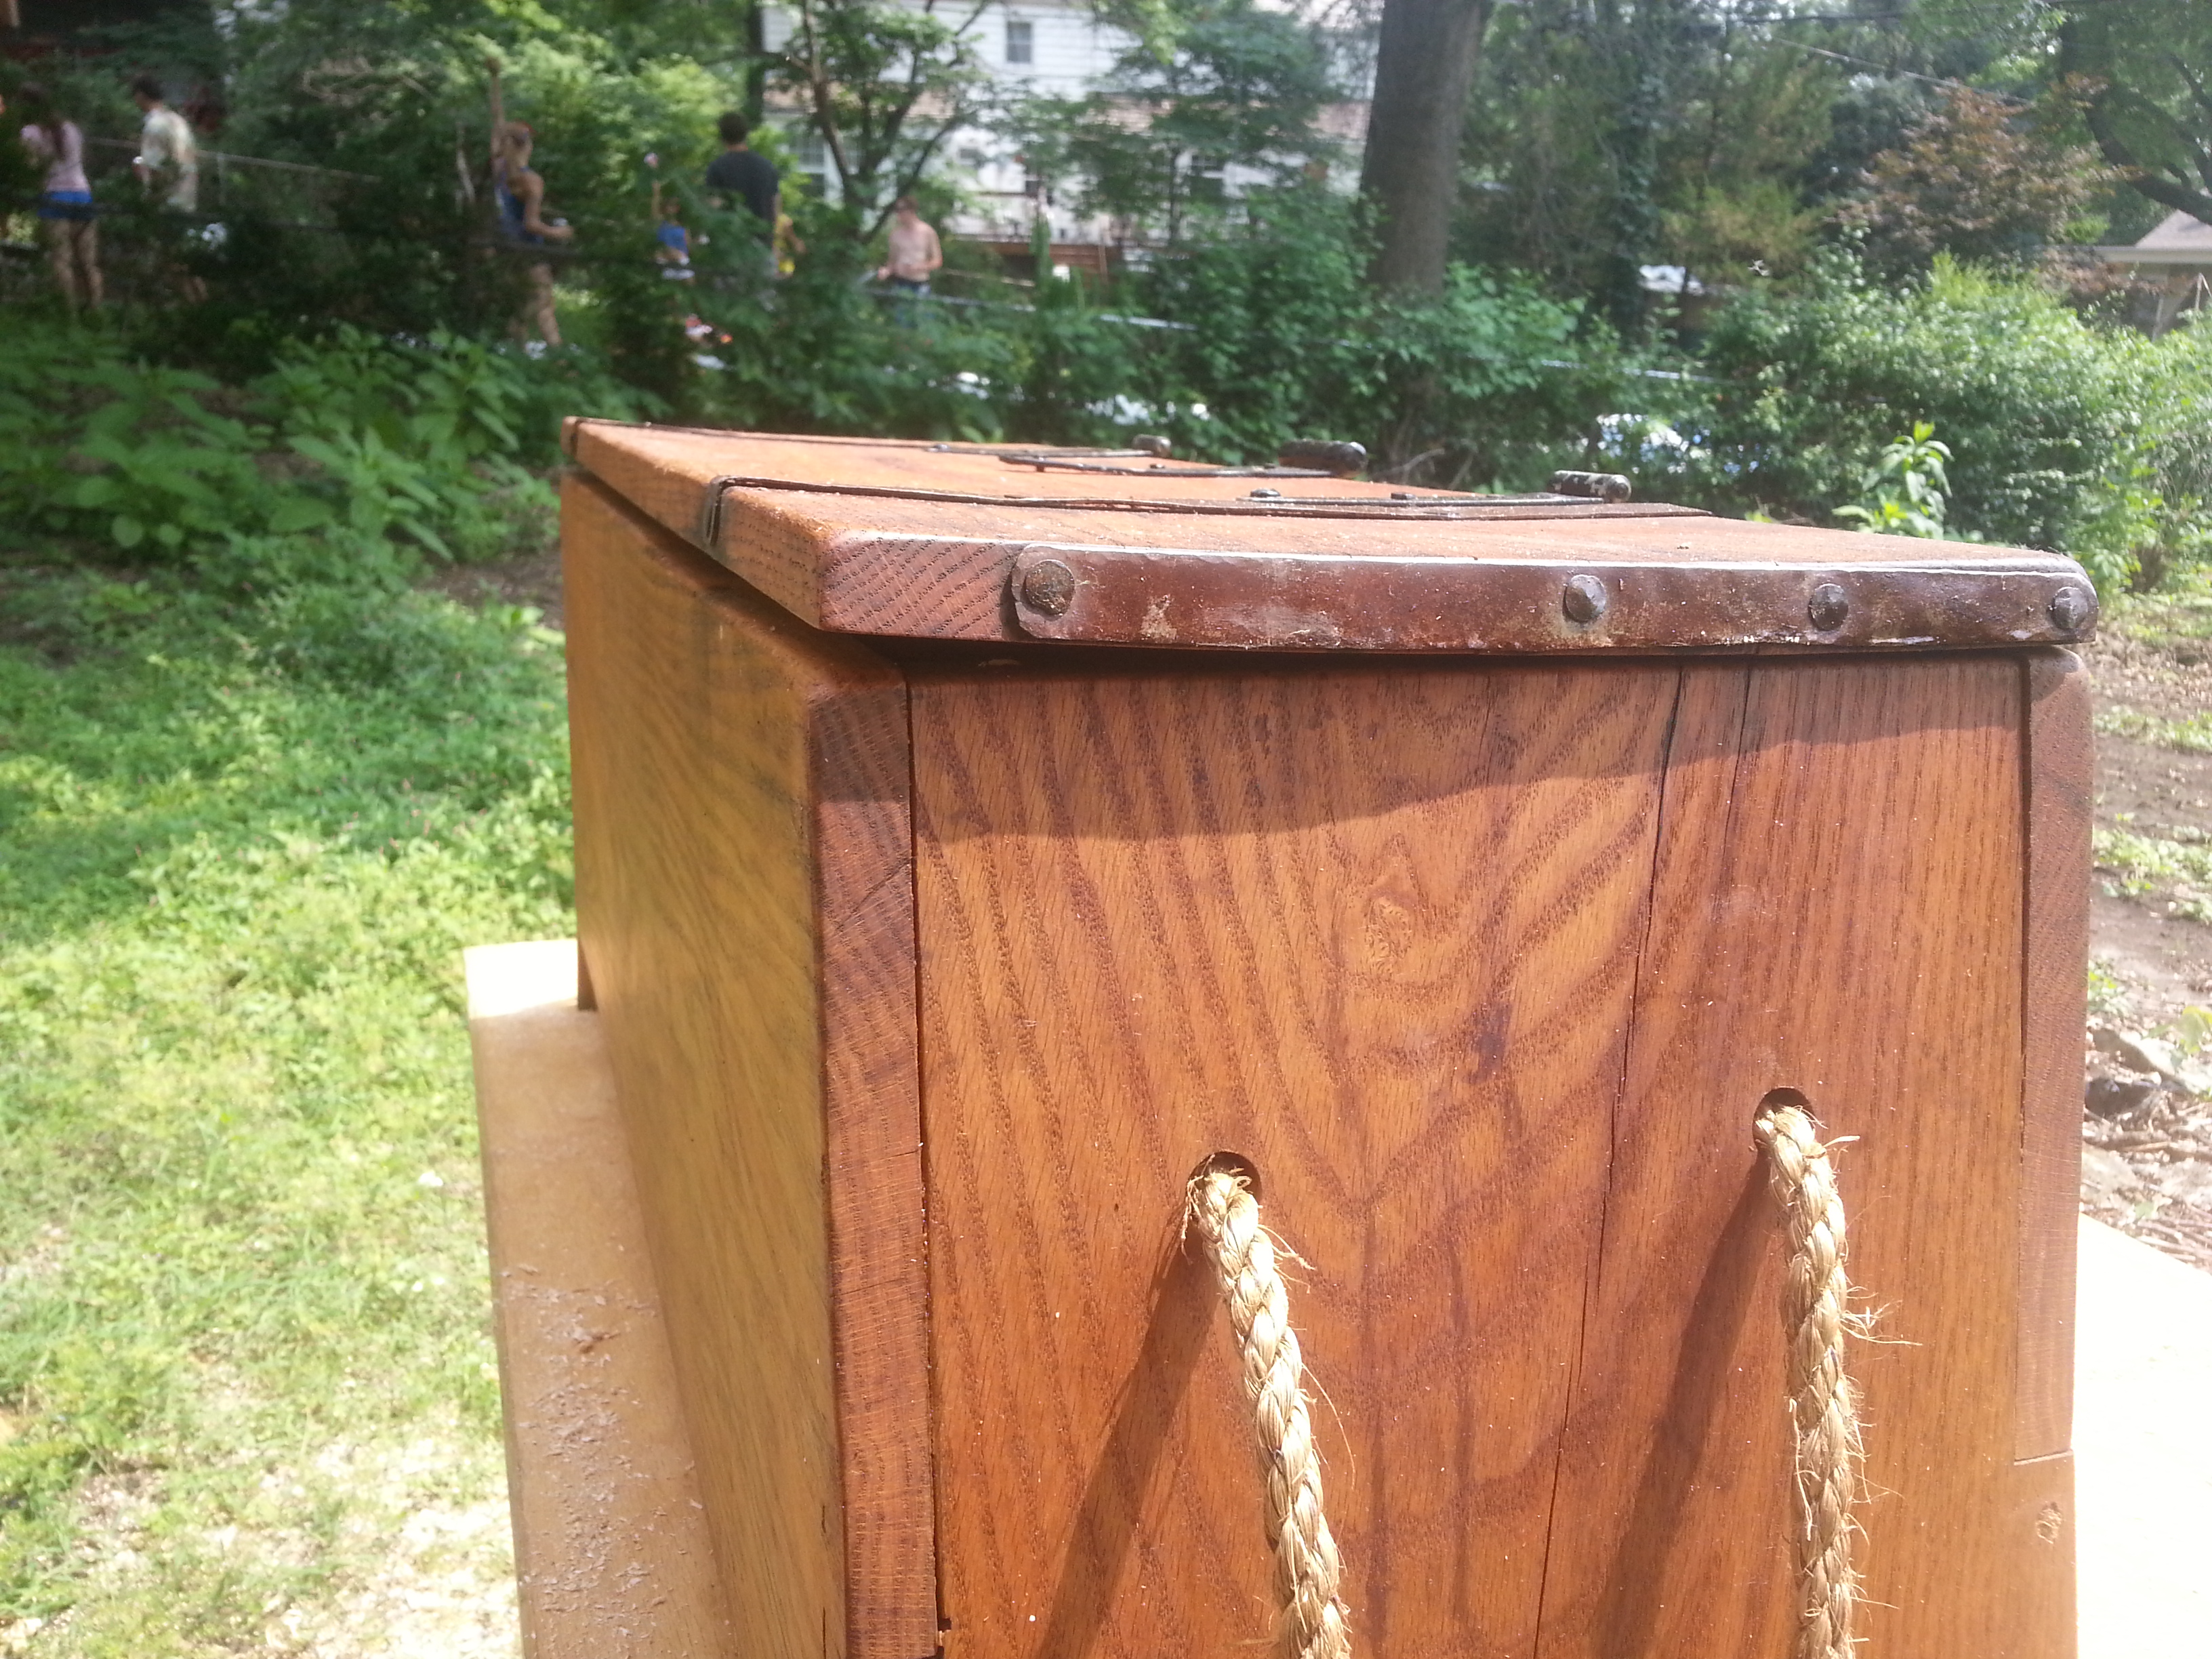
I think this shot of Thing 1 demonstrates more than I could ever say about the long-term effects of improper grain orientation, and the forces that are exerted when wood moved. This board was “flat” when the chest was assembled initially, and the steel bands were in a single plane. The wood has flexed enough to not only bow and bend the metal straps on the top of the board, but has even been able to stretch the perpendicular straps on the end grain so they bow as well. It was a slow process, but is a great example of how much internal stress wood actually contains.
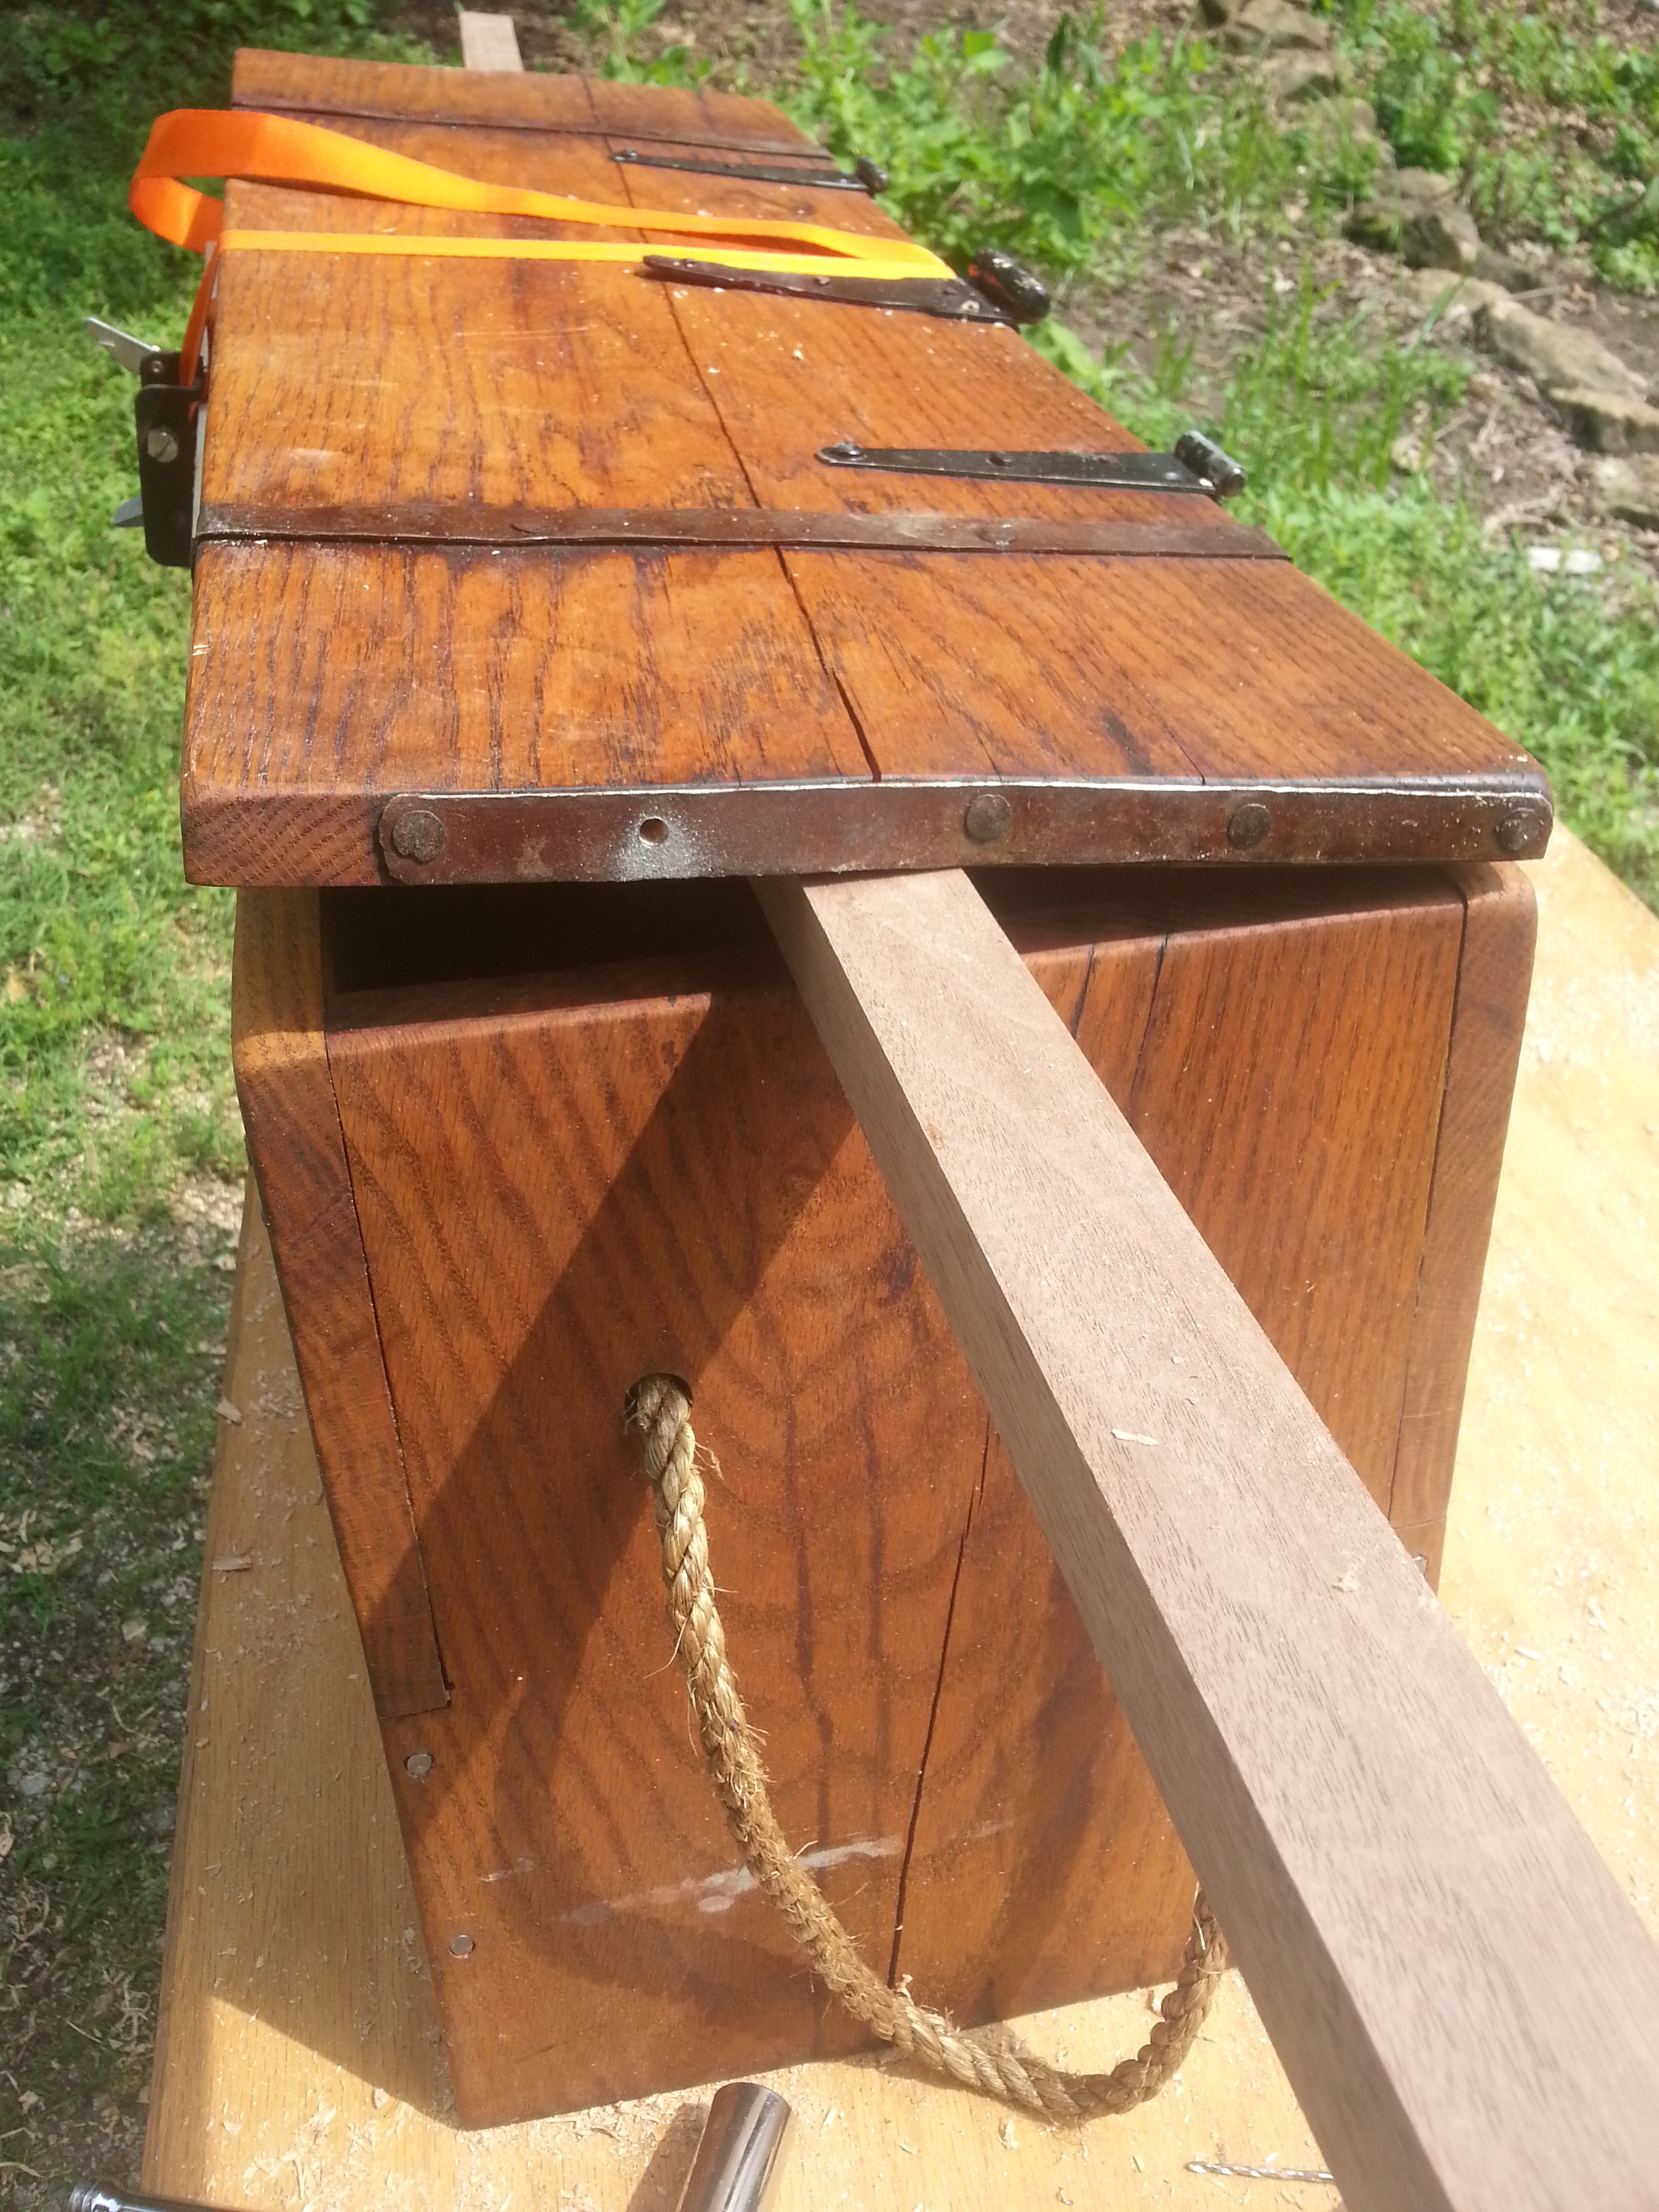
Correcting that bow completed the split across the top of the board. Here again we can see exactly now much the steel strapping on the endgrain of the boards has been stretched. That buckle was a fat sixteenth of an inch. I bored a new hole for another cut nail to hold things “flat” again after flattening the buckle out of the steel strap. That is a ratchet strap around the chest, with a hefty piece of walnut as a fulcrum being used to bring the front and back corners of the lid back into the same plane, and being in coplanar at or below the center of the board.
Alas, the split is so severe the lid is now essentially compromised. After pulling the strap, the lid is only held together by the steel banding. To keep the lid from just leaking like a sieve when caught in the rain, I did run a line of blue-tape on the underside of the lid before pouring in a heavy bead of glue to take up the space. Structurally, there is very little to be done to fix this problem. Better knowledge of the materials I was purchasing would have eliminated this problem at the source. Lesson learned: don’t buy Home Center hardwoods if it can be at all helped.
Speaking of- A lot of people don’t know where to even start looking for good lumber in their areas. If you are in the Continental United States, check out Woodfinder.com
Not only can you premium hardwood dealers in your area, but local lumber mills, sawyers, and recovered/urban reclaimed lumber sources are also listed.
